Executing Combined Calibration
149
Executing Combined Calibration
The device can automatically adjust the image quality when the image quality of copies
and prints deteriorates.
z
You can use this feature only when a folder is available. Make sure that the device has a folder available.
z
This feature may not be available depending on the model or your device configuration. For information,
contact our Customer Support Center.
z
If problems with the image quality persist despite periodic calibration, contact our Customer Support Center.
1 Select [Combined Calibration] on the Home screen.
z
When the Home screen is not displayed on the touch screen, press the Home button.
If [Combined Calibration] is not displayed, follow the procedure below.
1) Display the [Tools] screen.
z
For more information, refer to "System Settings Procedure" (P.120).
2) Select [System Settings] > [Common Service Settings] > [Image Quality Adjustment].
3) Select [Combined Calibration].
2 Select [Paper Supply...] and select a paper tray.
z
Select a paper tray in which 6 sheets or more of A4 or 8.5 x 11" is loaded.
3 Select [Start].
Calibration charts are printed.
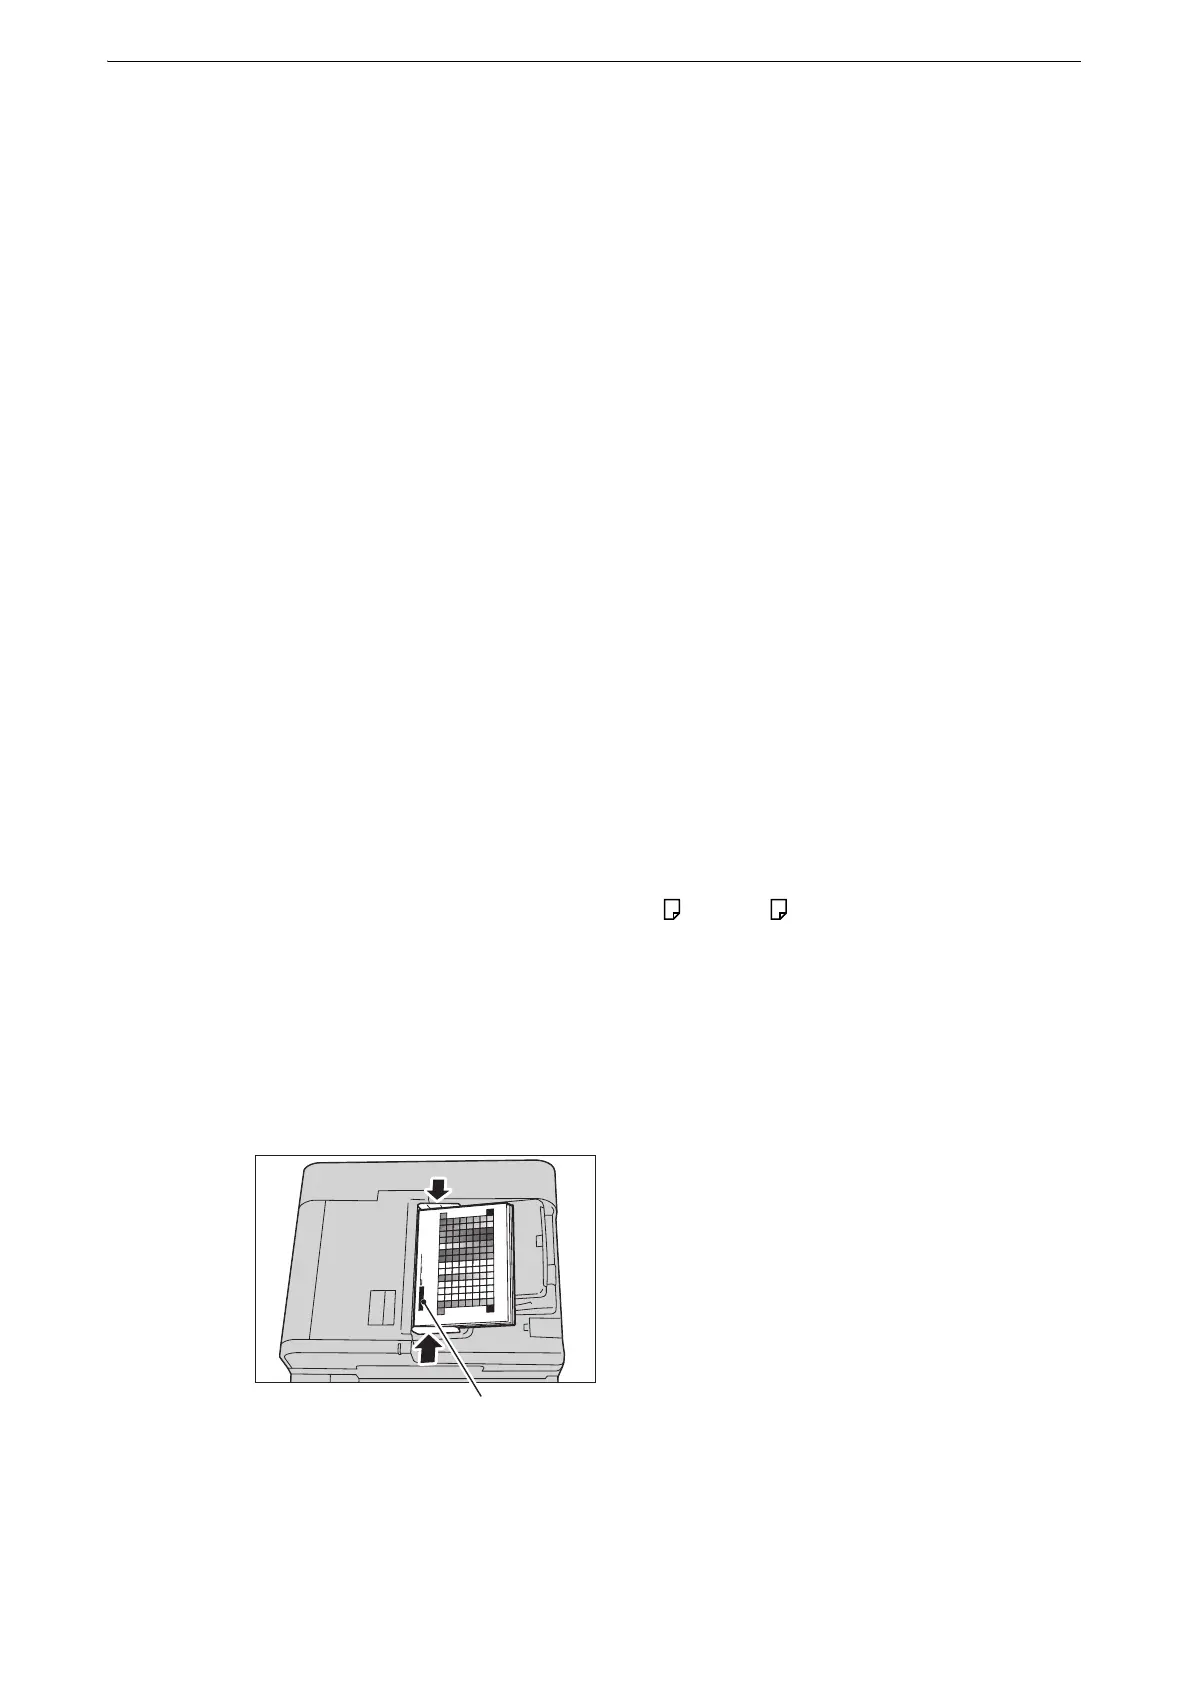
4 Load the calibration charts on the document feeder. Place the charts with the print side
face up and the base mark to the left, and then adjust the document guides to the chart
size.
5 Select [Start].
The calibration charts are scanned and calibration starts.
 Loading...