16 Appendix
684
Appendix
16
Note • For more information on registering, refer to Google Cloud Print help.
1 Start a web browser, and log in to Google Cloud Print with the owner account.
2 Google Cloud Print management page will appear. Click [Printers].
3 Select the machine to share, and click [Share].
4 On the displayed screen, enter the Google account (e-mail address) for the user who will be
sharing the machine. Then click [Share].
The account will be added to the [Who has access] list.
Note • When the user registered to share the machine logs in to Google Cloud Print, a message tells that
the owner made the sharing settings. The user needs to agree to sharing to use the machine.
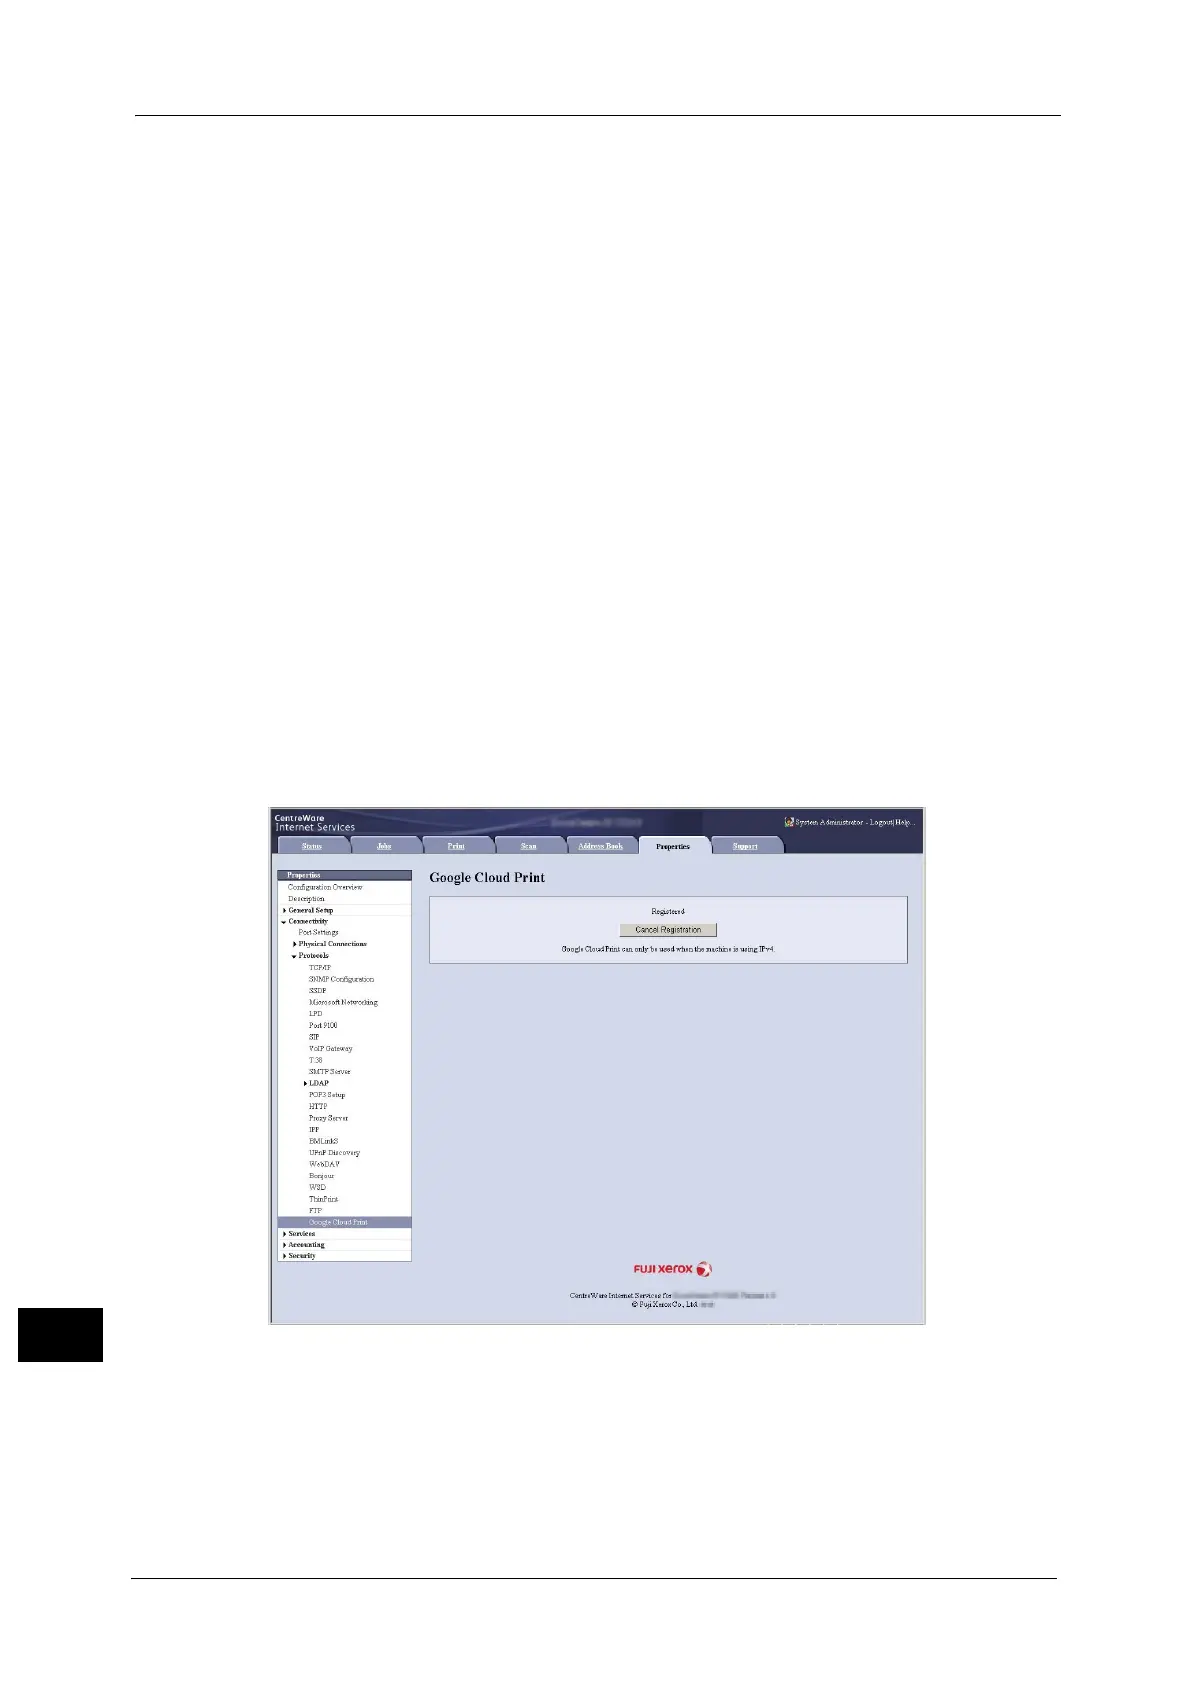
Cancelling the Registration of the Device from Google Cloud Print
This section explains how to cancel the Google Cloud Print registration.
Important • Unregistration from Google Cloud Print printer managing screen will not be reflected to the
machine. Be sure to make settings with CentreWare Internet Services as follows.
1 Start a web browser from a network connected computer.
2 Enter the machine's IP address into the address box on the browser, and then press the
<Enter> key. Connection to CentreWare Internet Services is established.
Note • During connection/operation, pop-up screen for user ID/passcode entry may appear. In this case,
enter a system administrator's user ID/passcode and click [OK].
3 Click [Properties] tab > [Connectivity] > [Protocols] > [Google Cloud Print], and click [Cancel
Registration].
 Loading...
