131
6.2 Enabling User Authentication
Authorization Groups
Register authorization groups to assign to users.
1. Tap on > [Device] > [Authentication/Accounting] > [Authentication/Security Settings] >
[Authentication] > [Create Permission Groups].
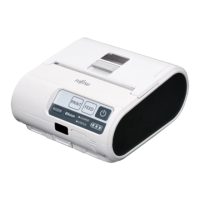
2. Select the authorization group number to register, and then tap on [Create/Delete].
The following users will belong to the No. 00 [DefaultGroup (Default)] (default authorization group).
- Newly created users
- Users that have not yet been authenticated
- Authenticated users for which the [Authentication System] is not set to [Authentication Agent] in
remote accounts
The default authorization group can be changed in the same manner as other authorization groups.
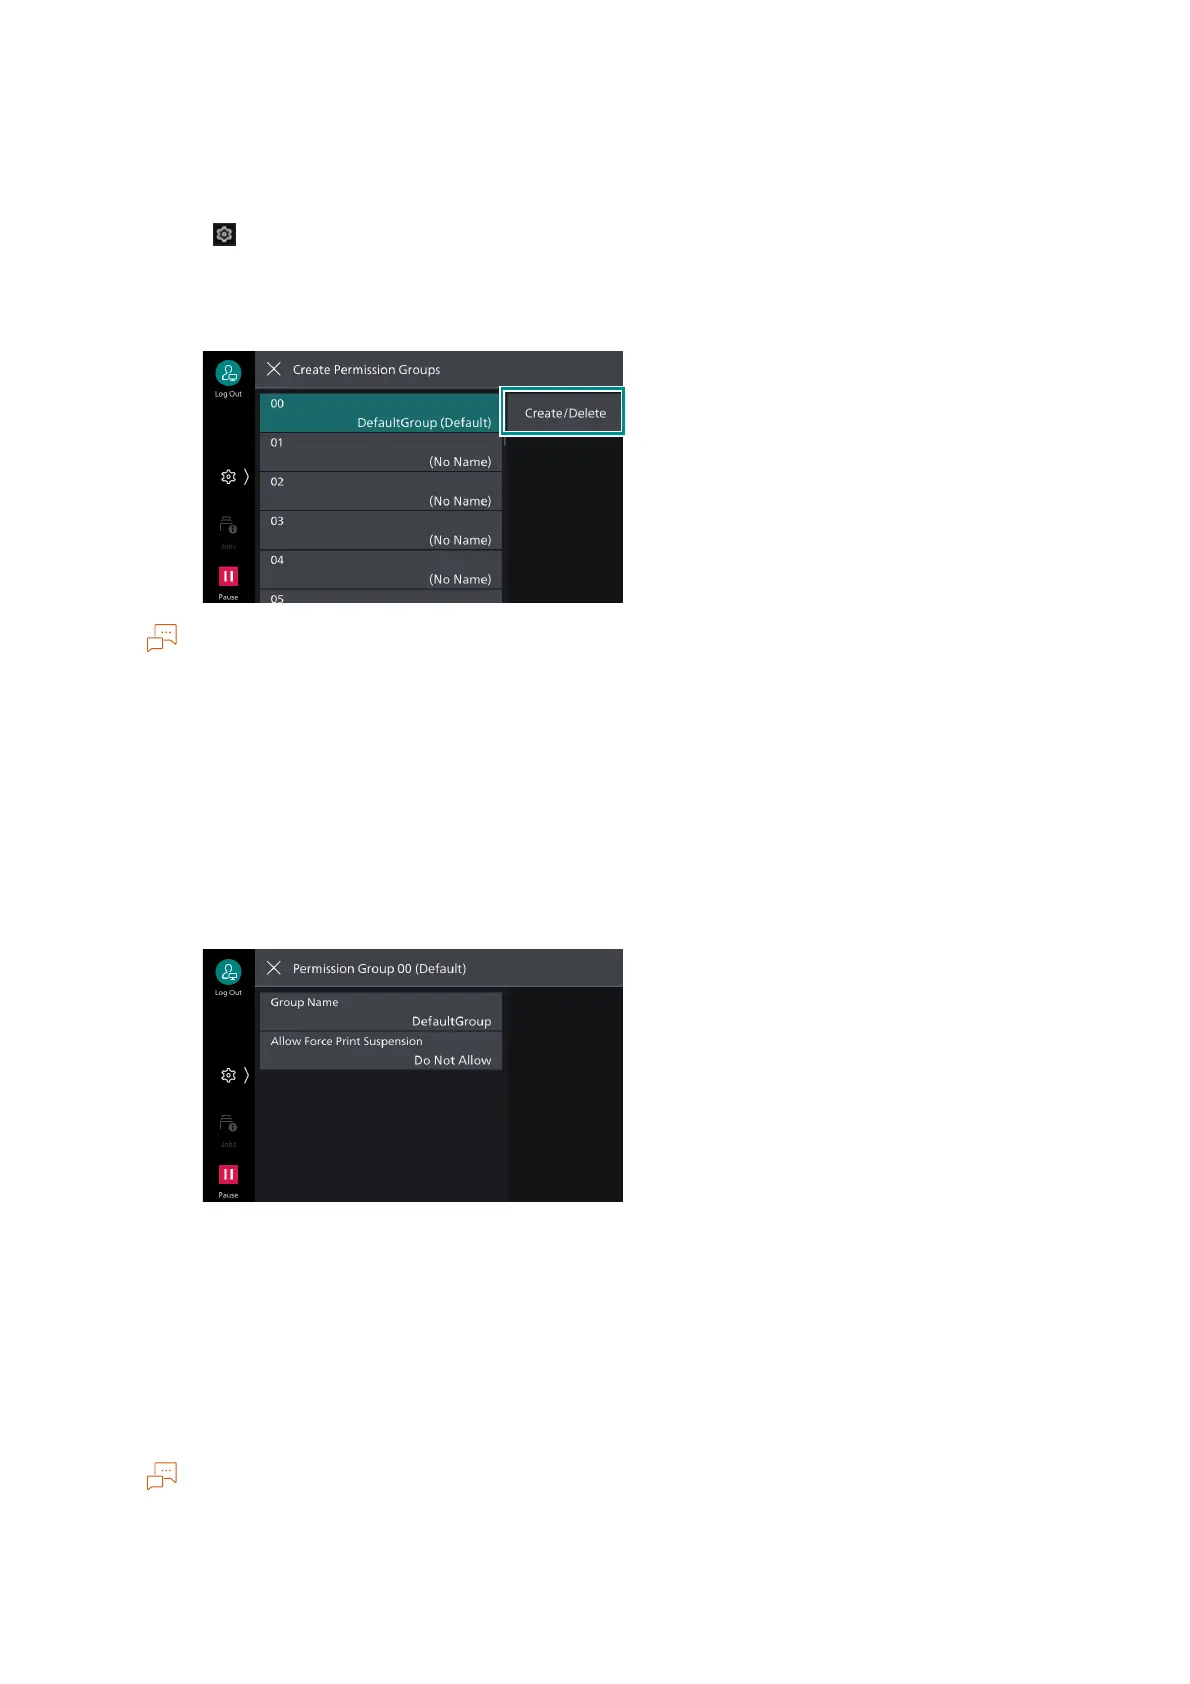
3. Tap on [Group Name], enter the name and then tap on [OK].
4. Tap on the permission to change, and select the setting.
[Allow Force Print Suspension]
When a Force Watermark, Force Secure Watermark, Print Universal Unique ID, Force Annotation or
other forced printing is set, this can temporarily lift the forced printing settings.
User Registration (Log In to Local Accounts)
Authenticated users are registered to the machine when a local account is set.
Administrator permissions, service access and account limit settings can be configured for each user.
Users can also be registered in [Authentication/Accounting Settings] under [Accounting].
 Loading...