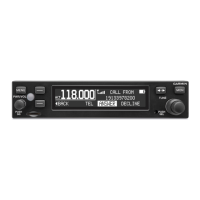
GTR 200 Installation Manual 190-01553-00
Page 3-2 Rev. B
3.3 Backshell Assembly
Refer to Appendix A for backshell and Shield Block ground assembly instructions.
3.4 Mounting Requirements
3.4.1 Rack Installation
Use the dimensions shown in Appendix C
to prepare the mounting holes for the unit. You may also use
the GTR 200 unit mounting rack itself as a template for drilling the mounting holes.
1. Figure C-1
shows outline dimensions for the avionics rack for the unit. Install the rack in a
rectangular hole (or gap between units) in the instrument panel per Figure C-4
. The lower-front lip
of the rack should be flush with, or extend slightly beyond the finished face of the aircraft panel.
If the front lip of the mounting rack is behind the surface of the aircraft panel, the unit
connectors may not fully engage. See Figure C-1
for more information. Ensure that no
screw heads or other obstructions prevent the unit from fully engaging in the rack.
Exercise caution when installing the rack into the instrument panel. Deformation of the
rack may make it difficult to install and remove the unit.
2. Install the rack in the aircraft panel using six #6-32 flat head screws. The screws are inserted from
the inside through the holes in the sides of the rack.
3. Follow the steps listed in Figure C-3
to attach the backplate to the rack.
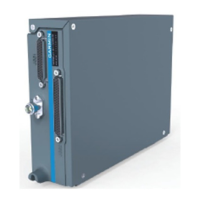
3.4.2 Unit Insertion and Removal
It may be necessary to insert the hex drive tool into the access hole and rotate the drive tool
counterclockwise until it completely stops in order to ensure correct position of the retention mechanism
prior to placing the unit in the rack. The unit is installed in the rack by sliding it straight in until it stops,
about 3/8 inch short of the final position. A 3/32-inch hex drive tool is then inserted into the access hole at
the bottom of the unit face. Rotate the hex tool clockwise while pressing on the bezel until the unit is
firmly seated in the rack.
To remove the unit from the rack, insert the hex drive tool into the access hole on the unit face. Rotate
counterclockwise until the unit is forced out about 3/8 inch and the hex drive tool completely stops. This
will allow the unit to be freely pulled from the rack.
Be sure not to over tighten the unit into the rack. The application of hex drive tool torque exceeding
15 in-lbs can damage the locking mechanism.
 Loading...