CHAPTER 3: INSTALLATION INSTALL SOFTWARE
D30 LINE DISTANCE PROTECTION SYSTEM – INSTRUCTION MANUAL 3-53
3
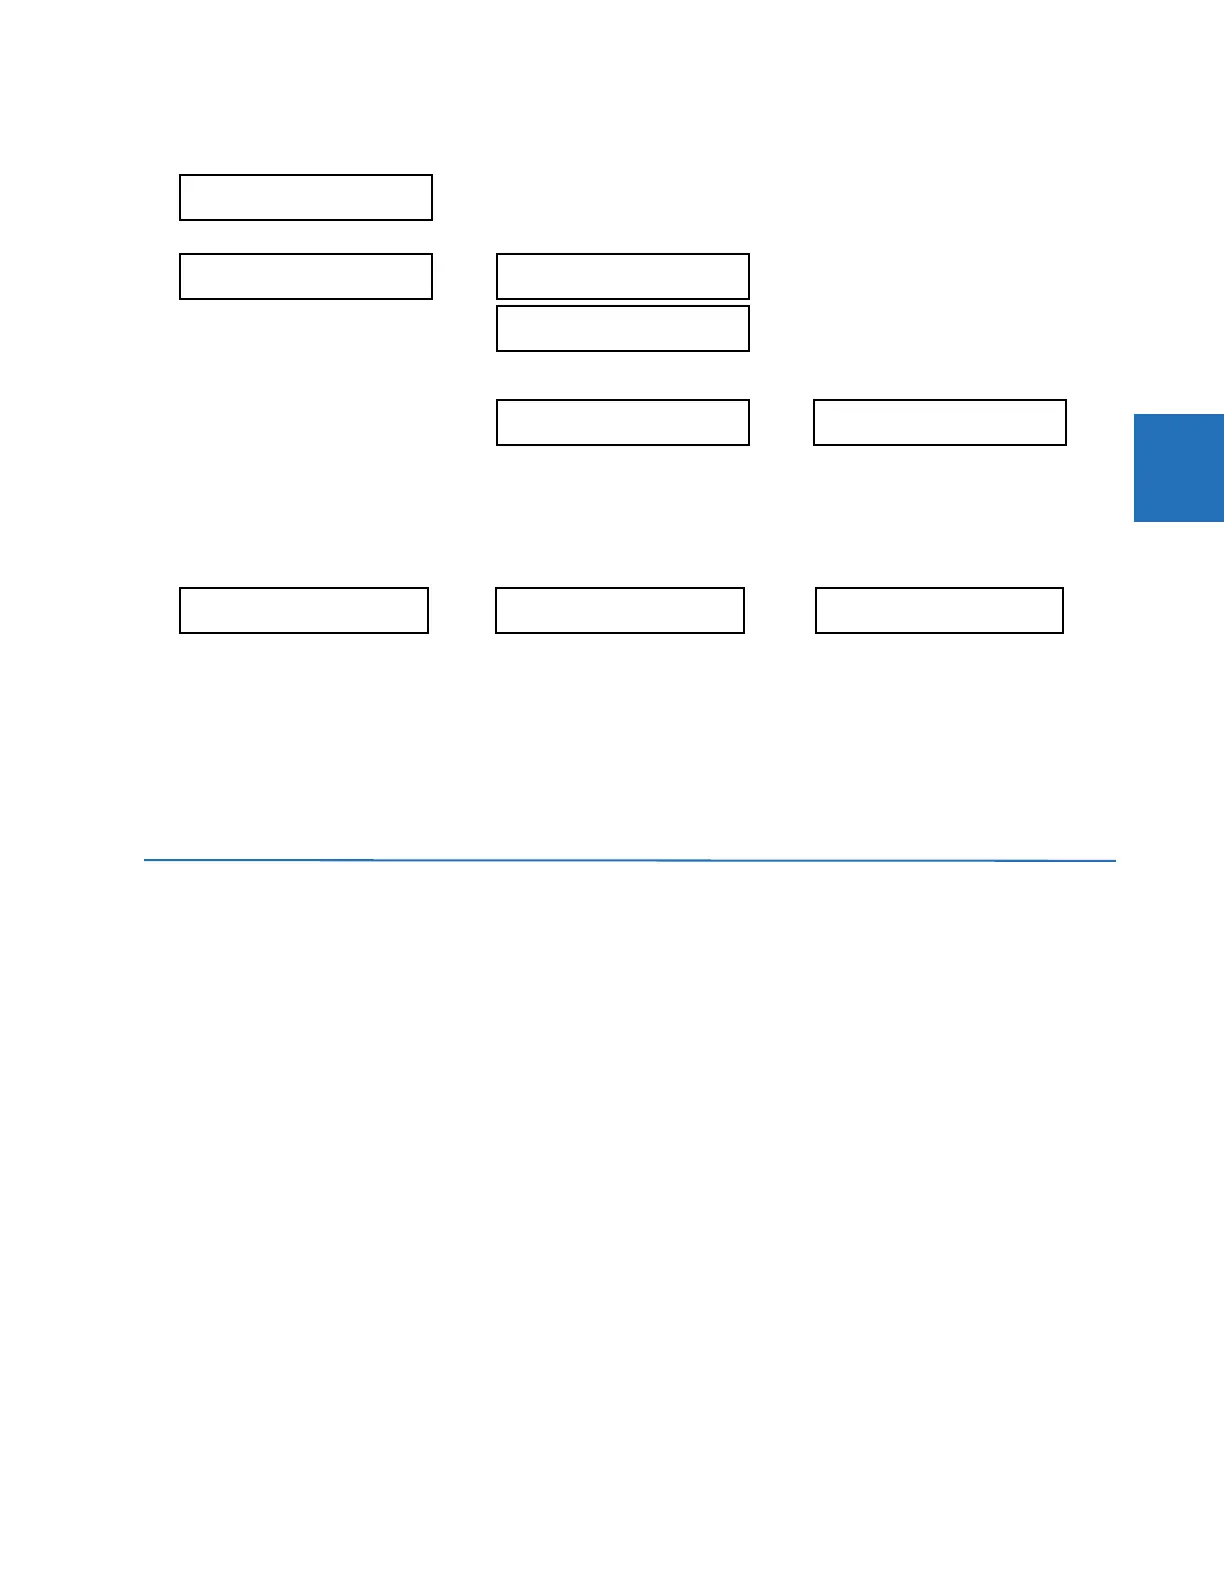
5. After the RELAY SETTINGS: Not Programmed message displays, press a VALUE key to change the selection to
"Programmed."
6. Press the
ENTER key to save the change.
7. When the "NEW SETTING HAS BEEN STORED" message appears, the relay is in "Programmed" state and the "In Service"
LED turns on.
To activate the relay using EnerVista software:
1. Navigate to Settings > Product Setup > Installation and change the Relay Settings field to "Programmed."
2. Save the change.
3.6 Install software
3.6.1 EnerVista communication overview
The EnerVista UR Setup software communicates to the relay via the front panel RS232 or USB port or the rear RS485 /
Ethernet ports.
To communicate via the RS232 port, use a standard straight-through serial cable. Connect the DB-9 male end to the relay
and the DB-9 or DB-25 female end to the computer COM2 port as described in the CPU Communication Ports section
earlier in this chapter.
SETTINGS
SETTINGS
PRODUCT SETUP
SECURITY
DISPLAY
PROPERTIES
INSTALLATION
RELAY SETTINGS:
Not Programmed
RELAY SETTINGS:
Not Programmed
RELAY SETTINGS:
Programmed
NEW SETTING
HAS BEEN STORED
 Loading...