Advanced Programming 5-15
January 2008
Configuring the 4-20 mA
Analog Input
To configure the 4-20 mA analog input, access the setup menu as
described on page 5-4 and complete the following steps:
The Test Submenu To test the analog input, program a test value into the XDP analog
output (see page 5-6) and connect the analog output signal to the
analog input terminals. Then, proceed as follows:
At the next prompt, the mA value of the test signal is shown.
The Trim Submenu To trim the analog input, make sure the XDP analog output has been
calibrated (see page 5-5) and connect the XDP analog output signal to
the analog input terminals.
The XDP analog output is now driven to exactly 4 mA.
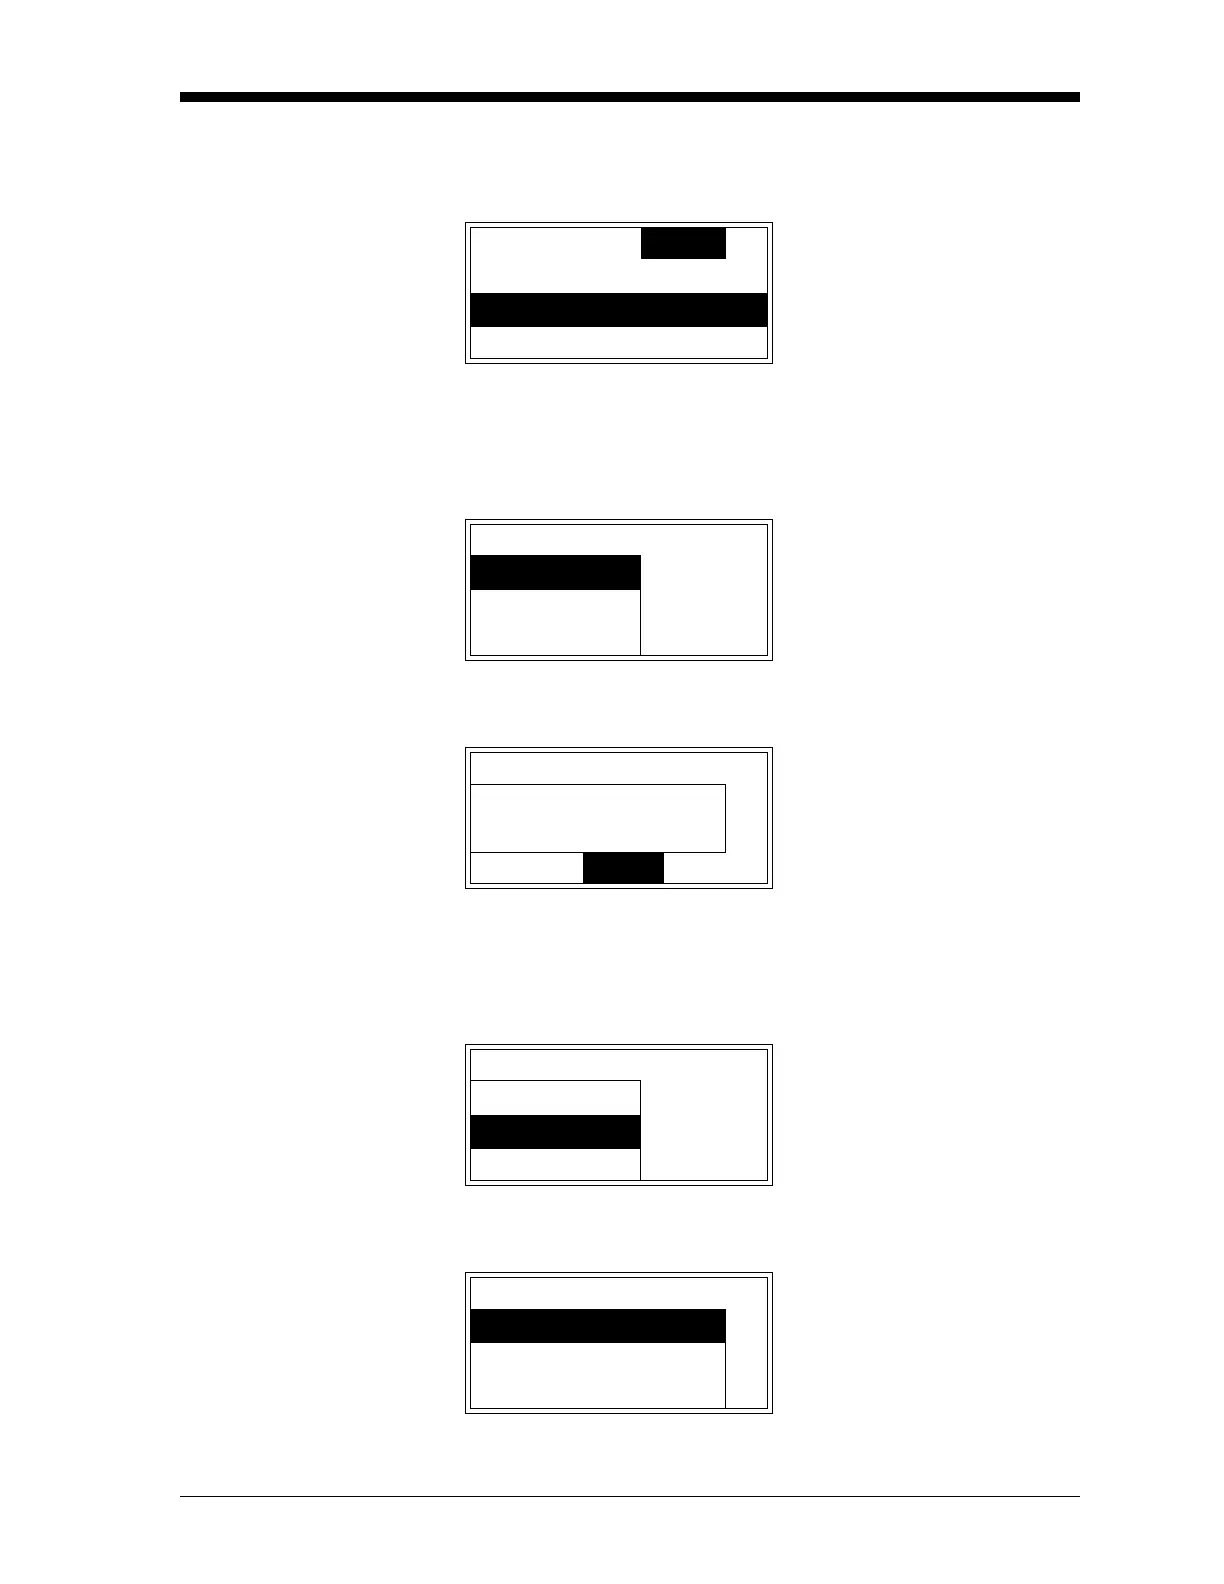
Range Cal Setup Use the [S] and [T] keys to
select
[4-20mA-Input] and press
[ENTER].
Serial Number
4-20mA-Input
Factory Calibration
4-20mA-Input Use the [S] and [T] keys to
select
[Test] and press [ENTER].
Test
Trim
4-20mA-Input Test After noting the mA value of
the analog input signal, press
[ENTER] to continue.
mA Input Test
x.xxx
OK
4-20mA-Input Use the [S] and [T] keys to
select
[Trim] and press [ENTER].
Test
Trim
4-20mA-In..4mA-Trim Press the [S] and [T] keys
until the meter reads exactly 4
mA. When done, press
[ENTER].
xx.xxx
s
xx
t

 Loading...