User Manual of Network Video Recorder
57
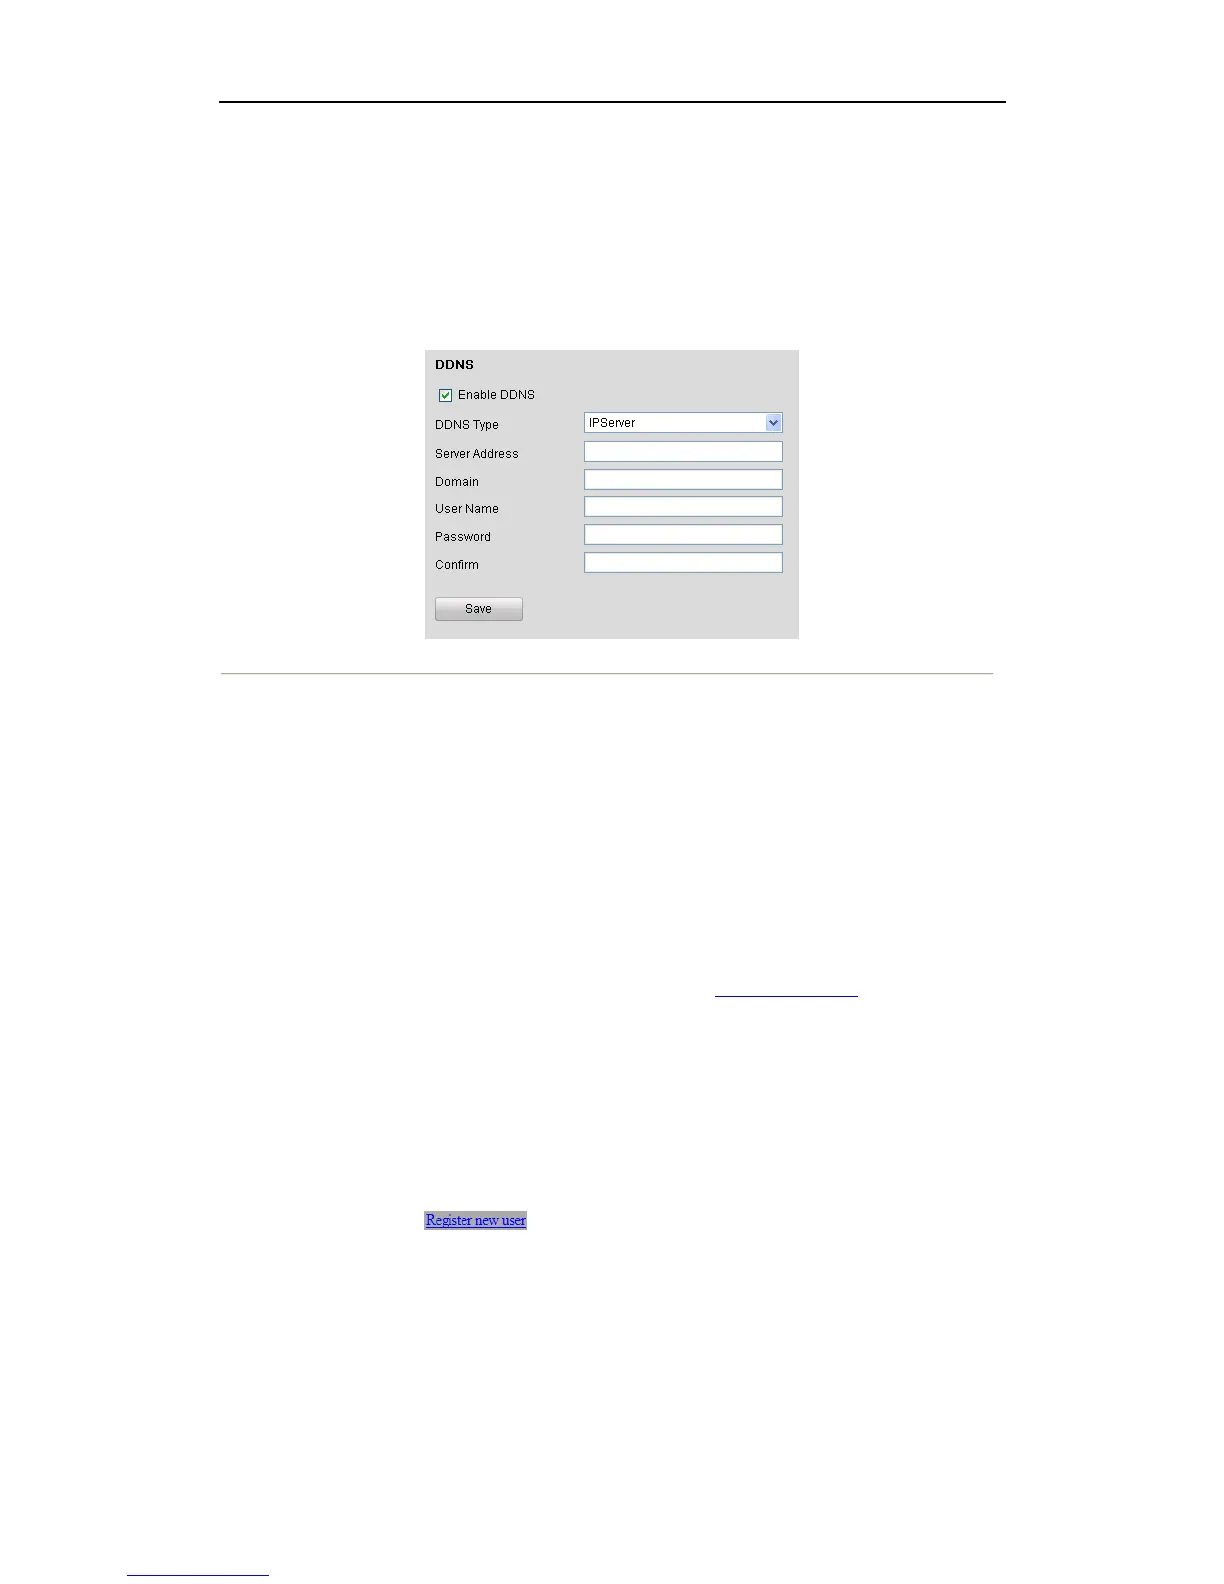
9.3 DDNS Settings
Purpose:
Adopting DDNS function can solve the problems caused by dynamic IP.
Steps:
1. Enter DDNS settings interface:
Configuration> Remote Configuration> Network Settings> DDNS
Figure 9. 3 DDNS Settings
2. Check the Enable DDNS checkbox to enable this feature.
3. Select DDNS Type. Five different DDNS types are selectable: IPServer, DynDNS, PeanutHull, NO-IP and
HiDDNS.
• IPServer: Enter Server Address for IPServer.
• DynDNS:
1) Enter Server Address for DynDNS (i.e. members.dyndns.org).
2) In the NVR Domain Name text field, enter the domain obtained from the DynDNS website.
3) Enter the User Name and Password registered in the DynDNS website.
• PeanutHull: Enter the User Name and Password obtained from the PeanutHull website.
• HiDDNS:
1) The Server Address of the HiDDNS server appears as www.hik-online.com by default.
2) Enter the Device Domain Name. You can use the alias you registered in the HiDDNS server or
define a new device domain name. If a new alias of the device domain name is defined in the
NVR, it will replace the old one registered on the server. You can register the alias of the device
domain name in the HiDDNS server first and then enter the alias to the Device Domain Name in
the NVR; you can also enter the domain name directly on the NVR to create a new one.
Register the device on the HiDDNS server.
1) Go to the HiDDNS website: www.hik-online.com.
2) Click to register an account if you do not have one and use the account to
log in.
 Loading...