4 - 44
2. Saving Image
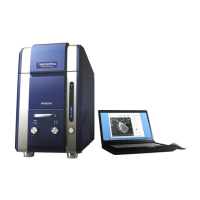
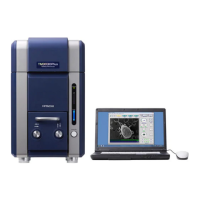
Figure 4.3.3-3 File Menu (Image Save Menu)
2a. Quick save Depending on the particular View mode that is selected, this button
captures the image being observed and saves it as an image file (image save size: 640x480
pixels (image only), 640x520 pixels (image + information), and 640x550 pixels (image +
information + comments)). The amount of time required to capture the image varies from one
view mode to another. A dialog indicating process-in-progress appears. On the Data Save
screen that appears after the image capture, enter the destination of save and the file name,
and select the file type, and save the image file. The same operation can be performed by
pressing the Quick Save button.
2b. Save This button captures a high-definition image of the specimen being observed
and saves the results as an image file (image save size: 1280x960 pixels (image only),
1280x1040 pixels (image + information), and 1280x1100 pixels (image + information +
comments)). The capturing of the image takes 30 to 40 seconds. A dialog indicating
process-in-progress appears. On the Data Save screen that appears after the image capture,
enter the destination of save and the file name, and select the file type, and save the image
file. The same operation can be performed by pressing the Save button.
3. Setting for Save… A Setting for Save window appears that displays a screen (for
information and comment entry) for the image being observed and for selection of output
conditions for the saved image (the type of the saved image, such as whether information
and comments are to be included in the image file). When Quick Save or Save is executed,
the specified conditions are incorporated into the created image file.
4. Saved Images…F9 Open the folder that saved the last image. For details, see 4.2.15
Checking the Image Data.
5. Exit Closes the program. The same operation can be performed by pressing the Close
button.
 Loading...