Logging In and Viewing Live Video
13
Protocol
You can select the stream media protocol from the drop-
down list. There are three options: TCP, UDP, or Multicast.
TCP:
Provides most reliable data transmission. Higher
latency and bandwidth use than UDP.
UDP:
Provides fastest data transmission. Lower latency and
bandwidth use than TCP but allows some data loss (such as
dropped frames).
Multicast:
Provides the most efficient use of bandwidth if
large numbers of clients are viewing the video
simultaneously.
System Menus
Figure 3-6 System Menu
W
hen you log in to the camera using the web client, the Live View interface opens by default.
To access the Playback, Setup, and Alarm interfaces, or to log out, select the corresponding
tab in the system menus area.
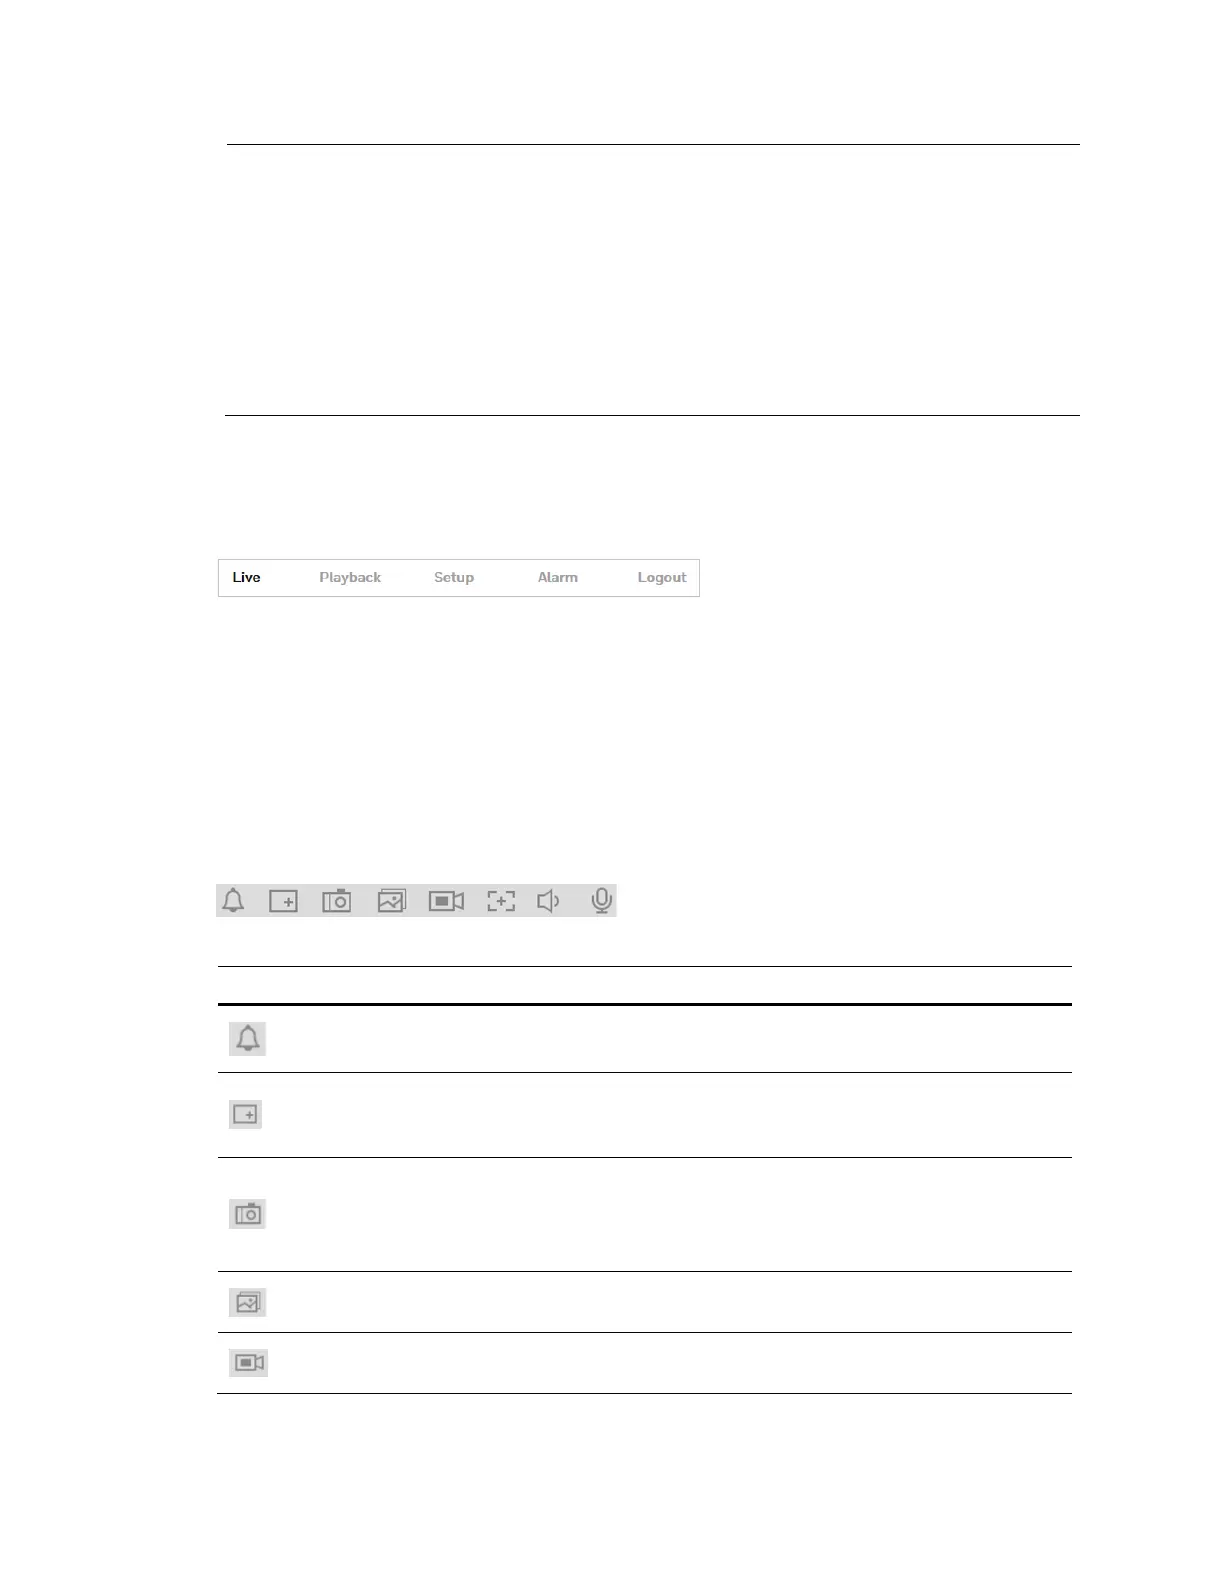
Live View Controls
From the Live View controls toolbar, you can zoom in on a scene, take a snapshot, or manually
record video. These controls are described in more details below.
Figure 3-7 Live View Window Controls
T
able 3-2 Live View Window Controls
Icon Control Description
A
larm
Displays alarm sound state.
Click the icon to enable or disable the alarm sound forcibly.
D
igital
Zoom
While viewing live video, click and hold down the left mouse
button to zoom in on a specific area. Right-click the mouse to
return to the previous magnification.
S
napshot
Click to take a snapshot, saved as a JPEG at the default
location (\picture download).
To change the save path, see Path on page 68
. Or go to
Setup
Camera Setup
Video
Path.
T
riple Snap
Click to take three snapshots at 1 fps. All images are saved to
Setup
Camera Setup
Video
Path.
Re
cord
Click to start manual recording. All video is saved to Setup
Camera Setup
Video
Path.
 Loading...