46 Chapter 7 Alignment and Commissioning
Searchline Excel™ Plus / Searchline Excel™ Edge – Technical Manual
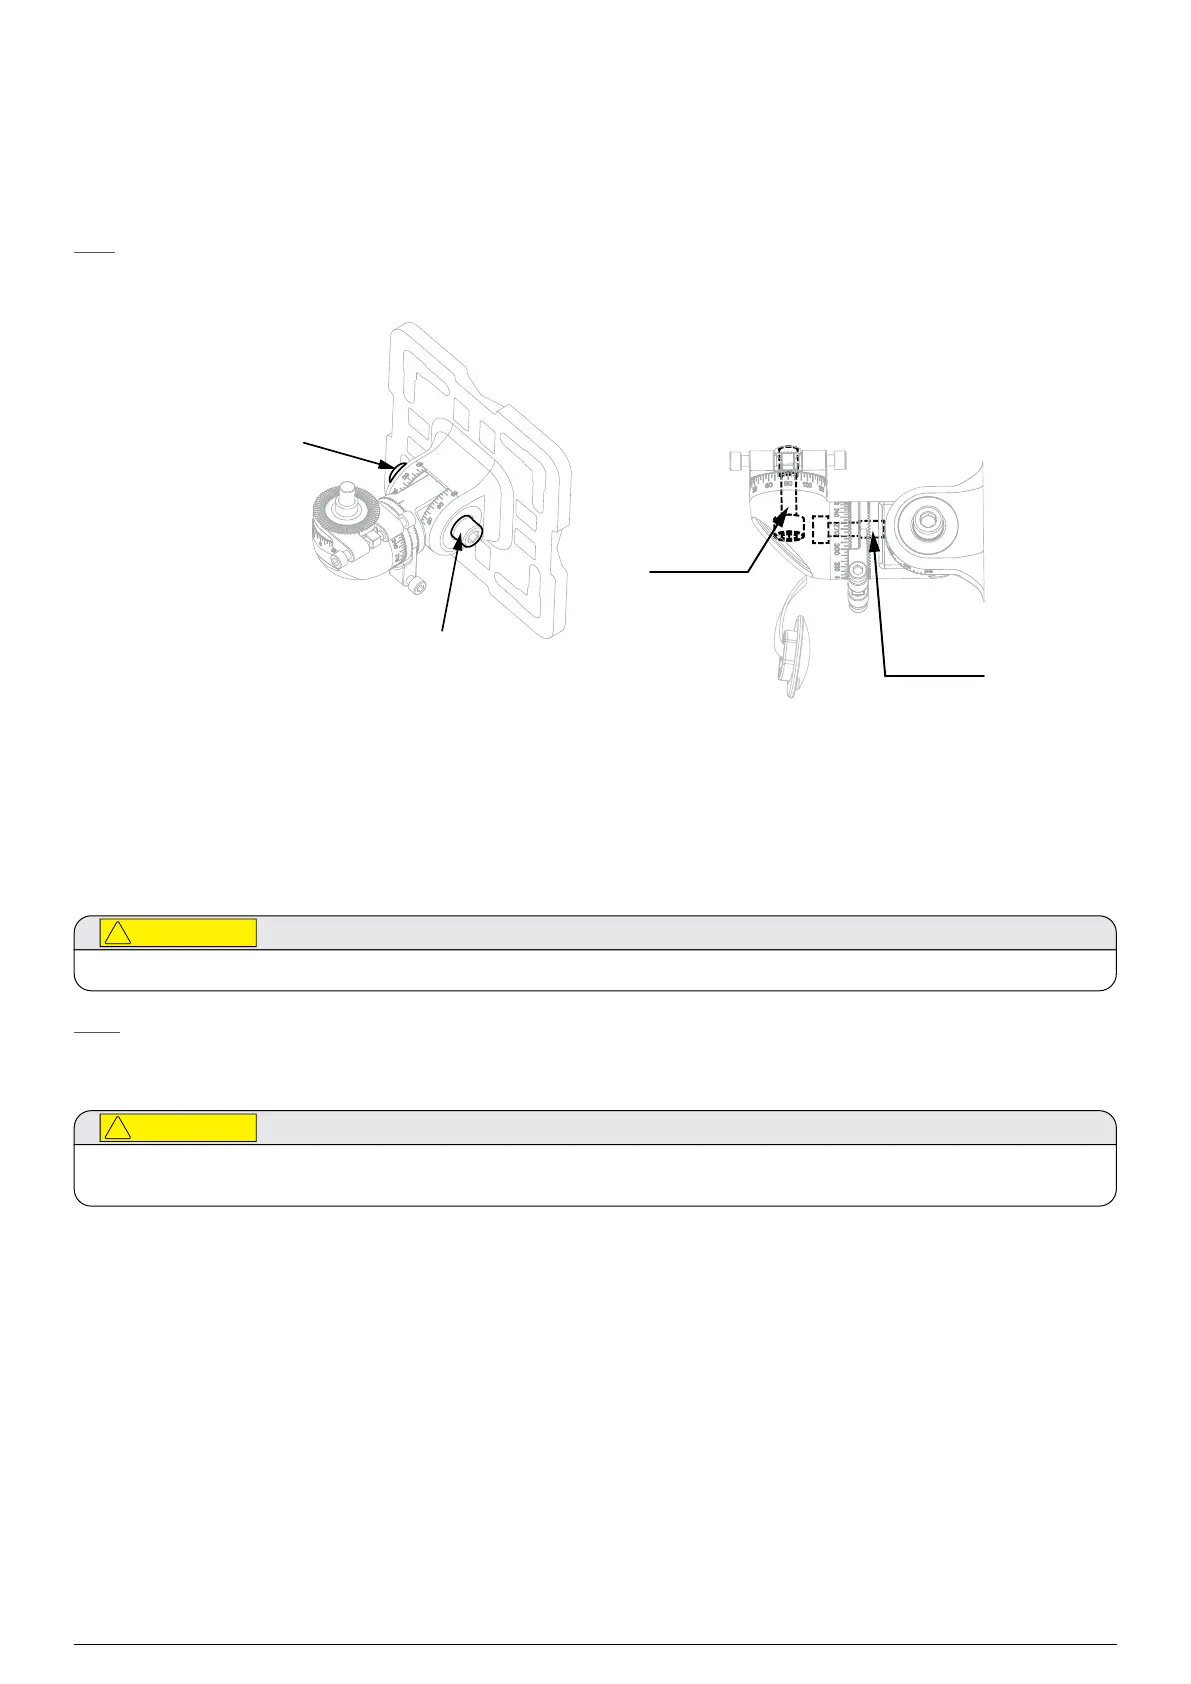
12. Tighten the left-facing horizontal M10 bolt on the universal mount bracket (torque of 30 Nm / 22.1 lb-ft).
13. Tighten the right-facing horizontal M10 bolt on the universal mount bracket (torque of 10 Nm / 7.4 lb-ft).
14. Contact-tighten the spigot vertical M10 bolt to hold the instrument firmly.
15. Contact-tighten the spigot horizontal M10 bolt to hold the instrument firmly.
Note
This is the last time the horizontal M10 bolts should need to be tightened. Further tightening later on will affect the fine
adjustment and should be avoided.
Left-facing
horizontal
M10 bolt
Right-facing
horizontal
Spigot
vertical
M10 bolt
Spigot
horizontal
M10 bolt
7.5Accurate Alignment
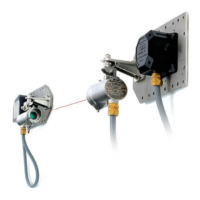
The procedure for accurate fine-aligning the transmitter and receiver is the same.
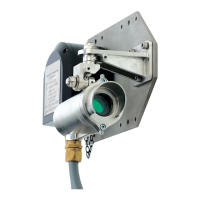
At this point the Alignment Scope is attached to the instrument to be aligned.
Do not adjust the telescope’s elevation and windage adjusters as they have been factory set.
Note:
Use the Alignment Scope’s magnification zoom for longer ranges.
To ensure functionality of the fine adjustment screws, clean the threads with a fabric and apply grease prior to installation.
Repeat with each re-alignment.
1. Adjust splines by 5 degrees on the horizontal Fine Adjustment Ring to set the approximate position.
Tighten the spigot horizontal M10 bolt (torque of 30 Nm / 22.1 lb-ft).
2. Adjust splines by 5 degrees on the vertical Fine Adjustment Ring to set the approximate position.
Tighten the spigot vertical M10 bolt (torque of 30 Nm / 22.1 lb-ft).
3. Adjust horizontal M6 Fine Adjustment Screws. Always work with both screws simultaneously – loosen one and tighten
the other. Do NOT push one screw against the other.
4. Adjust vertical M6 Fine Adjustment Screws. Always work with both screws simultaneously – loosen one and tighten
the other. Do NOT push one screw against the other.
5. Use the magnification zoom feature to move in and out to optimally aid alignment so that the cross-hairs viewed
through the Alignment Scope are centred on the window of the other instrument (transmitter or receiver).
6. Tighten horizontal and vertical M6 Fine Adjustment Screws to a final torque of 4 Nm (3 lb-ft).
7. Check alignment and repeat steps 3 to 6 as necessary.
8. Remove the Alignment Scope assembly from the instrument by reversing the fitting instructions.
9. When the transmitter and receiver have each been aligned as described above, carry out the commissioning
procedures described in the next section.
 Loading...