Printing on special media
Make sure that the paper or print media that you are using meets HP specifications. See Media specifications
on page 13. Generally, smoother paper provides better results.
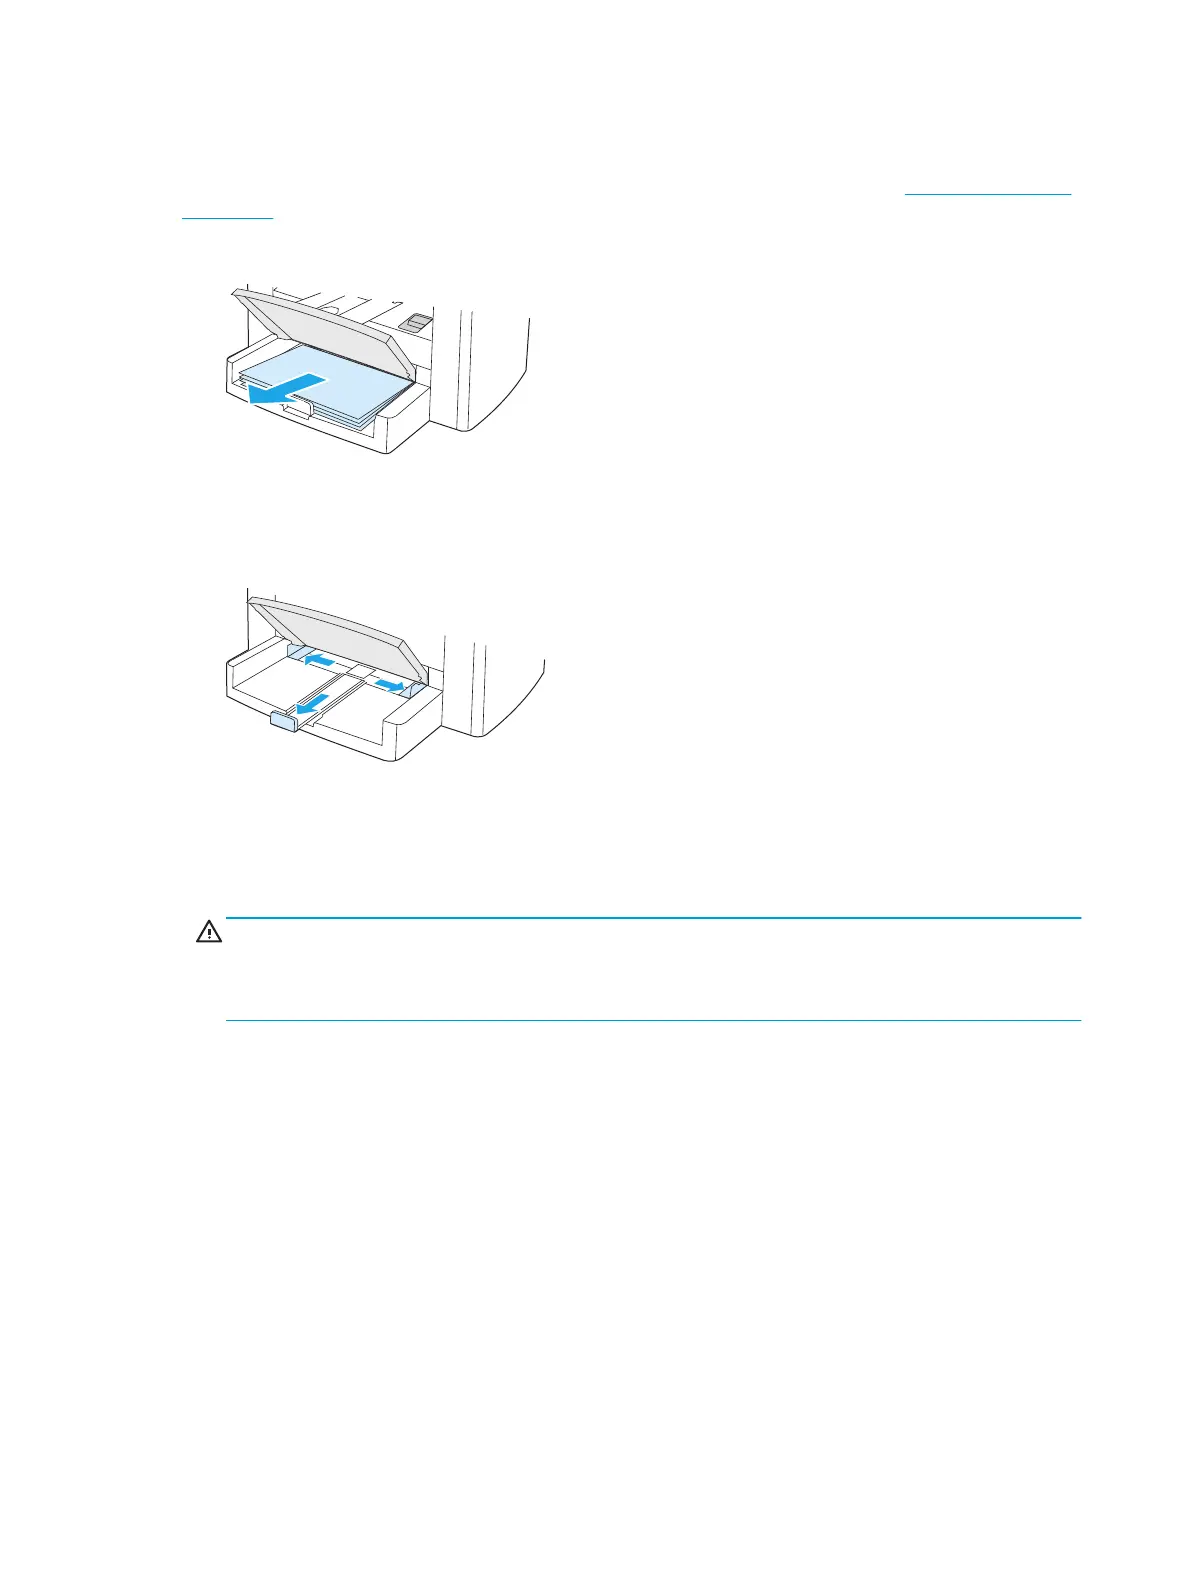
1. Open the media input tray and remove any media.
2. Load the media. Make sure that the top of the media is forward and the side to be printed on is facing
up.
3. Adjust the media guides to the length and width of the media.
4. For Windows printer drivers, on the Paper tab or the Paper/Quality tab, select your media type from
the Type is: drop-down list.
For Macintosh printer drivers, on the Paper/Quality tab or the Paper tab (the Paper Type/Quality tab
for some Macintosh drivers), select your media type.
CAUTION: Be sure to set the correct media type in the device settings. The device adjusts the fuser
temperature according to the media type setting. When printing on special media such as
transparencies or labels, this adjustment prevents the fuser from damaging the media as it passes
through the device.
5. Print the document.
Using archive print
Archive print produces output that reduces toner smearing and dusting. Use archive print to create
documents that you want to preserve.
1. On the device control panel, press Menu/Enter.
2. Use the < or the > button to select Service, and then press Menu/Enter.
3. Use the < or the > button to select Archive print, select On or Off, and then press Menu/Enter.
38 Chapter 5 Printing ENWW
 Loading...

