Step 9 Install the chassis cover. For details, see 3.5 Installing the Chassis Cover.
Step 10 Install the server. For details, see 4.4 Installing the Server on Guide Rails.
Step 11 Connect the power cables. For details, see 5.4 PSU.
Step 12 Power on the server. For details, see 3.1 Powering On the Server.
----End
5.8 Screw-in RAID Controller Card
To install the screw-in RAID controller card on the mainboard, perform the following steps:
Step 1 Wear an ESD wrist strap. For details, see 12 Preventing Electrostatic Discharge.
Step 2 Power off the server. For details, see 3.2 Powering Off the Server.
Step 3 Remove the power cables. For details, see 3.7 Removing Cables from a PSU.
Step 4 Remove the server. For details, see 3.3 Removing the Server and Guide Rails.
Step 5 Remove the chassis cover. For details, see 3.4 Removing the Chassis Cover.
Step 6 If I/O module 2 is configured with a full-height full-length riser card tray, remove the riser
card tray. For details, see 3.12 Removing a Riser Card Tray.
Step 7 Take a spare RAID controller card out of its ESD bag.
Step 8 If a supercapacitor is required, install it. For details, see 5.11 Supercapacitor.
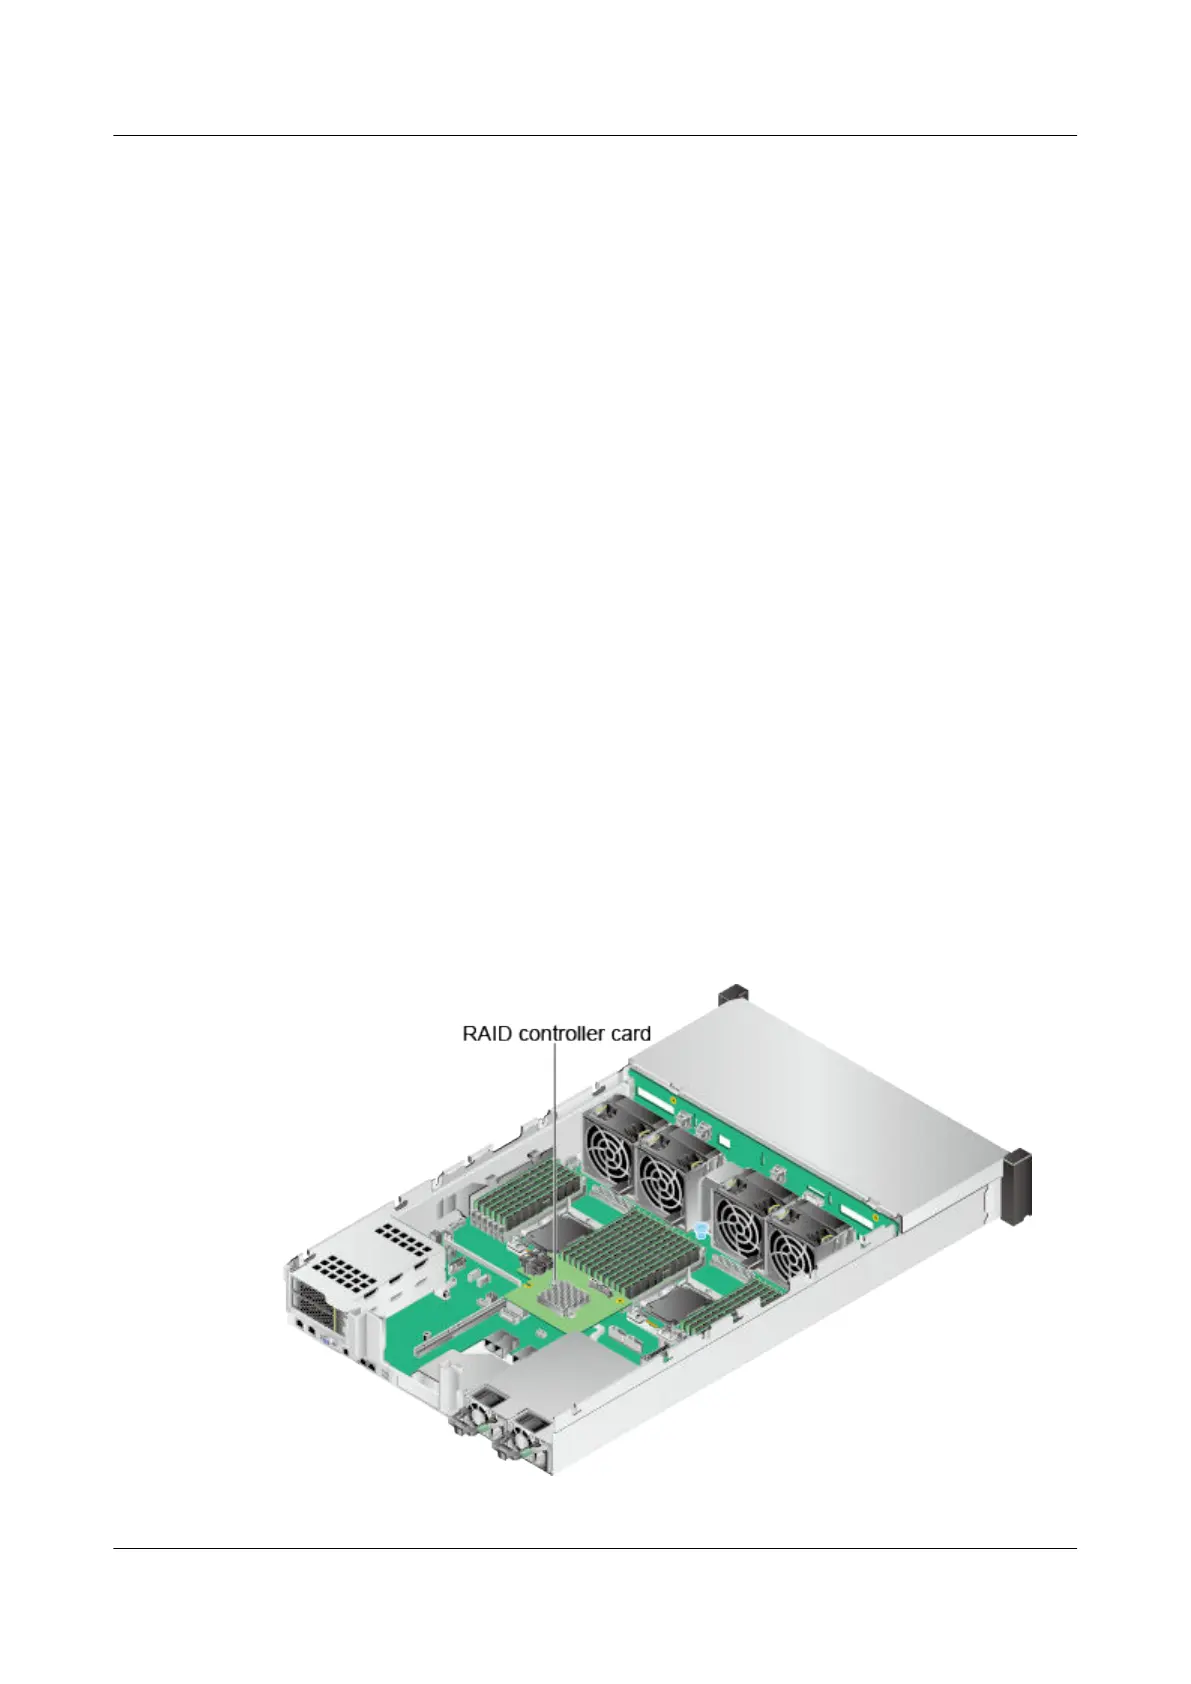
Step 9 Determine the position for installing the RAID controller card on the mainboard. See Figure
5-33.
Figure 5-33 Position of the RAID controller card
2288H V5 Server
User Guide
5 Optional Part Installation
Issue 04 (2018-09-04) Copyright © Huawei Technologies Co., Ltd. 140
 Loading...