4
RECEIVE AND TRANSMIT
4-3
Previous view
Operating CW
Select the desired frequency band. (p. 35) q
On the Mode selection screen, touch “CW” to select w
the CW mode.
• After the CW mode is selected, touch “CW” again to tog-
gle between CW and CW-R modes, if necessary.
Rotate the Dial to tune a desired signal. e
• The S-meter displays the received signal strength.
• The tuning step can be changed on the Tuning step se-
lection screen by touching “kHz frequency.” (p. 38)
Rotate [AF] r (L) to adjust the audio to a comfort-
able listening level.
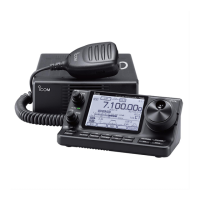
Set the Break-in operation to the semi break-in or full t
break-in mode.
• “BKIN,” “F-BKIN” or “OFF (no indication)” appears.
While the “M-3” menu is selected, touch [BK-IN](D)
once or twice to select the Break-in operation.
• BKIN : Semi break-in
• F-BKIN : Full break-in
• OFF : No break-in (ACC socket connection for TX
is necessary, as shown on page 22.)
If a microphone is connected, its PTT can be
used instead of the external TX switch.
If the Semi break-in operation is selected at step yt,
set the Break-in delay.
q While the “M-3” menu is selected, touch
[BK-IN](D) for 1 second to open the Break-in
delay adjustment window.
w Rotate the Dial to adjust the delay time.
• The adjustable delay time is between 2.0 and 13.0
dots.
Use the electric keyer or paddle to key your CW sig- u
nals.
• The TX/RX indicator lights red.
•
The Po meter indicates transmitted CW output power.
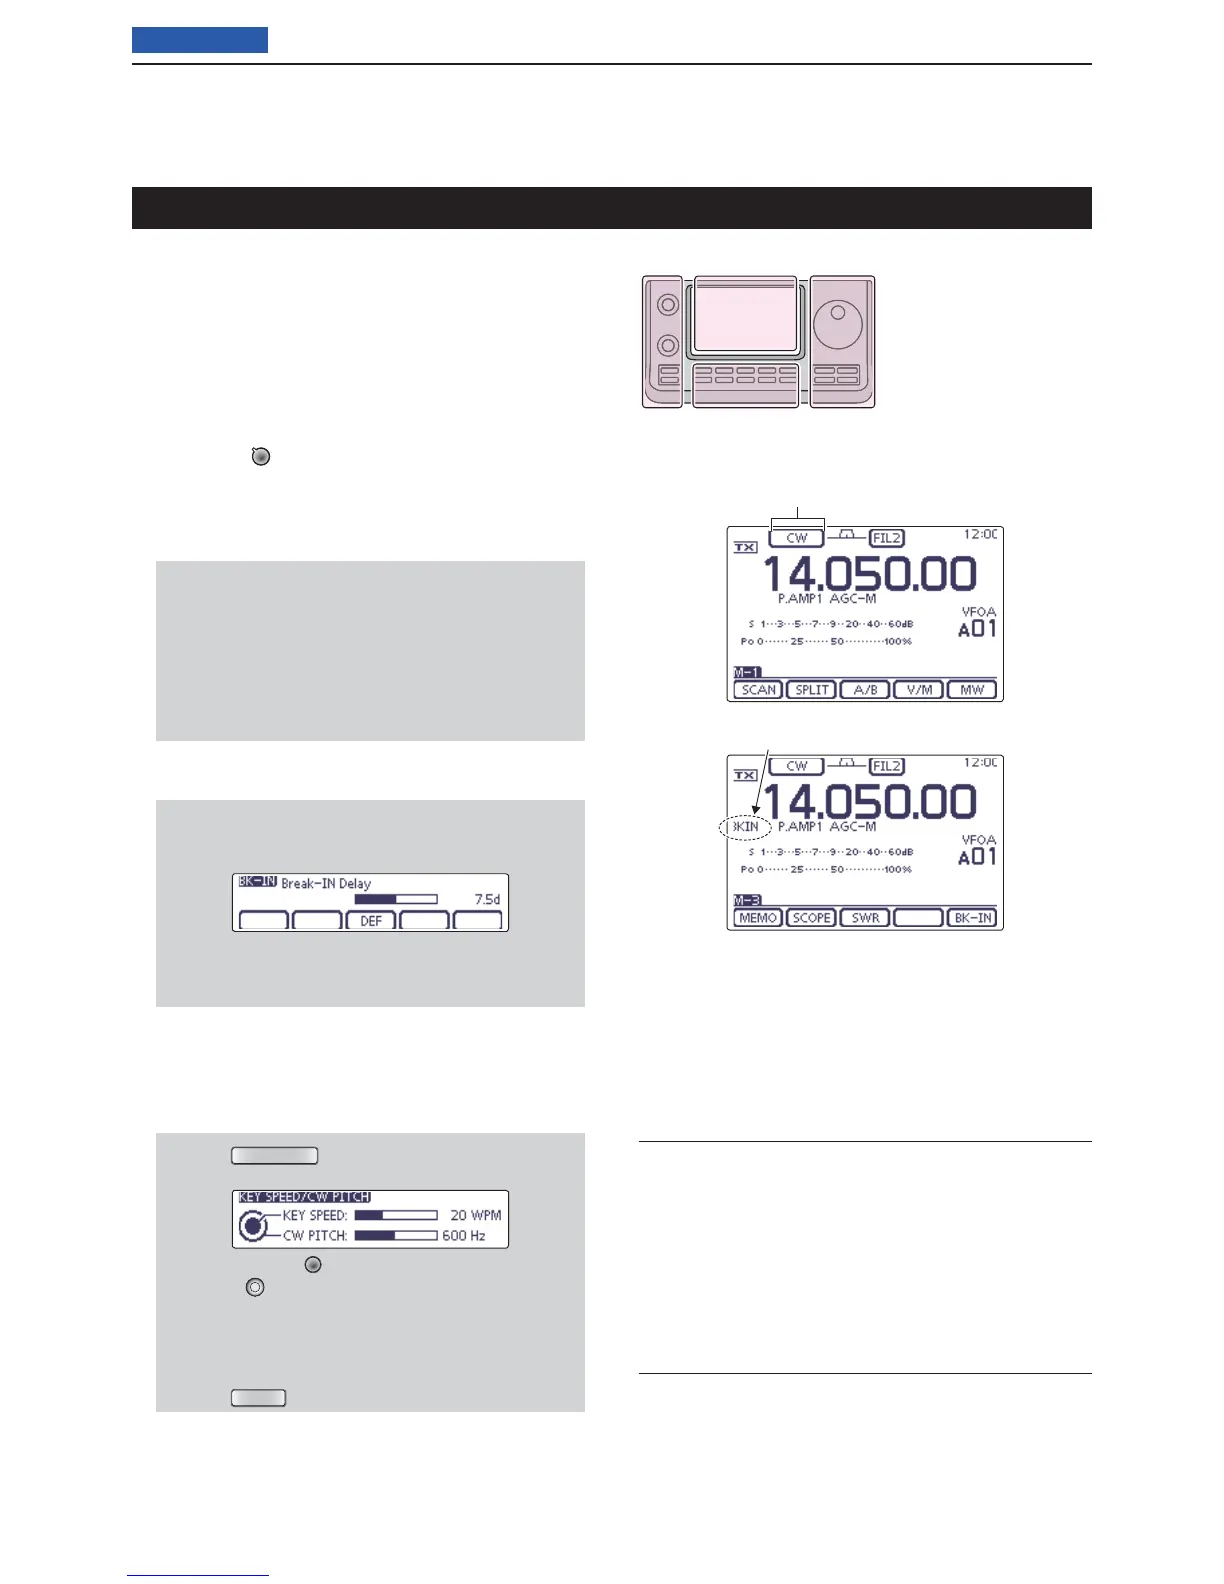
If desired, adjust the Key speed or CW pitch. i
q Push
(C) to open the Key speed/CW
pitch adjustment window.
w Rotate [M-CH] (L) to adjust the Key speed, or
[BANK]
(L) to the CW pitch.
• The adjustable key speed is between 6 and 48 wpm
(words per minute).
• The adjustable CW pitch is between 300 and 900
Hz.
e Push
(C) to close the window.
Stop keying to return to receive. o
Convenient Receive functions
• Preamp and attenuator (p. 71)
• Twin PBT (passband tuning) (p. 75)
• AGC (auto gain control) (p. 72)
• Noise blanker (p. 76)
• Noise reduction (p. 77)
• Manual Notch fi lter (p. 77)
• ¼ function (p. 39)
• CW pitch control (p. 49)
Convenient Transmit functions
• Break-in function (p. 79)
• Keying speed setting (p. 49)
• Memory keyer (p. 50)
The L, R, C or D in the
instructions indicate the
part of the controller.
L: Left side
R: Right side
C: Center bottom
D: Display (Touch panel)
L
eft
R
ight
C
enter
D
isplay
“CW” or “CW-R” appears
Semi break-in operation is selected
Appears
 Loading...