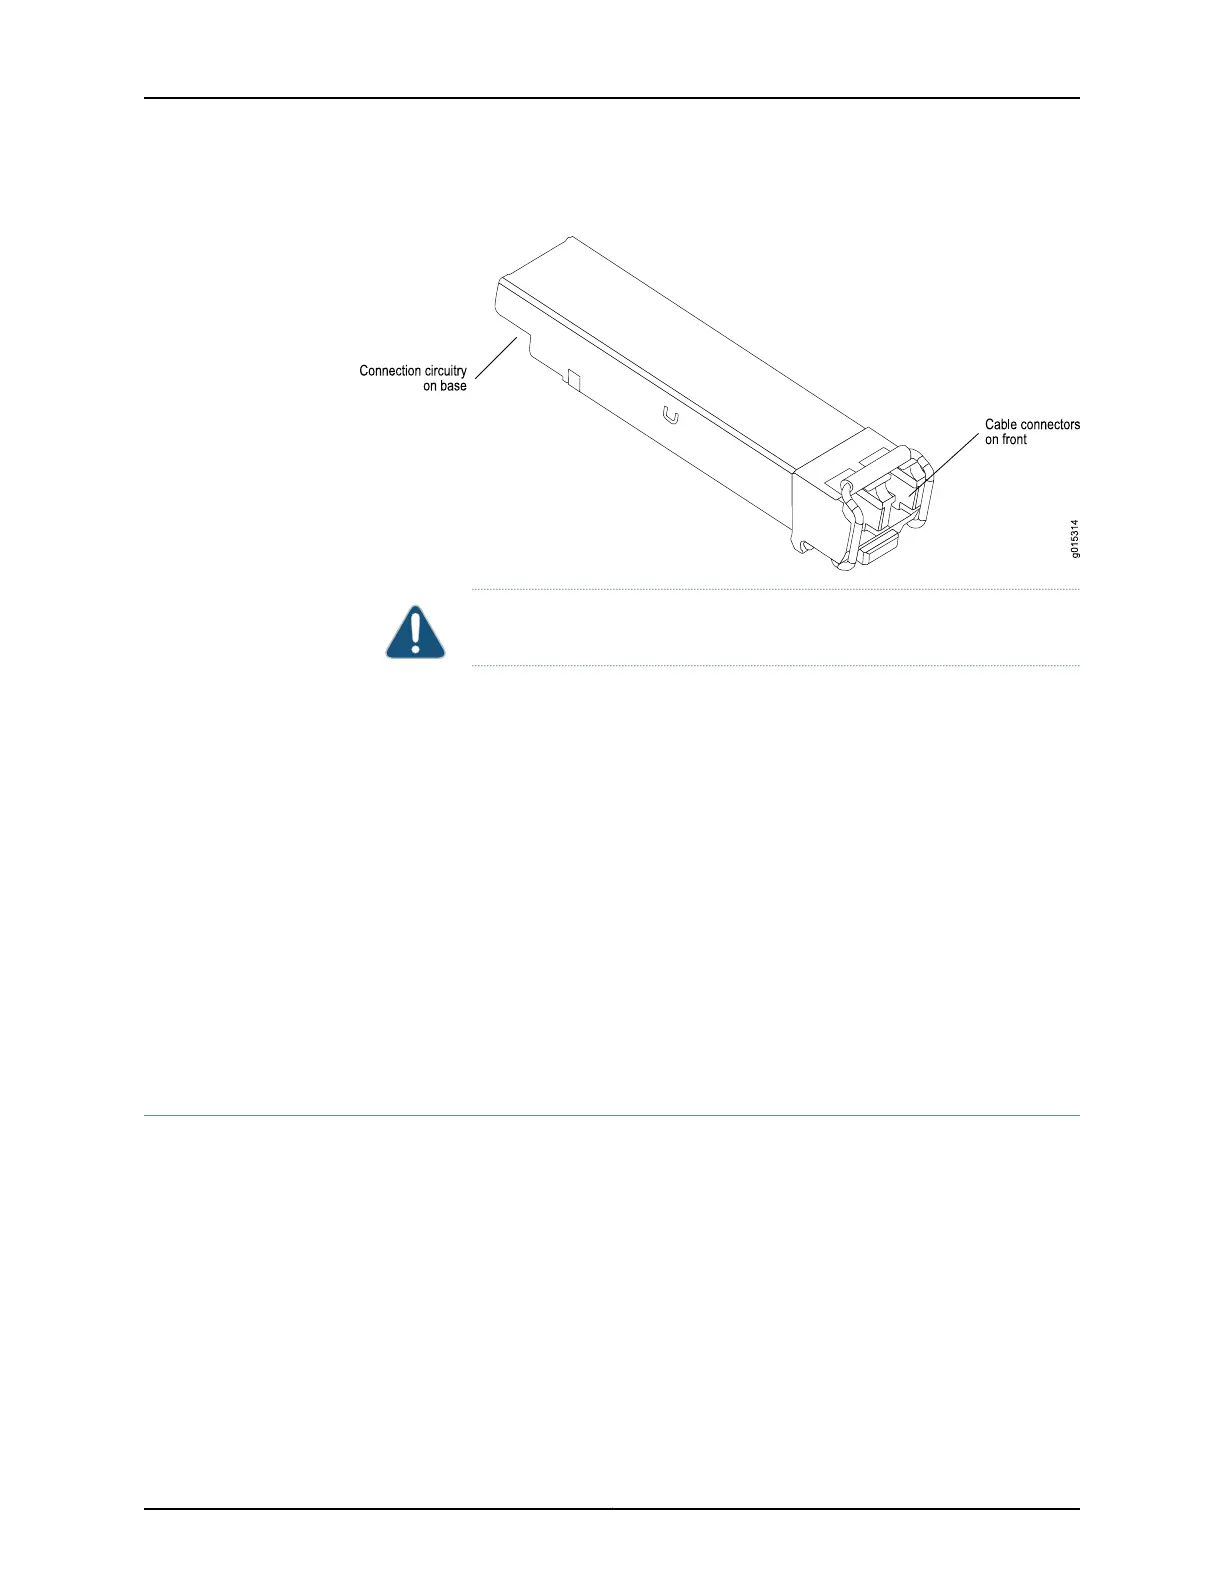
Figure 37: Representative SFP
CAUTION: Be sure to position the SFP correctly before you install it.
3. Hold the SFP so that:
•
The connection circuitry is adjacent to the module's faceplate.
•
The cable connectors are visible when you install the SFP.
4. Slide the SFP as far as you can into the module until the SFP clicks into place.
If the SFP does not slide smoothly into the module, make sure that the orientation of
the SFP is correct.
5. Gently pull the SFP to confirm that it is inserted correctly.
If the SFP comes out of the slot when you pull it, repeat Step 4.
6. Connect the new cables to the SFP.
Related
Documentation
Removing SFPs in a CTP2000 Module on page 96•
Removing SFPs in a CTP2000 Module
This section describes how to replace small form-factor pluggable transceivers (SFPs)
on interface modules that support these devices. You can replace the SFPs without
disabling the interfaces or removing the module from the device.
To remove an SFP:
1. Obtain an antistatic container for the SFP you plan to remove.
2. Ground yourself by using an antistatic wrist strap or other device, and connect it to
an ESD grounding jack.
3. Disconnect the cable from the SFP on the module.
Copyright © 2017, Juniper Networks, Inc.96
CTP2000 Hardware Documentation
 Loading...