Start-up
29
Pos: 12.35 /Übersc hriften/Überschri ften 2/A-E/BBeleuchtun g anschließen @ 33\mod_1 254385308979_78.d ocx @ 319105 @ 2 @ 1
5.8 Lighting connection
Pos: 12.36 /Abkürzun gen /Abkürzungen Beschr eibung/Optional @ 102\ mod_1331109267412_78. docx @ 902782 @ @ 1
optional
Pos: 12.37 /BA/Inbetr iebnahme/EasyCut/Be leuchtung/Ansc hluss Beleuchtung Bi ld EC F 280/320/360 / F 280/320/360 M @ 234\mod_139401598693 8_78.docx @ 1861754 @ @ 1
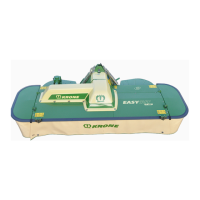
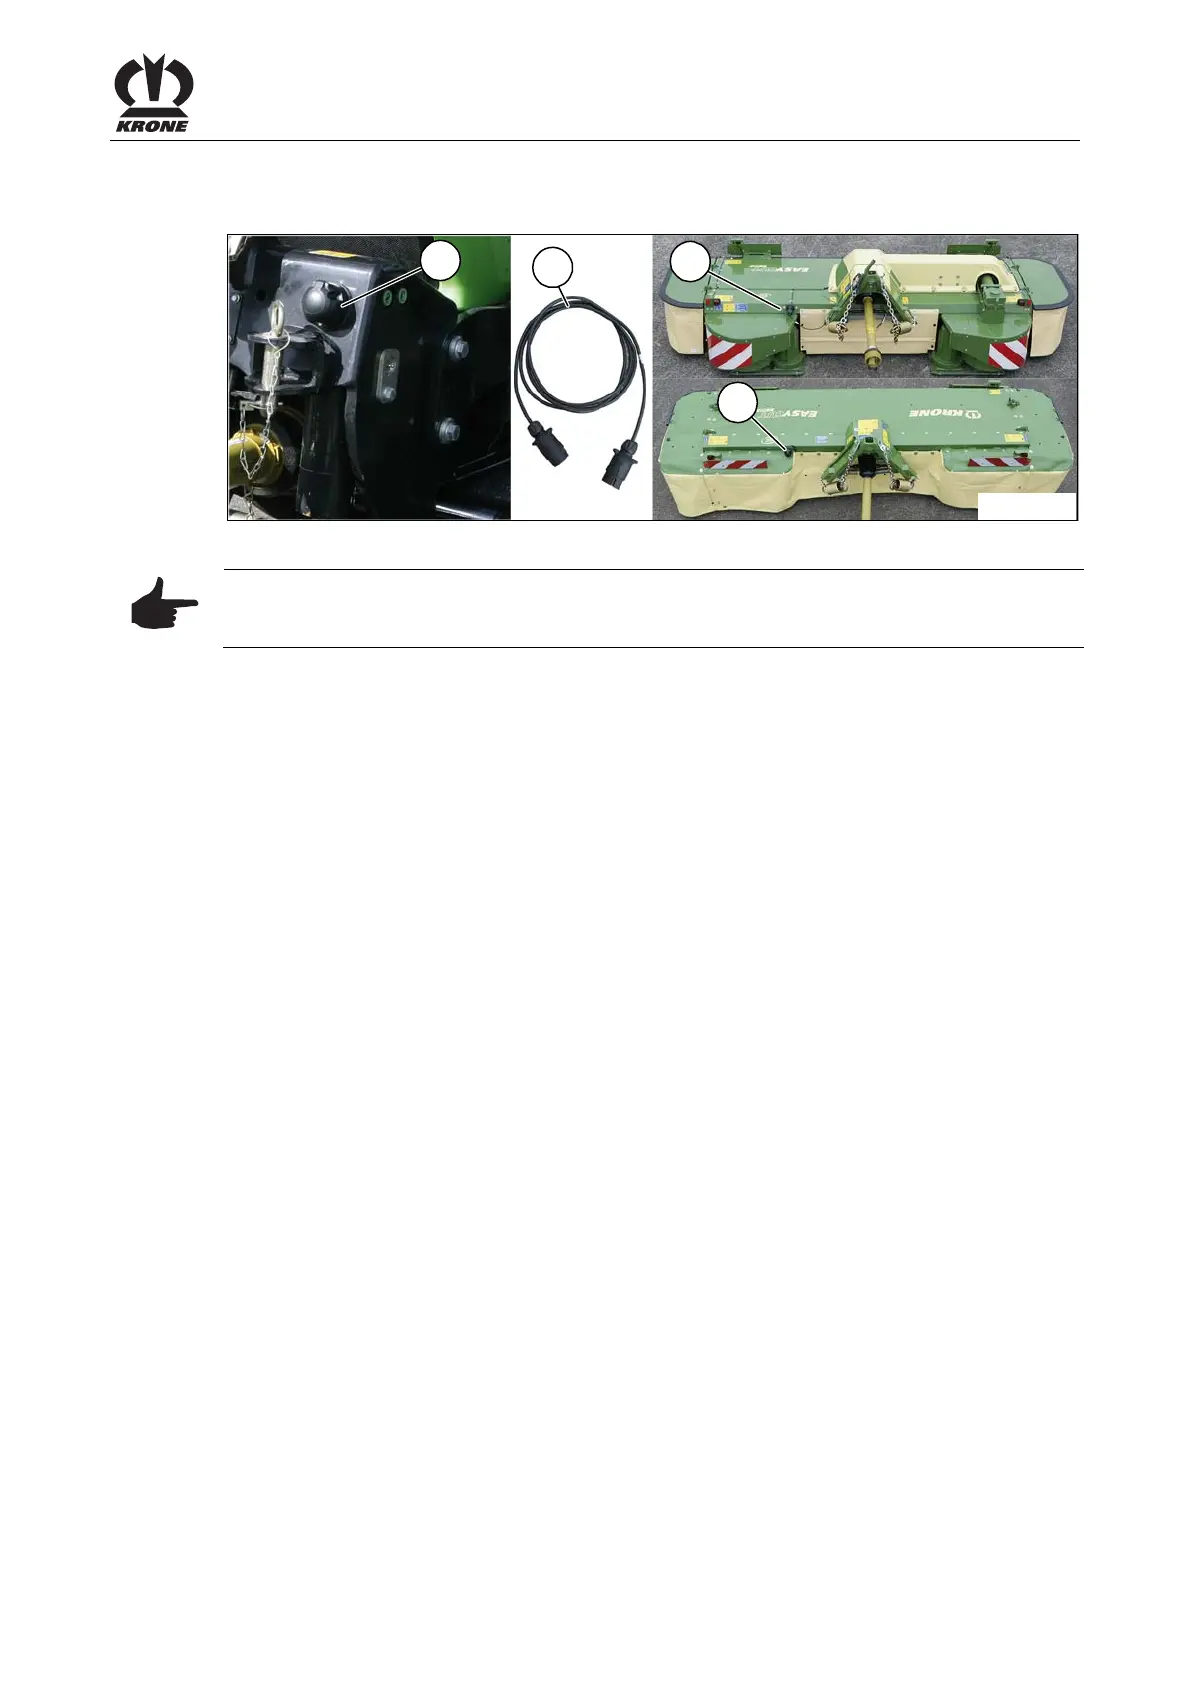
EC-470-0
2
1
3
3
Fig. 14
Pos: 12.38 /Layout Module /----------------Leerzeile 5 Pt.-------------------- @ 120\mod_134259291814 5_0.docx @ 1092566 @ @ 1
Pos: 12.39 /BA/Inbetr iebnahme/Schwader /Hinweis Sauberkei t der Stecker und Steckdose n @ 2\mod_1202399563131_7 8.docx @ 59273 @ @ 1
Note
Before inserting the plugs, make certain the plugs and sockets are clean and dry. Dirt and
moisture may result in short circuits!
Pos: 12.40 /BA/Inbetr iebnahme/Schwader /Anschluss Beleucht ung/Anschluss Beleuc htung Text @ 36\mod_1260 783798936_78.docx @ 3 36718 @ @ 1
The lighting system is connected via the 7-pin connection cable (1).
To do this:
• Insert the 7-pin plug of the connection cable (1) into the relevant socket (2) of the tractor.
• Insert the 7-pin connection cable plug (1) into the appropriate socket (3) of the machine.
• Position the cable so that it will not come in contact with the wheels.
Pos: 12.41 /Layout Module /---------------Seitenumbruch---------------- @ 0\mod_1196175311226_0. docx @ 4165 @ @ 1
 Loading...