231
8 CO/O
2
Control
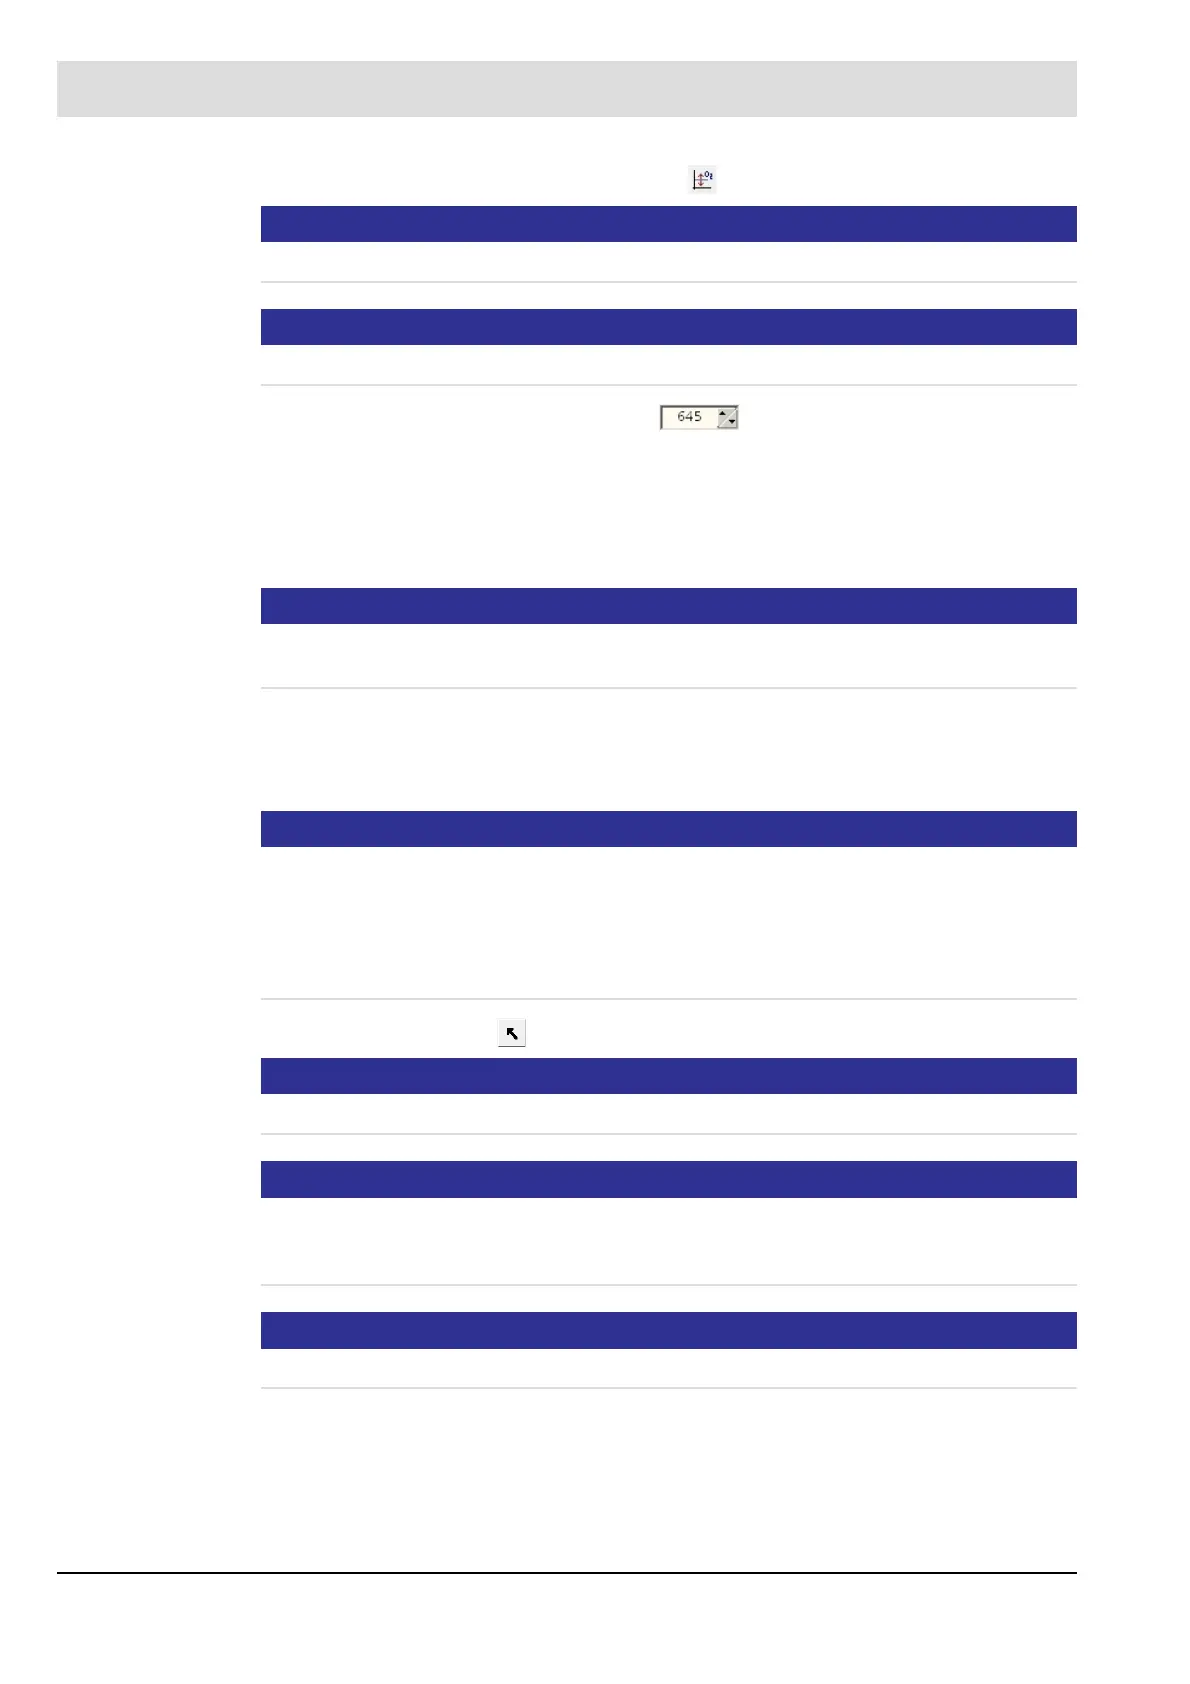
2. Click the button Button correction presetting .
NOTICE
999 = maximum correction in direction air deficiency.
NOTICE
Move slow!
3. Adjust the correction with the arrow keys .
4. Observe O
2
and CO
e
values.
5. Check that the combustion is stable. Are abnormal noises being heard?
If, for combustion reasons, it is not possible to approach 0,4 Vol.% O
2
, it is possible to in-
crease the O
2
switch-off value. (see chapter 8.10.5 CO Control: Start-up O2 Monitoring
Shut-off Limits).
NOTICE
Alternatively, the CO control can be limited depending on O
2
. (see chapter Optimising the CO
Control).
6. Set the correction input value back to a medium position (500).
7. Repeat the procedure on a medium firing rate position.
8. Repeat the procedure on the maximum firing rate position.
NOTICE
If the correction effect is too small at medium and maximum burner firing rate, the correction
effect can be adjusted firing rate-dependently by the correction effect.
Switch OFF the burner to adjust the correction shift.
The correction shift is set in access level 1.The correction shift is set in access level 1 and can
only be adjusted using the CMS Remote Software.
9. Click the button ’Back’ , to finish this procedure.
NOTICE
These settings are not saved. They are only used to check the correction range.
NOTICE
To activate the SETTING mode, the commissioning engineer must specify the firing-rate man-
ually. The analogue firing-rate input, regular firing rate input via LSB and manual specification
on the device are not taken into account.
NOTICE
The responsibility for the set burner efficiency passes to the commissioning engineer or user.
 Loading...