OPERATING PROCEDURES GRT655/655L OPERATOR MANUAL
4-56 Published 3-23-2020, Control # 654-04
Extending/Retracting the Outrigger Beams
NOTE: Refer to Setting the Outriggers, page 4-25 for
complete procedures to extend and retract the O/R
beams and jacks.
To extend or retract the O/R beams, perform the following
procedure:
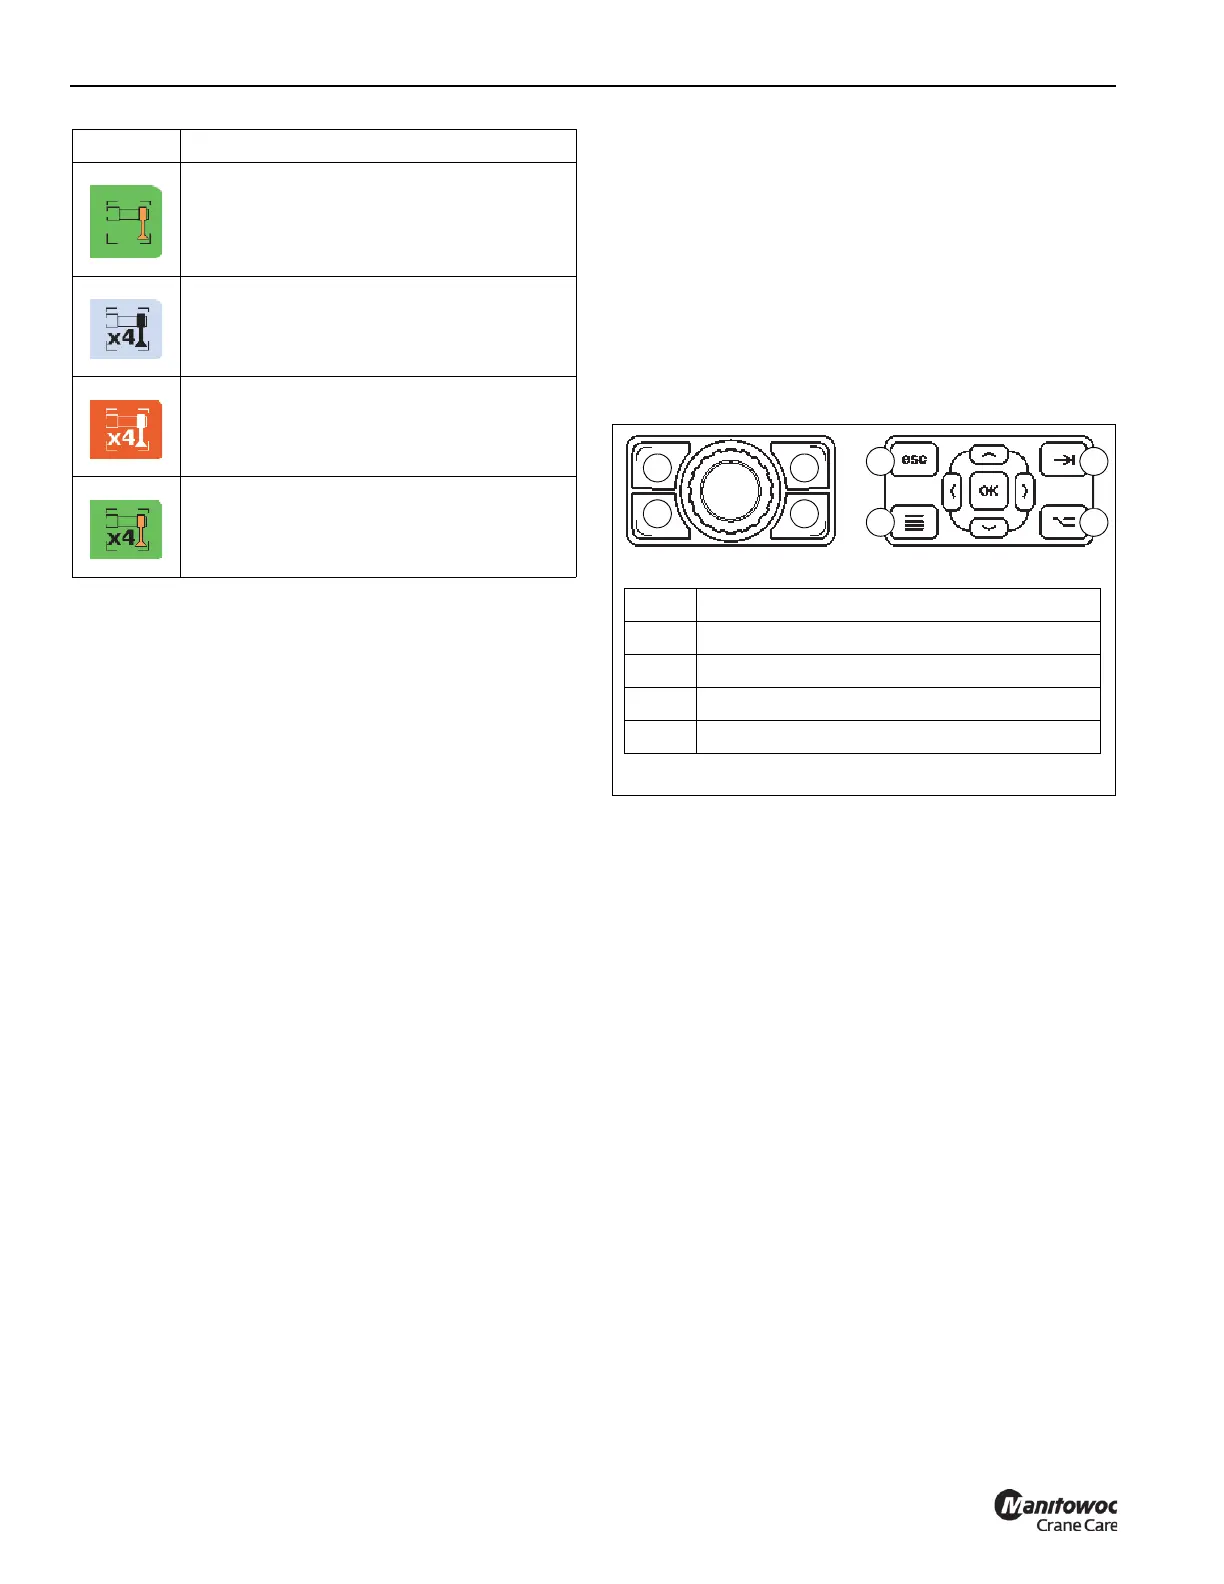
1. Using the Jog Dial, or the Arrow Buttons at the
Navigation Control Pad, select the O/R Beam icon
(Figure 4-24) (icon will turn orange when selected).
2. Press the Jog Dial, or the OK Button at the ODM, to
make the O/R Beam icon active (icon will turn green
when active).
3. To extend the O/R beams, position the Outrigger
Extend/Retract Switch (refer to Outrigger
Extend/Retract Switch, page 3-12) to the extend
position, then press and hold any or all of the four
buttons at the Jog Dial or the Navigation Control Pad
(Figure 4-25).
To retract the O/R beams, position the Outrigger
Extend/Retract Switch to the retract position, then press
and hold any or all of the four buttons at the Jog Dial or
the Navigation Control Pad.
NOTE: The O/R beam positions correspond to the four
buttons at the Jog Dial and the ODM Navigation
Control Pad (Figure 4-25 and Figure 4-26).
When a button at the Jog Dial or Navigation Control Pad is
pressed and held, the corresponding O/R beam image turns
orange to indicate that it is active. An arrow appears to
indicate whether the beam is extending or retracting. The
following example (Figure 4-26) shows the Left-Front O/R
beam is extending or retracting:
O/R Jacks icon - active
O/R Jacks x4 icon - not selected
O/R Jack x4 icon - selected
O/R Jack x4 icon - active
Icon Description
FIGURE 4-25
1 2
3 4
Item Description
1 Left-Front Beam
2 Right-Front Beam
3 Left-Rear Beam
4 Right-Rear Beam
1
3
2
4

 Loading...


