21
TM
WARNING!
• To avoid injury and damage to the saw, transport and store the mitre saw
with the cutting head locked in the down position. Never use the stop
latch to hold the cutting head in a down position for cutting operations.
• Do not use this saw to cut and/or sand metals. The hot chips or sparks
may ignite sawdust from the bag material.
ASSEMBLY INSTRUCTIONS
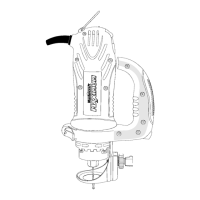
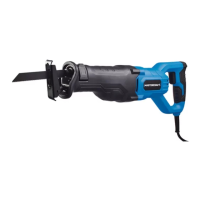
CUTTING HEAD (Fig. 1)
Raising
• Push down slightly on the switch handle (1).
• Pull out the stop latch knob (2).
• Allow the cutting head to rise to the up
position.
Locking
When transporting or storing the mitre saw, the
cutting head should always be locked in the
down position.
•
Push the cutting head down to its lowest
position.
• Push the stop latch knob (2) into the locking
hole.
IMPORTANT: To avoid damage, never carry the
mitre saw by the trigger switch handle or the
cutting arm.
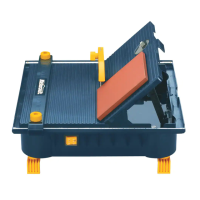
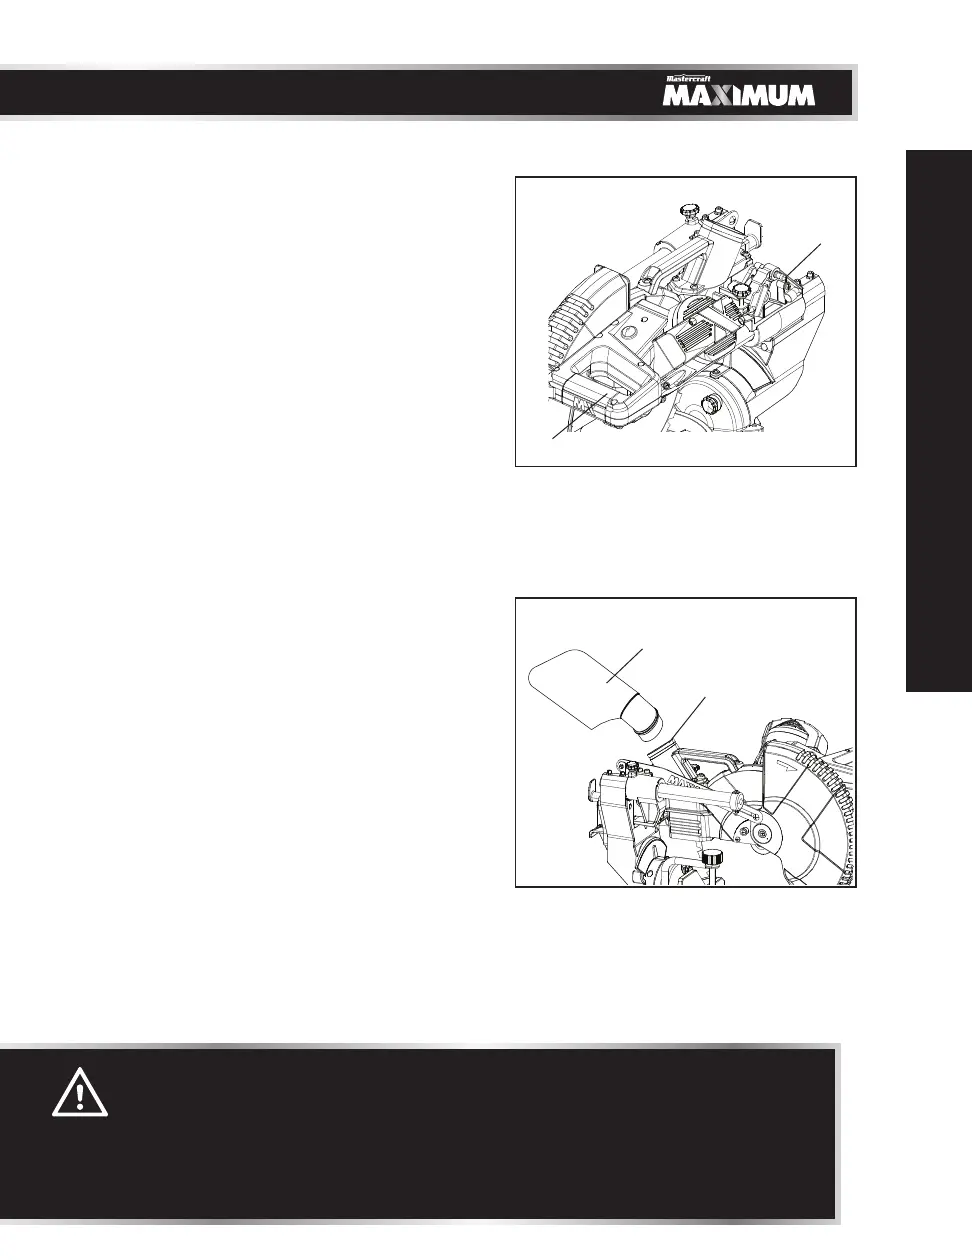
INSTALLING THE DUST BAG (Fig. 2)
• Install the dust bag assembly (1) onto the
exhaust port (2) on the mitre saw. Fit the
connecting tube of dust bag assembly and
the exhaust port together.
NOTE: The dust bag assembly should be angled
towards the right side of the saw for best
results. This will also avoid any interference
during the saw operation.
NOTE: To empty the dust bag, pull out the dust
bag assembly from the exhaust port. Open
zipper on underside of bag and empty into
waste container.
IMPORTANT: Check frequently and empty bag
before it gets full.
Fig. 1
2
1
Fig. 2
1
2
ASSEMBLY

 Loading...