25
TM
ASSEMBLY
WARNING:
• To avoid injury, never use the saw without the cover plate secure in
place. It keeps the arbour bolt from falling out if it accidentally loosens,
and helps prevent the spinning blade from coming off the saw.
• Make sure the collars are clean and properly arranged. Lower the blade
into the table and check for any contact with the metal base or the saw
table.
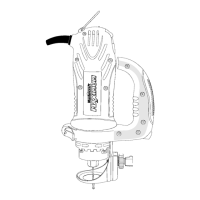
• Rotate the cover plate (3) and lower blade
guard (1) back to its original position.
(Fig. 7)
• Lower the blade guard and replace the
cover plate screw (2) and tighten with a
star-head screwdriver. (Fig 7)
• Pull the main handle down and up several
times to confirm the lower blade guard
operates without binding.
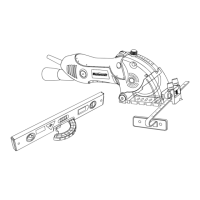
• Be sure the arbour lock button (5) is
released so the blade turns freely. (Fig. 8)
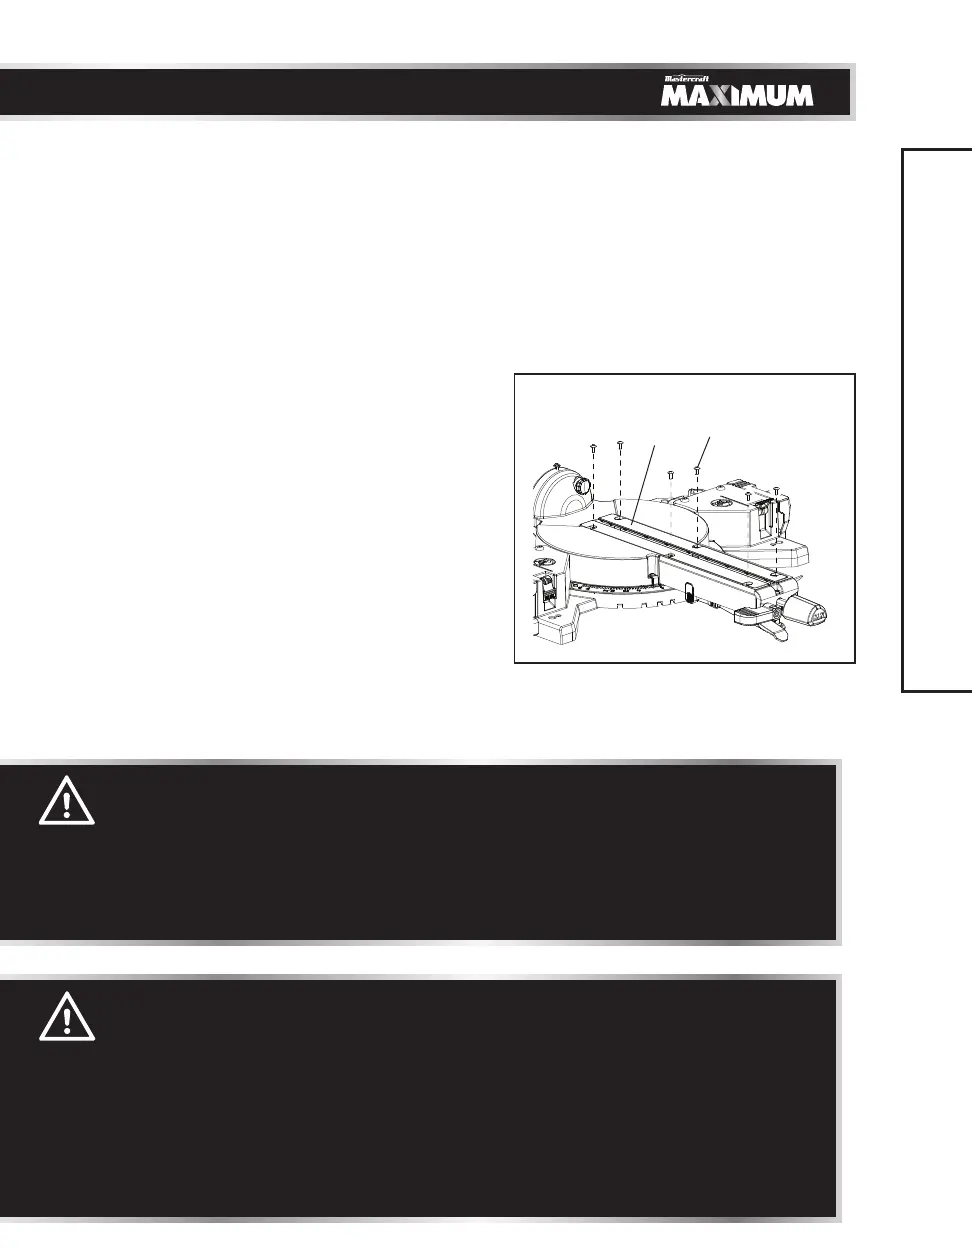
REMOVING AND INSTALLING THE TABLE
INSERTS (Fig. 10)
• To remove, loosen and remove the six
screws (1) on the table inserts (2) with a
star-head screwdriver and remove the
inserts.
• To install, reposition the table inserts, install
the six screws and tighten.
• Check for blade clearance by moving the
slide carriage through the full motion of the
blade in the table slot.
WARNING:
To avoid injury:
• Always unplug the saw to avoid accidental starting. Remove all small
pieces of material from the table cavity before performing any cuts. The
table insert may be removed for this purpose, but always reattach the
table insert prior to performing a cutting operation.
• Do not start the sliding compound mitre saw without checking for
interference between the blade and table insert. Damage could result
to the blade, table insert or turntable if blade strike occurs during the
cutting operation.
Fig. 10
1
2

 Loading...