Probes and Biopsy 13-27
Adjust the guide line position
Rotate the knob under [Position] on the touch screen to change the position of the
guide line.
Adjust the angle
Rotate the knob under [Angle] on the touch screen to change the guide line angle.
Save the verified settings
After the position and angle of the guide line are adjusted, tap [Save] and the system
saves the current guide line settings. If biopsy is entered again, the displayed
Position and Angle are the verified value.
Restore the factory default settings
Tap [Load Factory] and the position and angle of the guide line are restored to the
factory default settings.
Exit biopsy verify status
Tap [Exit] and the system exits the guide line verification status.
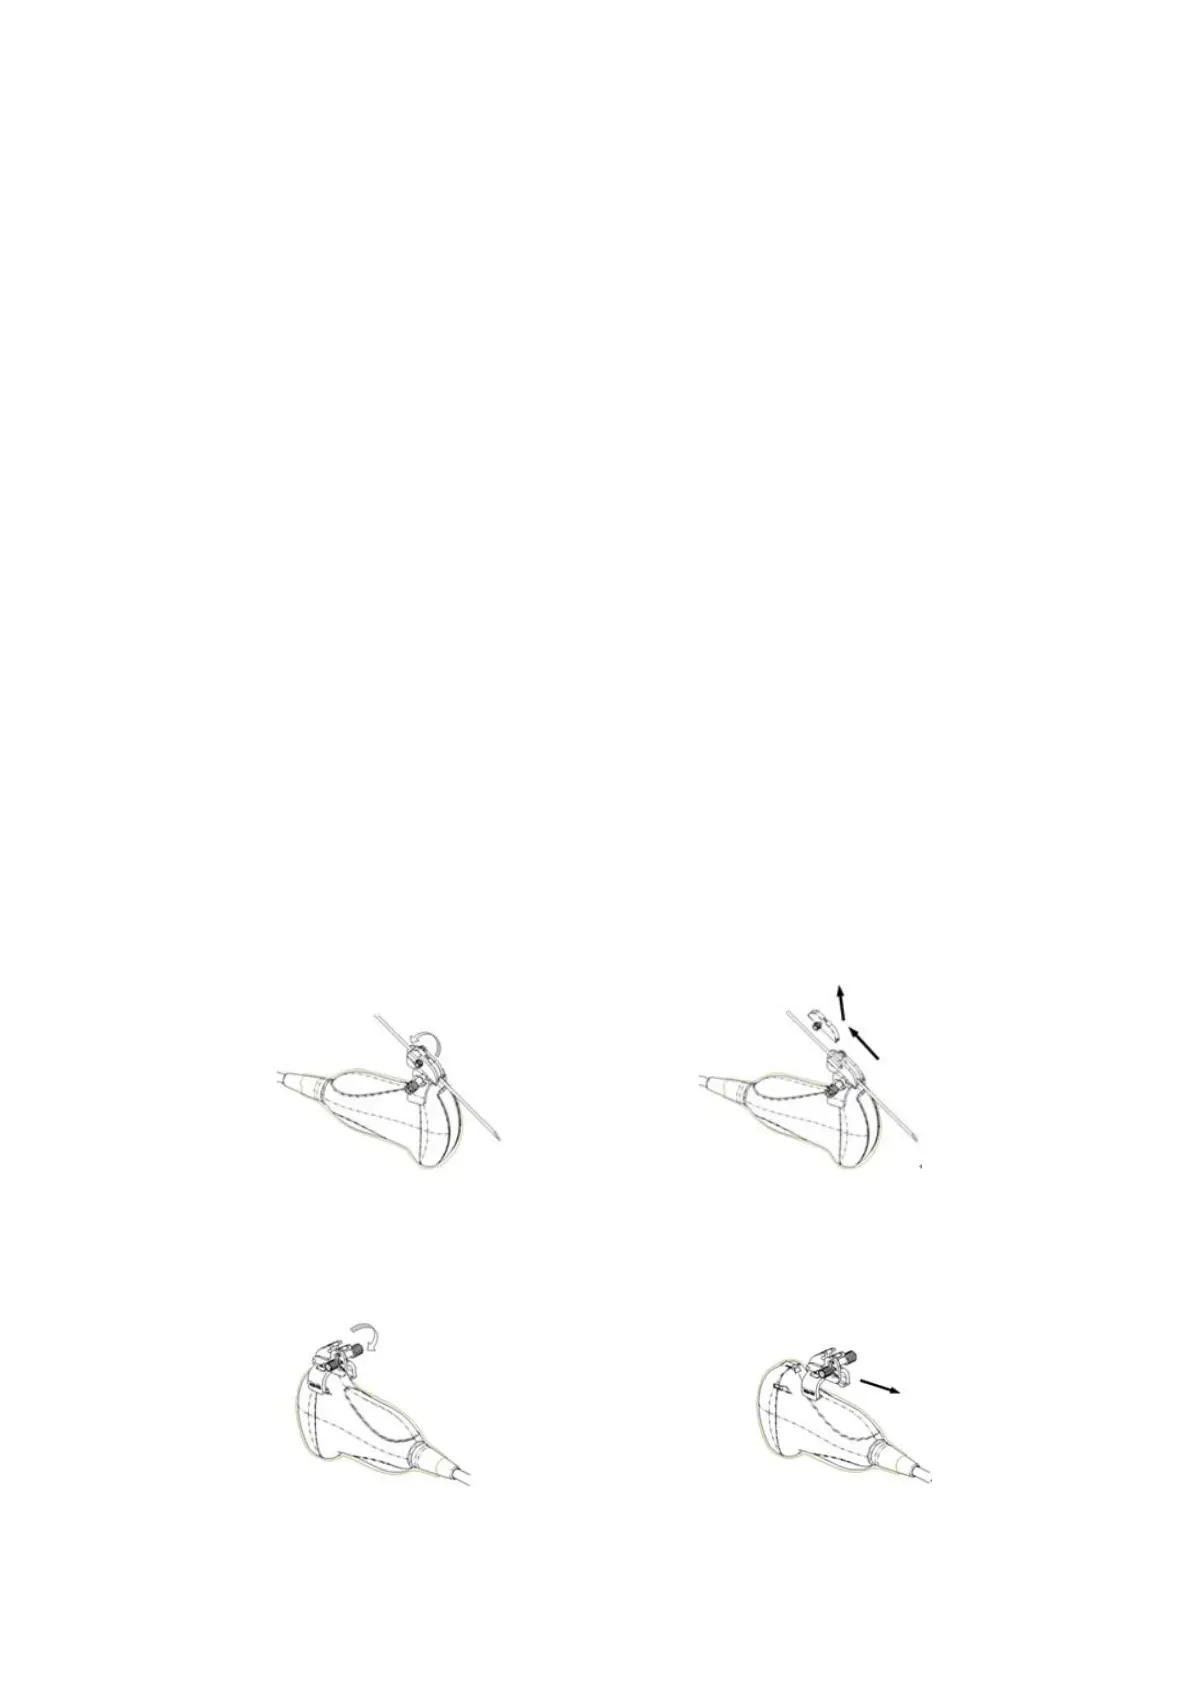
13.2.5 Removing the Needle-guided Bracket
NGB-004
Hold the probe in the left hand, unscrew the locking nut with the right hand to open
the retaining clamp, and then raise the needle-guided bracket to separate the
locating bulge from the locating grooves.
NGB-005
Hold the probe and the needle-guided bracket; open the grip knob of the needle-
guided bracket.
NGB-006
Metal needle-guided bracket:
(1) Screw out the nut on the guiding block to loose the guiding block and the needle-
guided bracket.
(2) Take the guiding block away in the direction of the needle tail, and then separate
the needle from the transducer and the residual parts of the needle-guided
bracket.
(3) Screw out the locking nut on the needle-guided bracket to loose the bracket with
the transducer.
 Loading...


