Probes and Biopsy 12-21
12.2.6 Verify Biopsy Guide Line
Prior to each biopsy procedure, be sure to verify the guide
line.
If the needle is not consistent with the guide line, DO NOT
perform the biopsy procedure.
You can perform guide line verification on a single live B image only, and
all biopsy-irrelevant operations are forbidden.
For bi-planar probe applied biopsy, the verification is performed on the first
guide line, the other guide lines can move together with the first one in
parallel.
1. Confirm that the needle-guided bracket has been installed securely in the correct position.
2. Prepare a container filled with sterile water.
3. Place the head of the transducer in the sterile water, and get a biopsy needle into the
needle guide.
4. When the biopsy needle appears on the image, please adjust the parameters of the
menu on the screen to make the biopsy needle is displayed at almost the same position
as the selected needle mark.
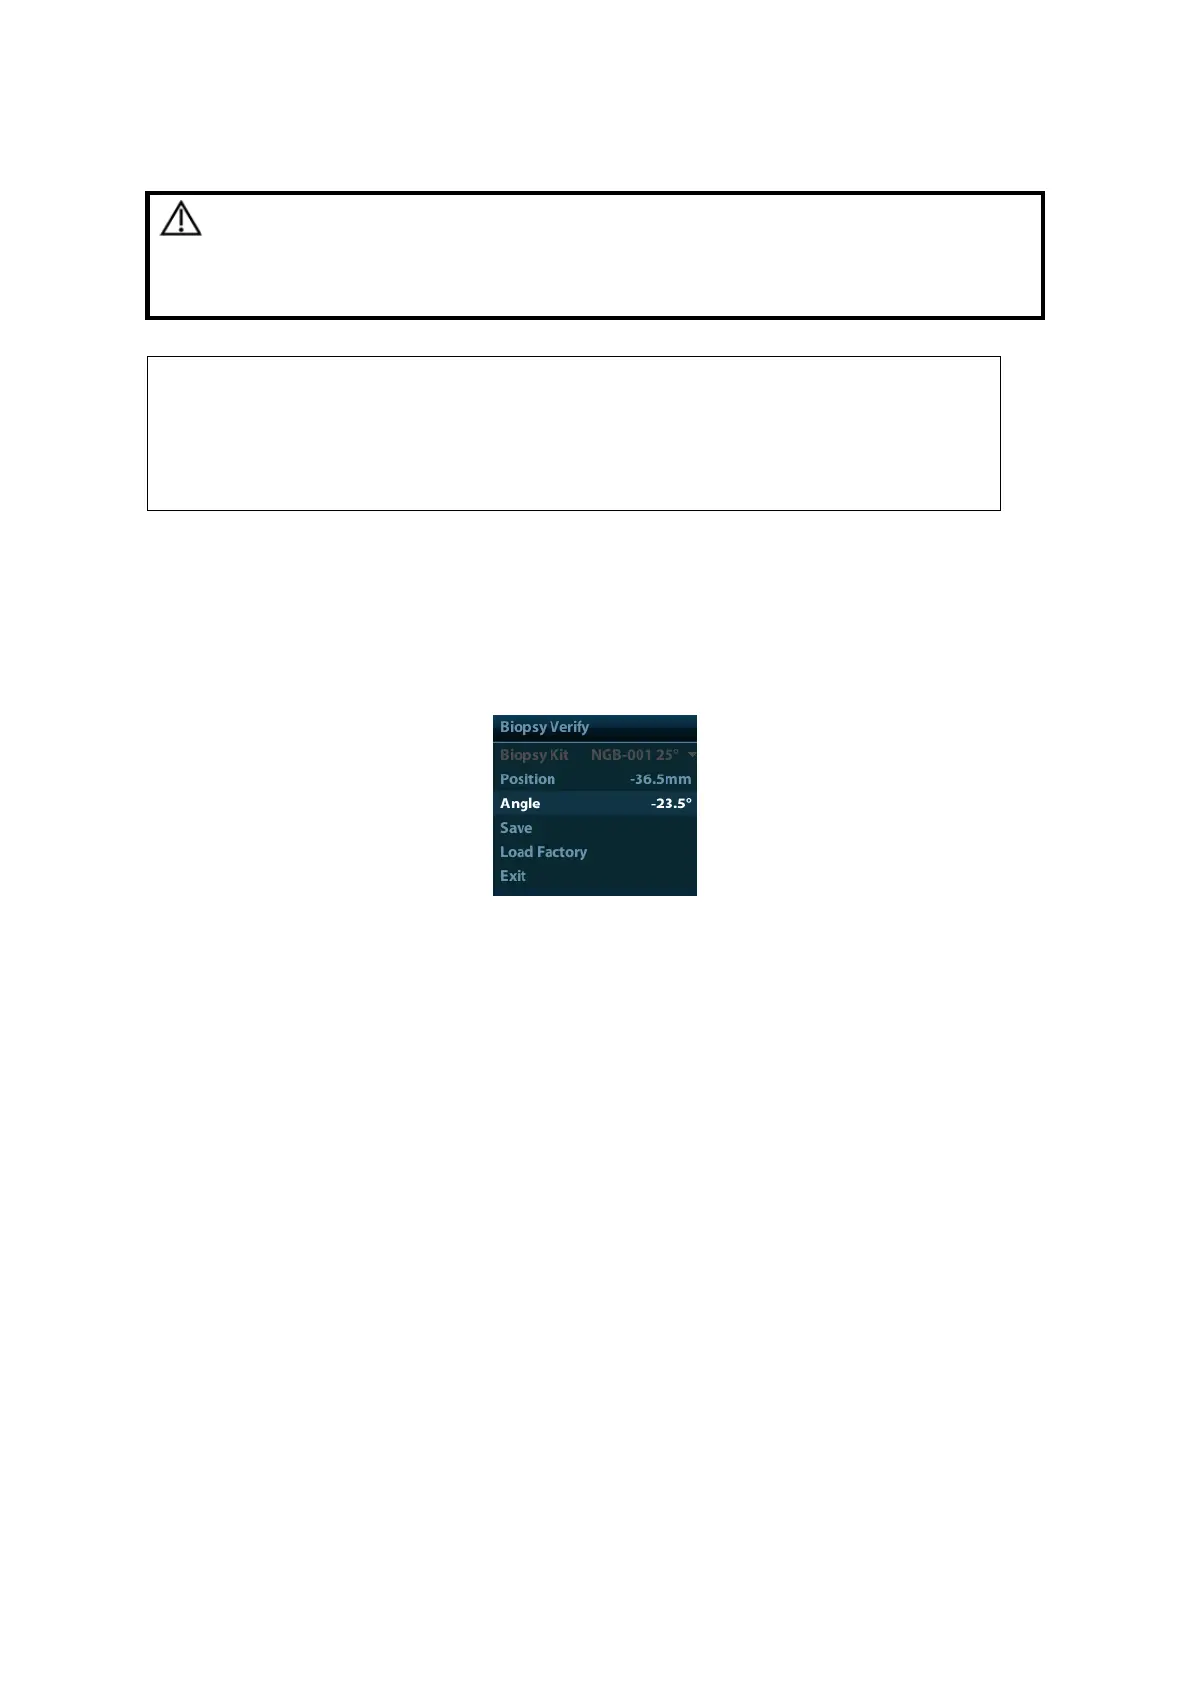
Adjust guide line position
Move the cursor onto [Position], press <Set> key to move it linearly, or press and
rotate the multifunctional-knob. This is operative when there is only one guide line
displayed.
Adjust angle
Move the cursor onto [Angle], press <Set> key to change the guide line angle, or
press and rotate the multifunctional-knob. This is operative when there is only one
guide line displayed.
Save verified settings
After the position and angle of the guide line are adjusted, click [Save], and the
system will save the current settings of the guide line. When enter biopsy again, the
displayed Position and Angle are the verified value.
Restore the factory default settings
Click [Load Factory], and the position and angle of the guide line will be restored to
the factory default settings.
Exit the biopsy verify status
Click [Exit], and the system will exit the verification status of the guide line.
 Loading...