Mercury 310 Automated Gate System
Installation and Programming Manual
1616
5: ACBOX310 INSTALLATION
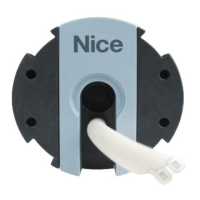
Install Mounting Feet to Control Box
MOUNTING
FOOT (4 PLCS)
SCREW 10x3/8
(4 PLCS)
REAR VIEW
DETAIL A
DETAIL B
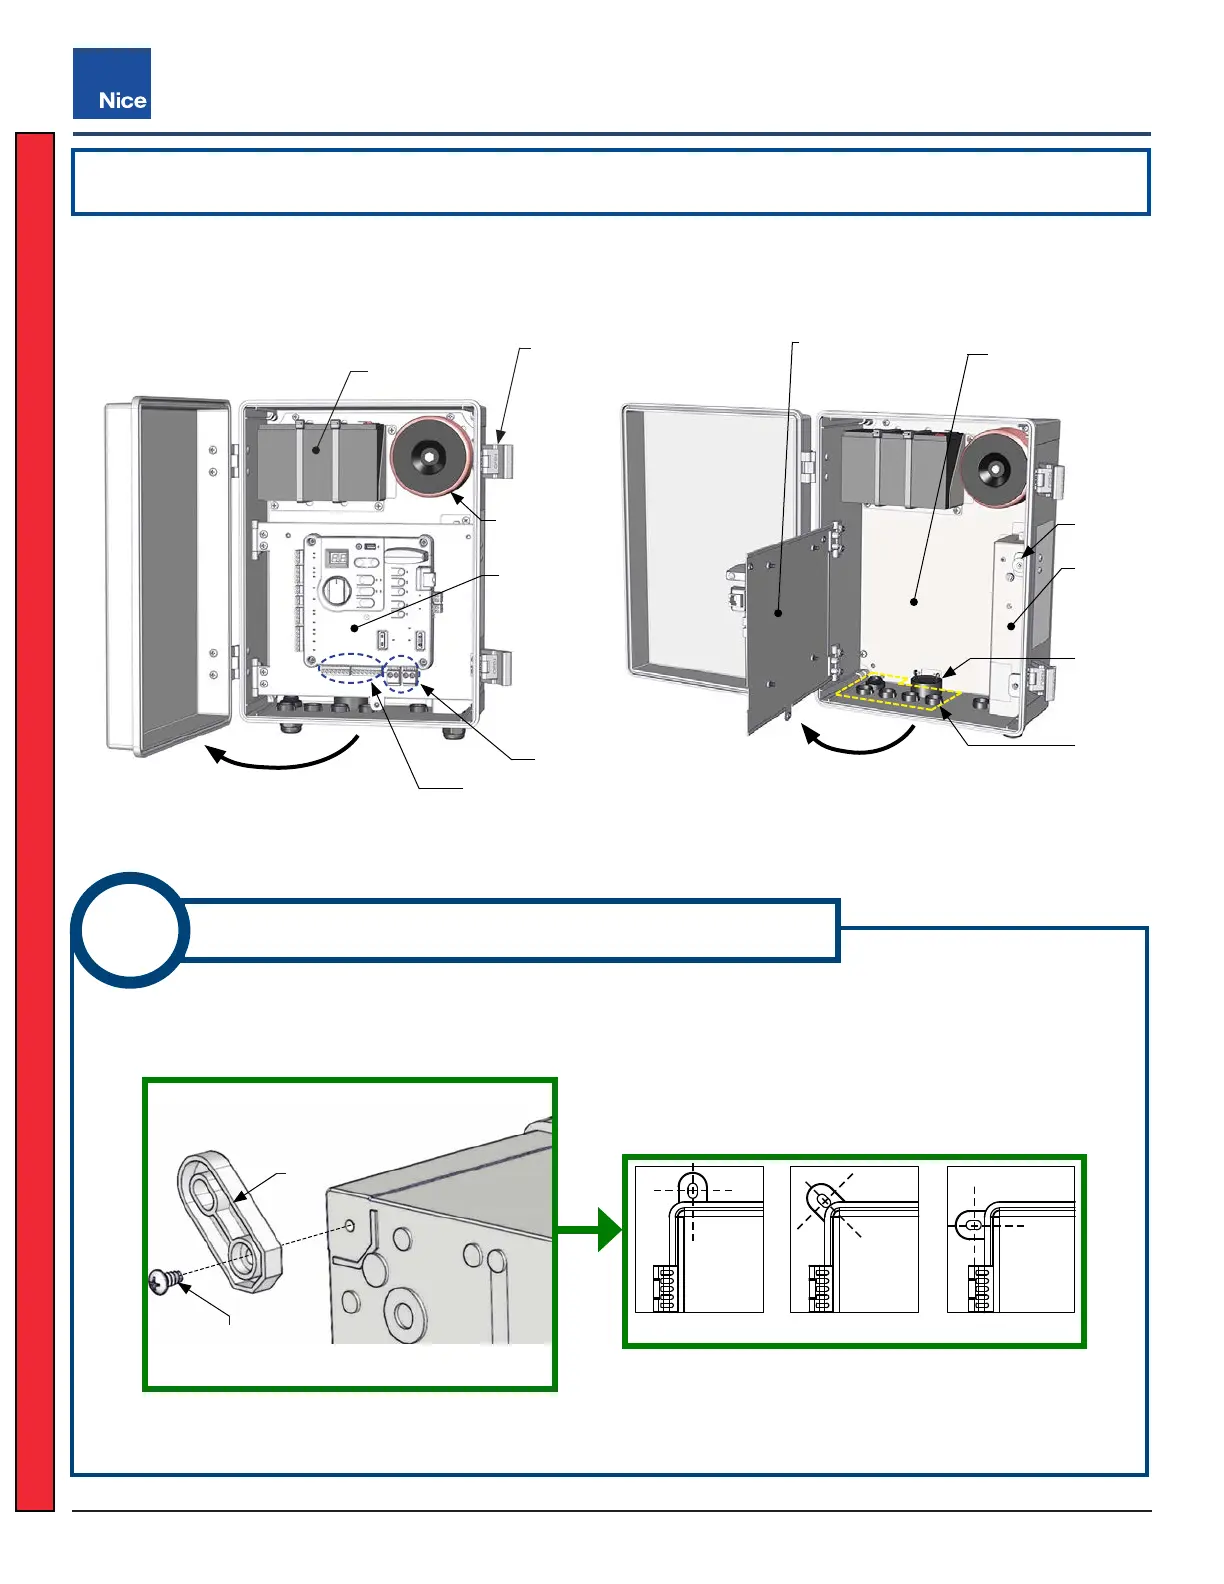
Secure each of the four mounting feet to the control box rear corners using the #10x3/8 inch screws (DETAIL
A). Install at one of three preferred angles (DETAIL B).
Mounting Feet Installation
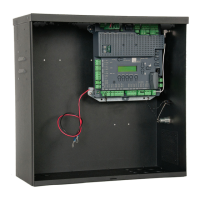
COVER OPEN
PANEL OPEN
Release Latches
(x2) to Open
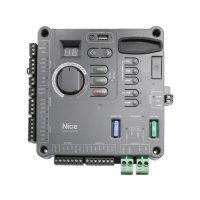
Mercury 310
Controller
Transformer
Power Inputs
Linear Actuator Connections
Accessory
Mounting Area
Controller Panel
Battery
AC-DC
Power
Supply
Magnet
Audio
Alarm
Cable &
Wire
Conduits
To open the front cover, unlatch the two door fasteners and swing to the left. To open the internal panel to
access the accessory mounting area and power supply, grip and pull at top of controller panel to disengage it
from the magnet, then swing panel to left (see image below).
ACBOX310 Interior Features
1
ACBOX310
www.ApolloGateOpeners.com | (800) 878-7829 | Sales@ApolloGateOpeners.com
 Loading...