E9480UD_EN.qx3 04.7.22 8:26 PM Page 28 <)
28 TV Channel Programming
Although the Recorder selects available TV channels during Initial Setup,
you may want to repeat the process later if more channels become avail-
able in your area.This will erase and replace all previously stored channels.
To update the available channels, follow these steps.
_* Make sure the Recorder is in DVD mode, Press DVD so the DVD light
appears on the front of the Recorden
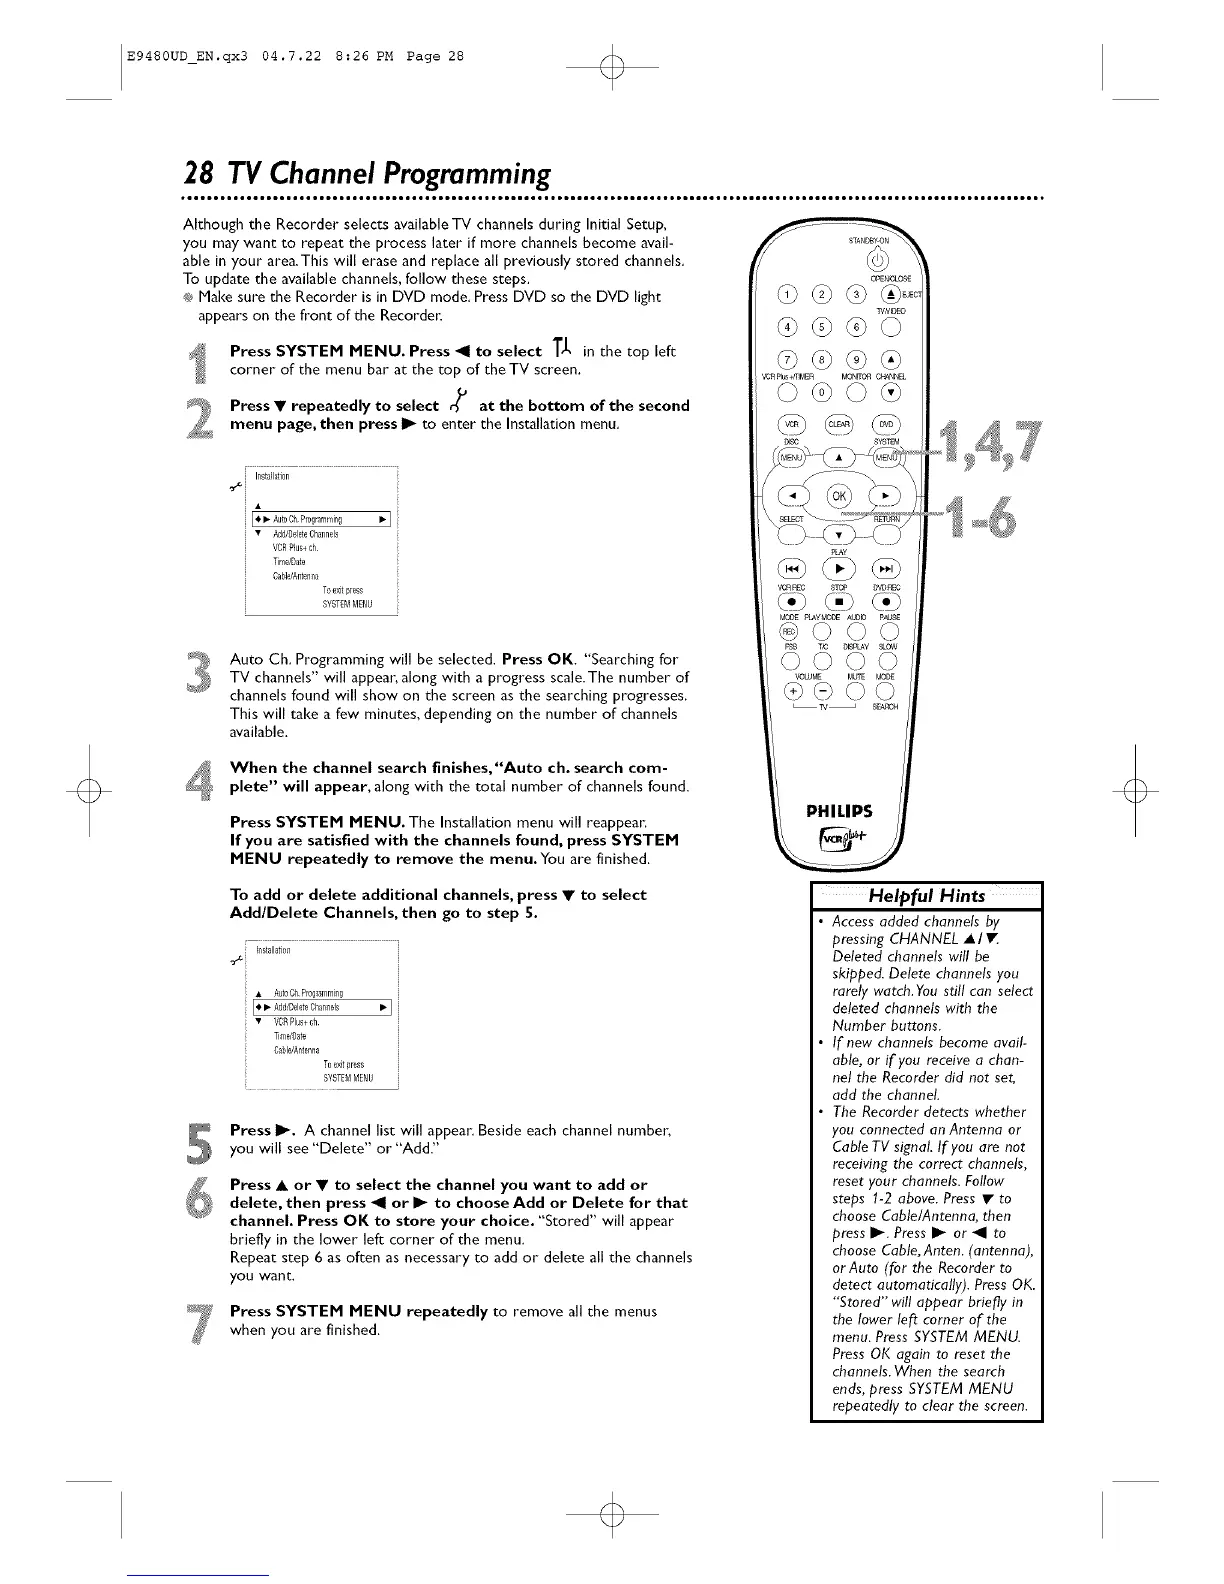
Press SYSTEM MENU. Press _II to select T_, in the top left
corner of the menu bar at the top of the TV screen,
Press • repeatedly to select o/is at the bottom of the second
menu page, then press II_ to enter the Installation menu.
i Install_i0n
o>i
• Add/DeleteChannels
VORPlus+ ch
Time/D&te
OaNe/Antenll_
To_xii press
SYSTEMMEf_Lf
Auto Ch. Programming will be selected. Press OK. "Searching for
TV channels" will appean along with a progress scale.The number of
channels found will show on the screen as the searching progresses.
This will take a few minutes, depending on the number of channels
available.
When the channel search finishes,"Auto ch. search com-
plete" will appear, along with the total number of channels found.
Press SYSTEM MENU. The Installation menu will reappean
If you are satisfied with the channels found, press SYSTEM
MENU repeatedly to remove the menu, You are finished,
PHILIPS
To add or delete additional channels, press • to select
Add/Delete Channels, then go to step 5.
i Installation
• Aut0CII Pr0glalnmillg
Press I_. A channel list will appea_: Beside each channel numbe_;
you will see "Delete" or "Add."
Press • or • to select the channel you want to add or
delete, then press _1 or I1_ to choose Add or Delete for that
channel. Press OK to store your choice. "Stored" will appear
briefly in the lower left corner of the menu.
Repeat step 6 as often as necessary to add or delete all the channels
you want,
Press SYSTEM MENU repeatedly to remove all the menus
when you are finished,
Helpful Hints
• Access added channels by
pressing CHANNEL • I •
Deleted channels will be
skipped. Delete channels you
rarely watch. You still can select
deleted channels with the
Number buttons.
• If new channels become avail-
able, or if you receive a chan-
nel the Recorder did not set,
add the channel.
• The Recorder detects whether
you connected an Antenna or
Cable TV signal If you are not
receiving the correct channels,
reset your channels. Follow
steps 1-2 above. Press • to
choose Cable/Antenna, then
press I_. Press I_ or _1 to
choose Cable, Anten. (antenna),
or Auto (for the Recorder to
detect automatically). Press OK.
"Stored" will appear briefly in
the lower left corner of the
menu. Press SYSTEM MENU.
Press OK again to reset the
channels. When the search
ends, press SYSTEM MENU
repeatedly to clear the screen.
 Loading...