56
EN
ATYSt - 541995C - SOCOMEC
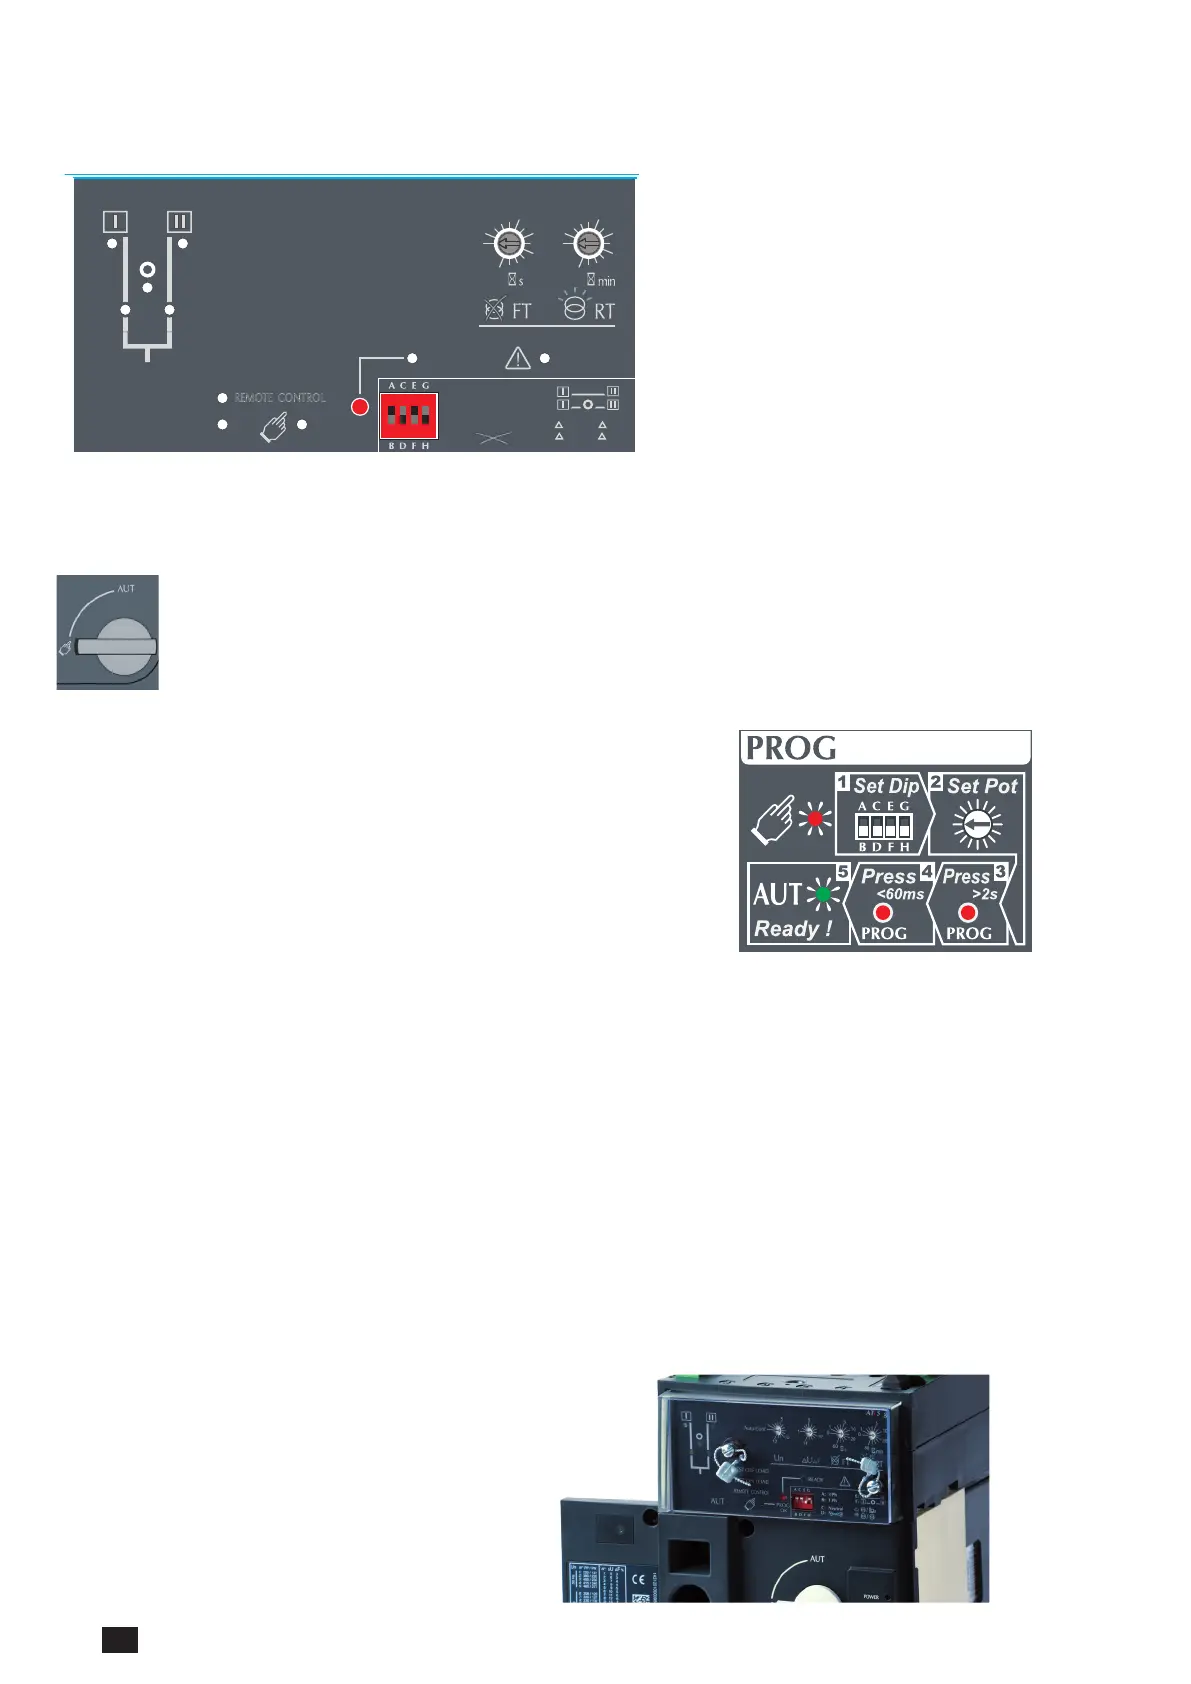
9. PROGRAMMING
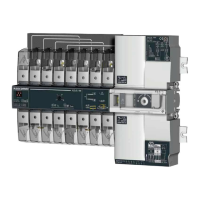
The ATySt is to be programmed after wiring verication tests through the front of the ATS Controller.
PROG
OK
AUT
READY
ATyS t
0
1
5
10
20
60
0
1
5
10
20
60
G: U
10% F
5%
H:
U
20% F
10%
E:
F:
REMOTE CONTROL
A: 3 Ph
B: 1 Ph
C: Neutral
D: Neutral
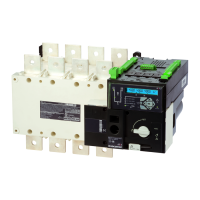
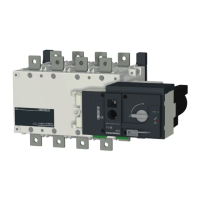
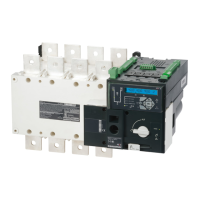
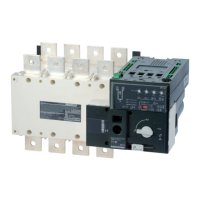
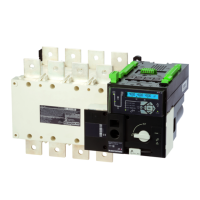
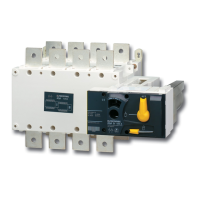
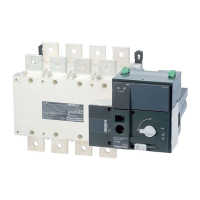
Motorised Changeover Switch
ATyS
1600A Ref : 95054160
Un N° PP / PN
1: 220 / 127
2: 380 / 220
3: 400 / 230
4: 415 / 240
5: 480 / 277
6: 208 / 120
7: 220 / 127
8: 230 / 132
9: 240 / 138
10: 380 / 220
11: 400 / 230
12: 415 / 240
13: 480 / 277
5
6
7
8
9
10
11
12
13
14
15
16
18
20
1:
2:
3:
4:
5:
6:
7:
8:
9:
10:
11:
12:
13:
14:
3
3
4
4
5
5
6
6
7
7
8
8
9
10
N°: Δ
U ΔF %
XXX
50 Hz60 Hz
XXXXXXXX
Set Pot
PROG
AUT
Press
60ms
Press
2s
Ready !
PROG
Set Dip
1 2 3
45
PROG
Front of ATS Controller
Programming is carried out in 5 easy steps :
Note: Ensure that the ATySt is in “Manual Mode” with the auxiliary and network supplies available.
• STEP1: SET the Dip Switch positions from “A to H” as required.
(4 Dip Switches for conguration settings). Note: The READY
LED will Flash.
• STEP2: SET the potentiometers paying attention to the arrow indication
(2 Potentiometers with 14 stable positions. FT, RT: Failure /
Return Timers)
• STEP3: Only if Auto Conf is selected.
READ the network voltage and frequency.
(Press the PROG OK button for >2 seconds to read the network
values)
• STEP4: SAVE all the congured setting values. (Potentiometers,
Dipswitches and Auto Conf.
(Press the PROG OK button momentarily to save: <60ms) Note:
The READY LED will stop ashing (OFF).
• STEP5: To put the unit in service Switch the ATySt to AUT mode after
STEP 4.
Note: The READY LED should turn to a Steady Green light.
Programming cycle: 5 steps.
Attn: As a safety measure the READY LED will ash when any of the settings shown on the controller are different to those
that are saved. To return to the steady READY LED revert to the saved setting values or switch to manual mode and save the
displayed value by pressing the PROG OK button briey.
(This is intended as a visual alarm in case one has changed the conguration settings but has not yet saved the new values in
the product)
Foraddedsecurity:
The ATySt may be equipped with a sealable cover
so as to limit access to the conguration settings.
Refer to the product accessory section for details.
 Loading...