92
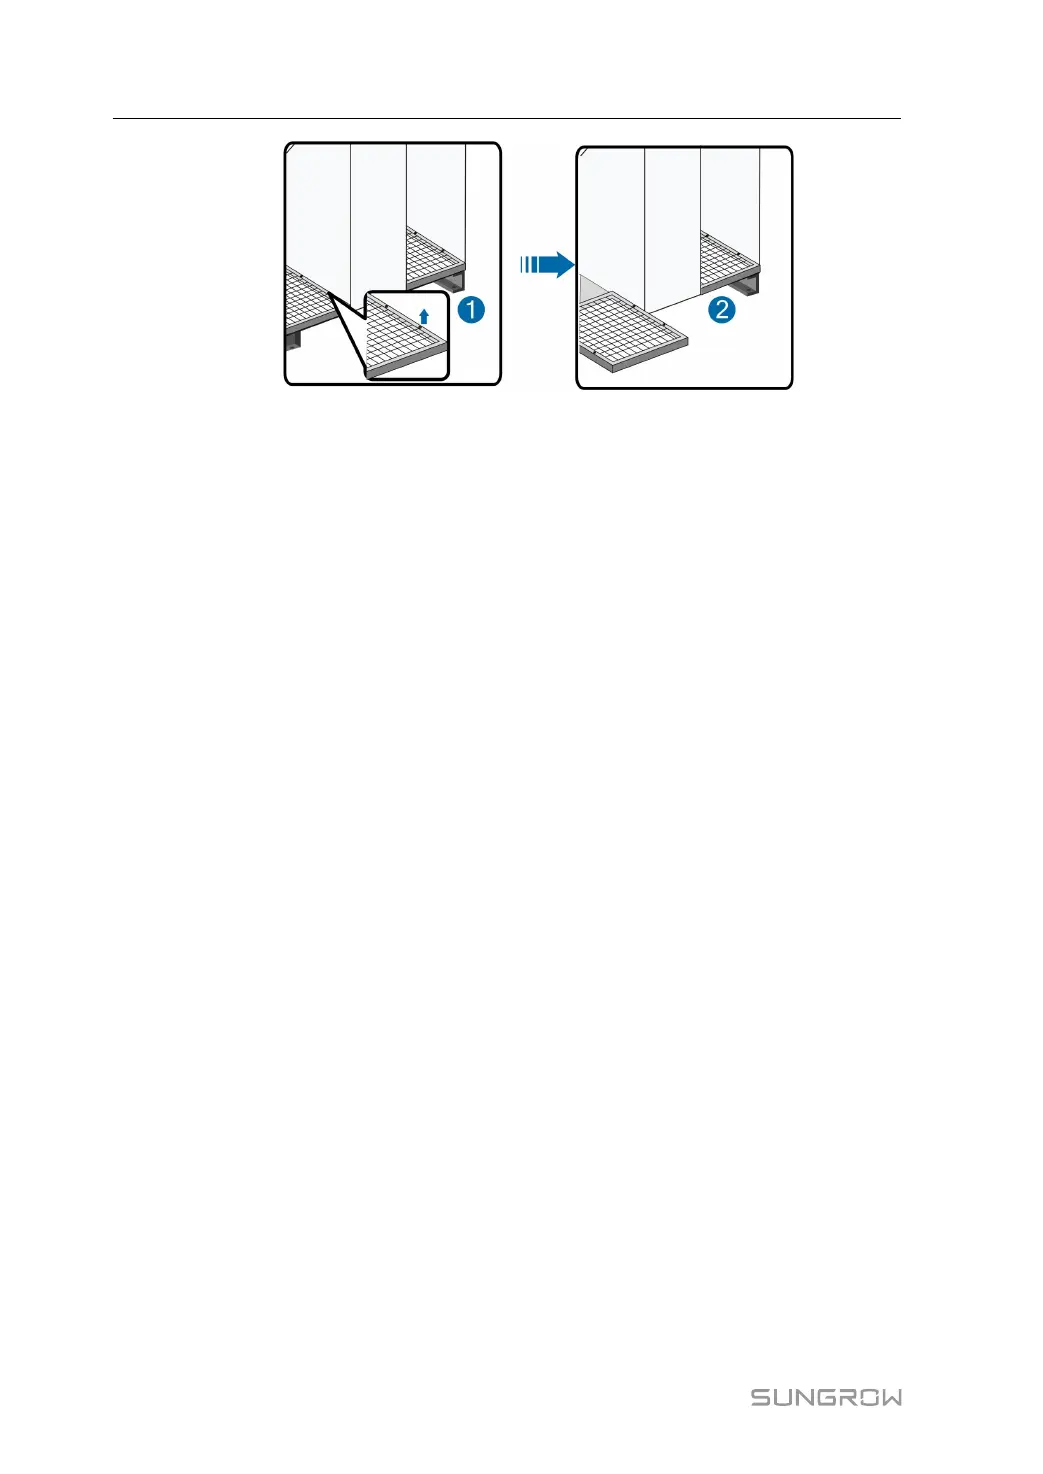
Procedure
Unscrew the bolts at the bottom of the inverter, to remove the bottom plate. Remove the
filter screen, clean them, and reassemble them when they are dry. Replace the filter screen
if there is any damage.
Further Processing
After cleaning and replacement, reinstall the bottom plate and secure it with bolts.
12.4.6 Cleaning the Surface of the Inverter
If there is corrosion on the surface of the inverter, clean it with abrasive paper or brush.
If the dust deposition is serious on the surface of the inverter, use mop or big rag to clean
the surface of the inverter. It is recommended to clean the top before cleaning the side.
Alternatively, clean it with or without water.
12.4.7 Checking the Lock and Hinge
Check the functionality and state of the lock and hinge of the inverter after the cleaning work.
Lubricate the lock and hinge if necessary.
12.4.8 Checking the Sealing Strip
The sealing strip is used to prevent the water penetrating insider the inverter. Check it
carefully for damage. Replace the faulty sealing strip in time.
12.5 Painting Make-up Measures
Check for the damages of the inverter appearance:
Situation 1: smudginess on the surface caused by water and dust that can be cleaned
Situation 2: smudginess on the surface & damage to the finishing coat that cannot be
cleaned
Situation 3: the undercoat is damaged and the primer is revealed
Maintenance and operation steps for situation 1:
Materials:
• Rag
12 Routine Maintenance System Manual
 Loading...