TI-89 / TI-92 Plus / Voyage™ 200 PLT Cabri Geometry App 24
The
Circle
tool in the
Curves and Polygons
menu creates a circle
defined by a center point and the circle’s circumference. The
circumference of the circle also can be attached to a point.
You can resize the circle by dragging its circumference. You can
move the circle by dragging the center point.
1.
Press
…
and select
1:Circle
.
2.
Move the (
#
) cursor to the desired
location and press
¸
to create
the center point of the circle. Moving
the cursor expands the circle.
Create the center point.
3.
Continue to move the cursor away
from the center point to specify the
radius then press
¸
to create the
circle.
Specify the radius and create
the circle.
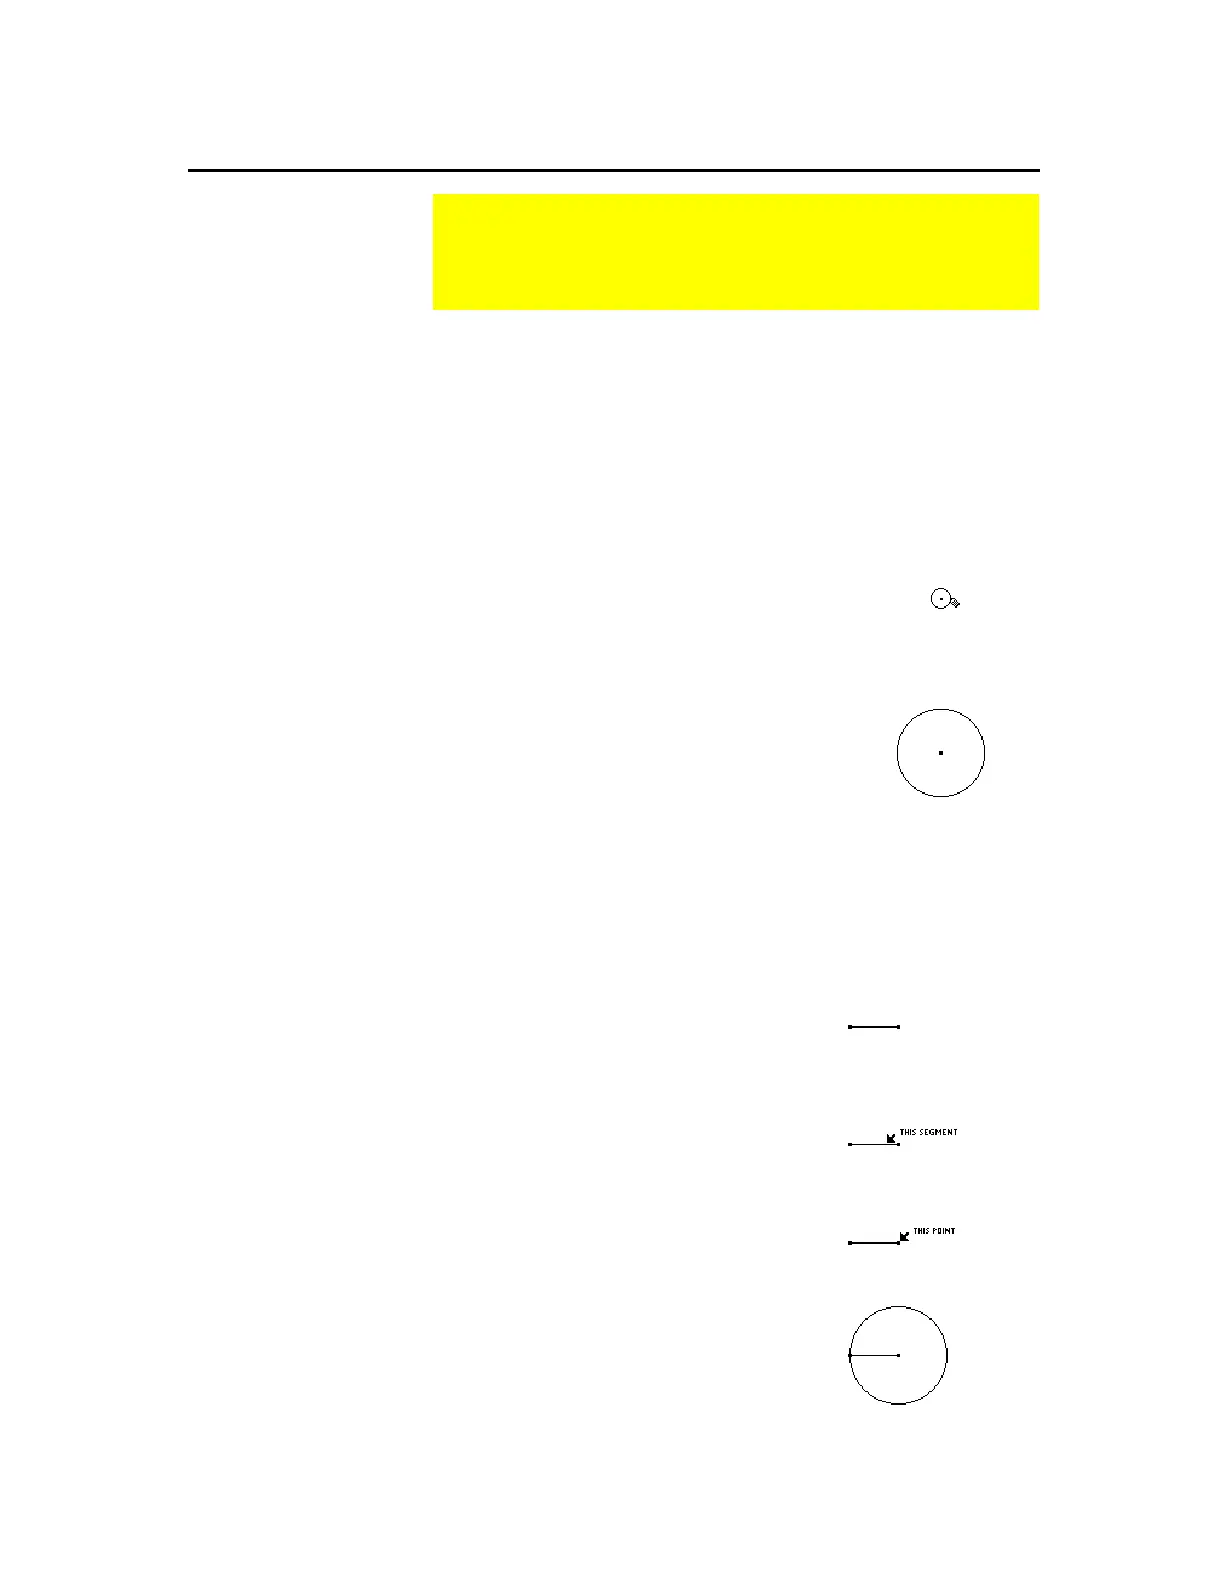
The
Compass
tool in the
Construction
menu creates a circle with a
radius equal to the length of an existing segment or the distance
between two points.
You can change the radius of the circle by dragging the endpoints of
the segment that defines the radius. You can move the circle by
dragging its center point.
1.
Create a segment or two points to
define the radius of the circle.
2.
Press
†
and select
8:Compass
.
3.
Move the pointer to the segment, and
press
¸
.
Select a
segment
.
4.
Move the pointer to one of the
endpoints of the segment, and press
¸
to create the circle.
5. (Optional)
Follow the same basic
steps to create a compass circle
using points. Select three points to
perform the construction.
Select a center point.
Create the circle.
Creating Circles and Arcs
The
Curves and Polygons
toolbar menu contains the tools for
creating and constructing circles and arcs. The
Construction
menu also contains a tool for creating circles.
Creating a Circle
Using the Circle
Tool
Tip:
To label a circle, type
up to five characters
immediately after creating
the circle or use the Label
tool.
Creating a Circle
Using the Compass
Tool
Note:
The center point can
actually be anywhere in the
plane.
Note:
The first two points
determine the radius; the
third point becomes the
center point of the circle.
 Loading...