5. When the LED begins flashing, remove your finger. Cross hairs appear in each corner and in the center of the
display.
6. Touch the center of each cross hair ONCE ONLY. (Touching more than once interrupts the calibration and you
must start over at step 3.)
Cross hairs disappear and the display reboots when calibration is complete.
1.3.6 Setting the Date and Time
The correct date and time is critical for warnings, alarms, and scheduling.
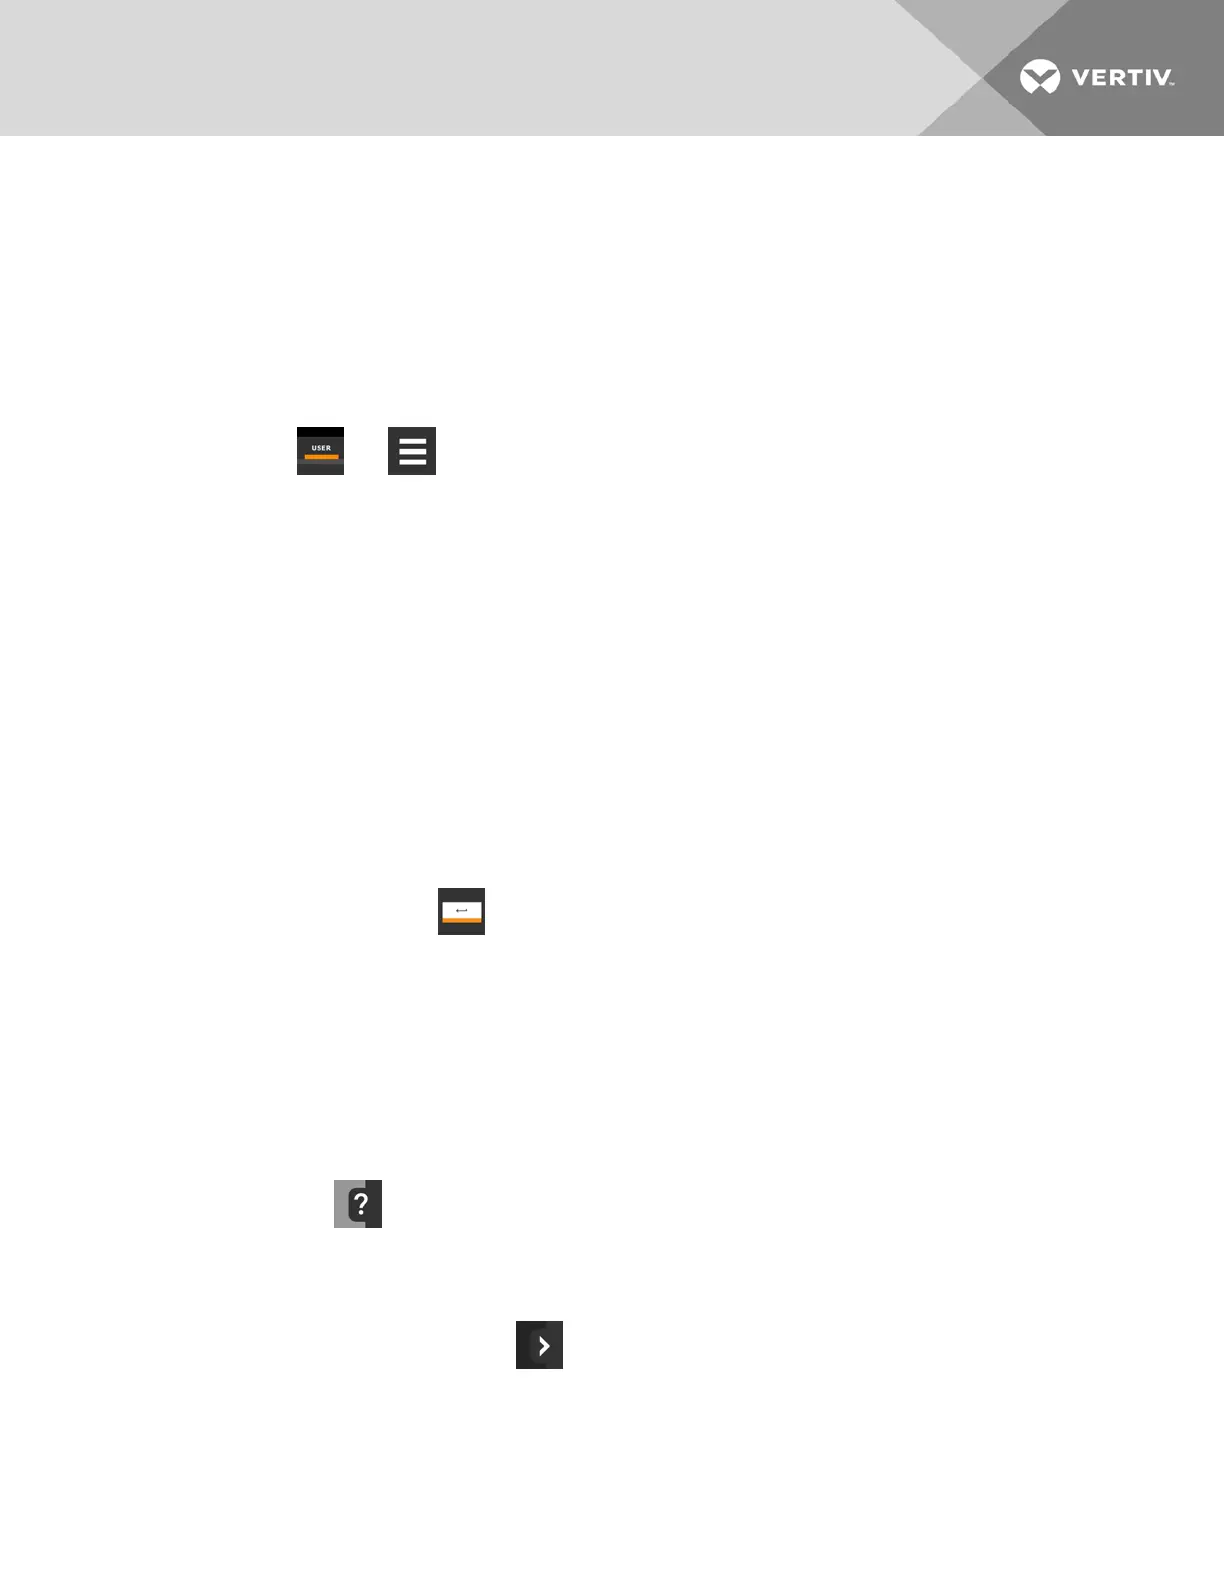
1. Touch , then > Display Options > Display Properties > Date &
Time.
2. Touch the date field, use the arrows to select the date, and touch OK.
– or –
Touch the time field, use the arrows to set the time, and touch OK.
3. Select the date and time format if necessary.
4. Touch Save.
1.3.7 Searching
When logged in, you can use the display search to find the location of settings options based on a term, service code, or
parameter. You can also search by the line ID used in the iCOM before the touchscreen model. For a listing of the line IDs,
see Setpoints and Alarm Settings by Line ID on page133.
NOTE: You must be logged in to access the display search. See Powering On iCOM and Logging In/Unlocking
Controls on page6.
1. In the control header, touch the search field. The keyboard opens.
2. Type the term and touch . A list of locations that contain the searched term opens.
3. To go to a listed location, touch an item, then touch Go. The panel for the selected location opens.
– or –
To view the service codes and parameter entries related to the searched term, touch View Parameter Directory
Entries (the number of related entries is included in the option).
The Parameter Directory opens. You may further refine the search in the directory.
1.4 Using Context Sensitive Help
Touching the Help icon, , on the right-hand side of the display opens the Help drawer with information about the
panel or dialog currently on the display.
You can use search and the topic index to find further information.
To close the Help drawer, touch the close arrow, .
1 Getting Started with iCOM™
9
 Loading...