October 2012
4-4
ColorQube 8570/8870 Service Manual
Disassembly Overview
Revised, 3rd Revision - Xerox Internal Use Only
Repairs and Adjustments
Fastener Types
CAUTION
Screws in plastic are torqued to 12 in.-lbs., metal to 15 in.-lbs., unless otherwise specified. Irre-
versible damage can result from over tightening the screws into plastic parts. Always use the
correct type and size screw. Using the wrong screw can damage tapped holes.
Follow these guidelines for fasteners in this product:
• Always use the correct type and size screw; coarse thread, brass-colored screws into
plastic and fine thread, silver-colored screws into metal.
• Using the wrong screw can damage tapped holes. This applies to the yellow reverse-
threaded screws on the Drum.
• Do not use excessive force to remove or install either a screw or a printer part. If using a
power driver to install a screw into plastic, start the screw by hand.
• If you strip out threads in the plastic chassis, a silver-blue-tinted thread repair screw
(included in the hardware kit) can be used to correct the problem.
• If you remove a silver-blue-tinted thread repair screw during disassembly, replace the
screw the same location or additional damage to the printer will occur.
• When you re-install a screw into plastic, always rotate the screw 1/2 turn counter-clock-
wise to allow the screw to seat into the screw-hole's threads. You can usually feel and
hear it seat. This ensures the screw's threads align into the existing threads of the screw
hole instead of cutting new threads which will weaken the joint and possibly strip it.
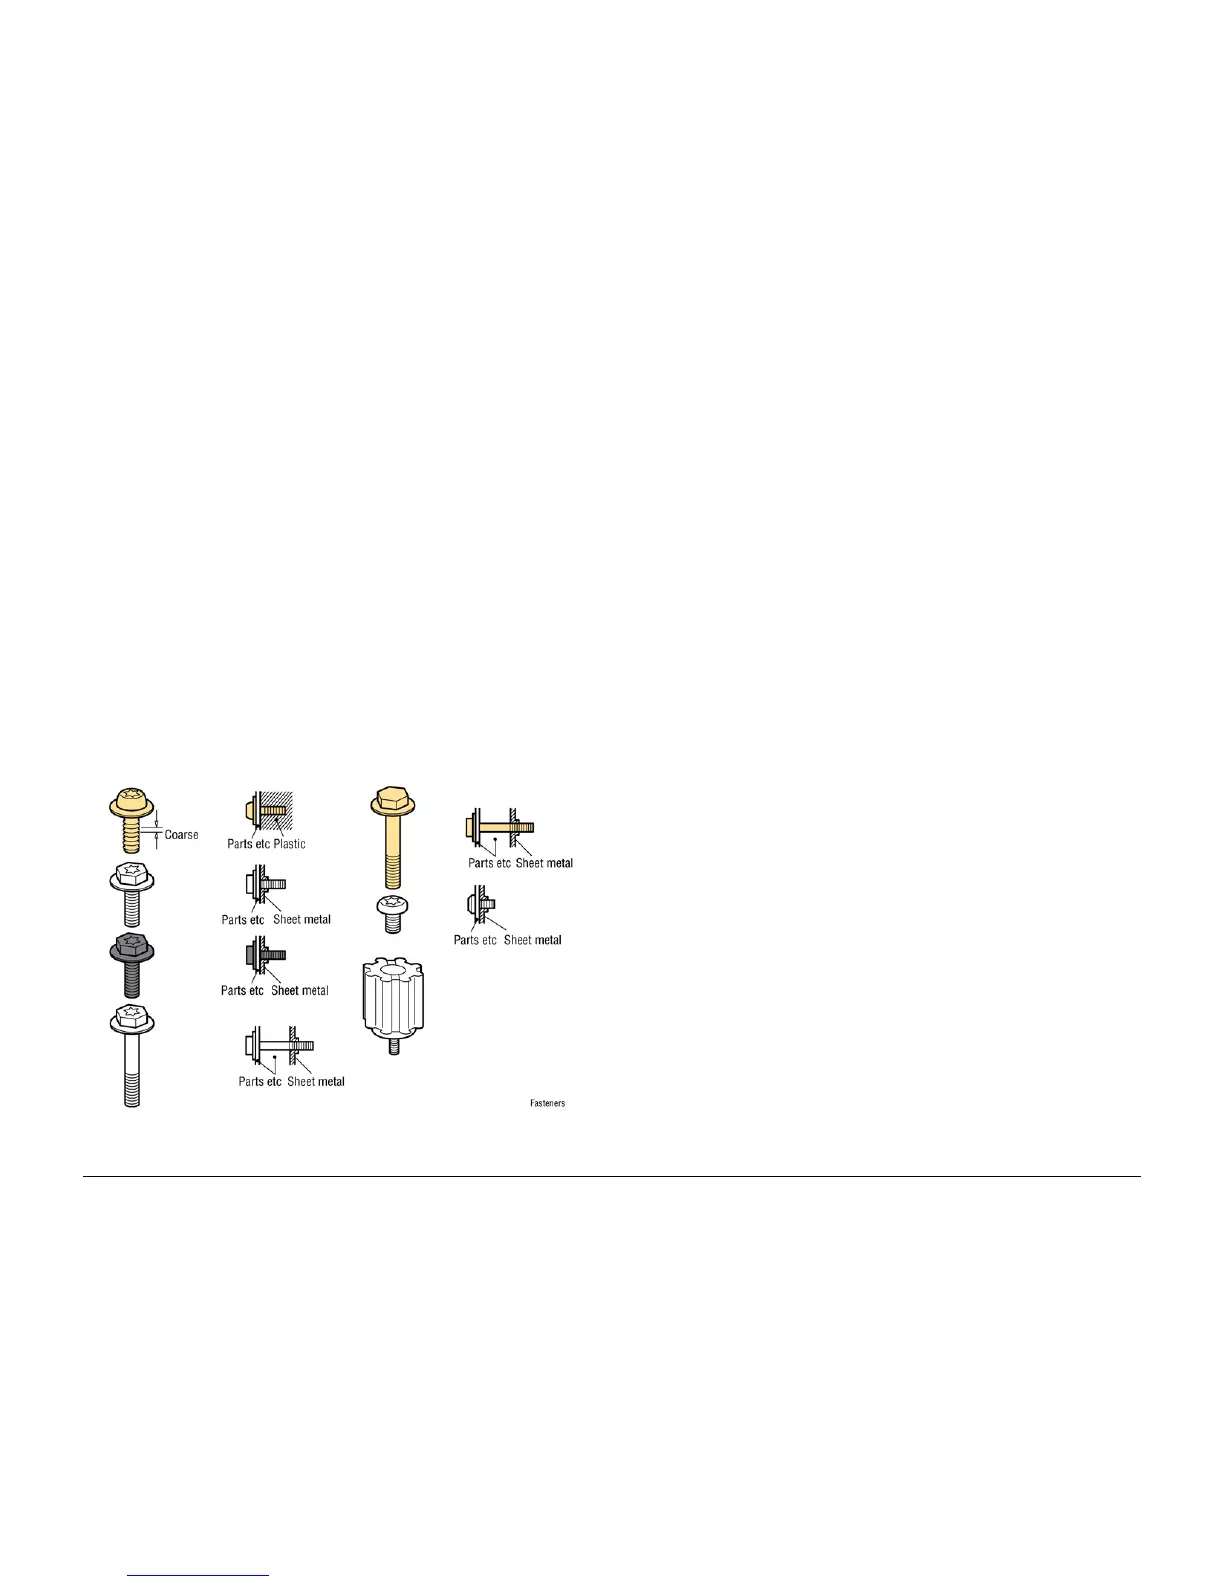
Fasteners used in the product appear in Figure 2. Removal procedures include dimensional
specifications for screws being removed.
Figure 2 Fastener Types
CAUTION
Many parts are secured by plastic tabs or hooks. Do not over flex or force these parts.
Recommended Tool Kit
Refer to Recommended Tool Kit in the Service Call Procedures Chapter.
 Loading...