October 2012
4-70
ColorQube 8570/8870 Service Manual
REP 4.4
Revised, 3rd Revision - Xerox Internal Use Only
Repairs and Adjustments
REP 4.4 Head Tilt Solenoid
Parts List on PL 4.1 Item 4
Removal
1. Remove the Control Panel Cover (REP 1.5).
2. Remove the Left Side Cover (REP 1.10).
3. Remove the Right Side Cover (REP 1.11).
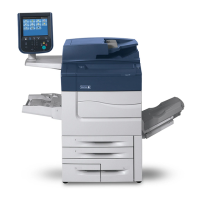
4. Lower the Wiper Blade to its lowest position by rotating the Wiper Drive Gears.
Figure 1 Lowering the Wiper Blade
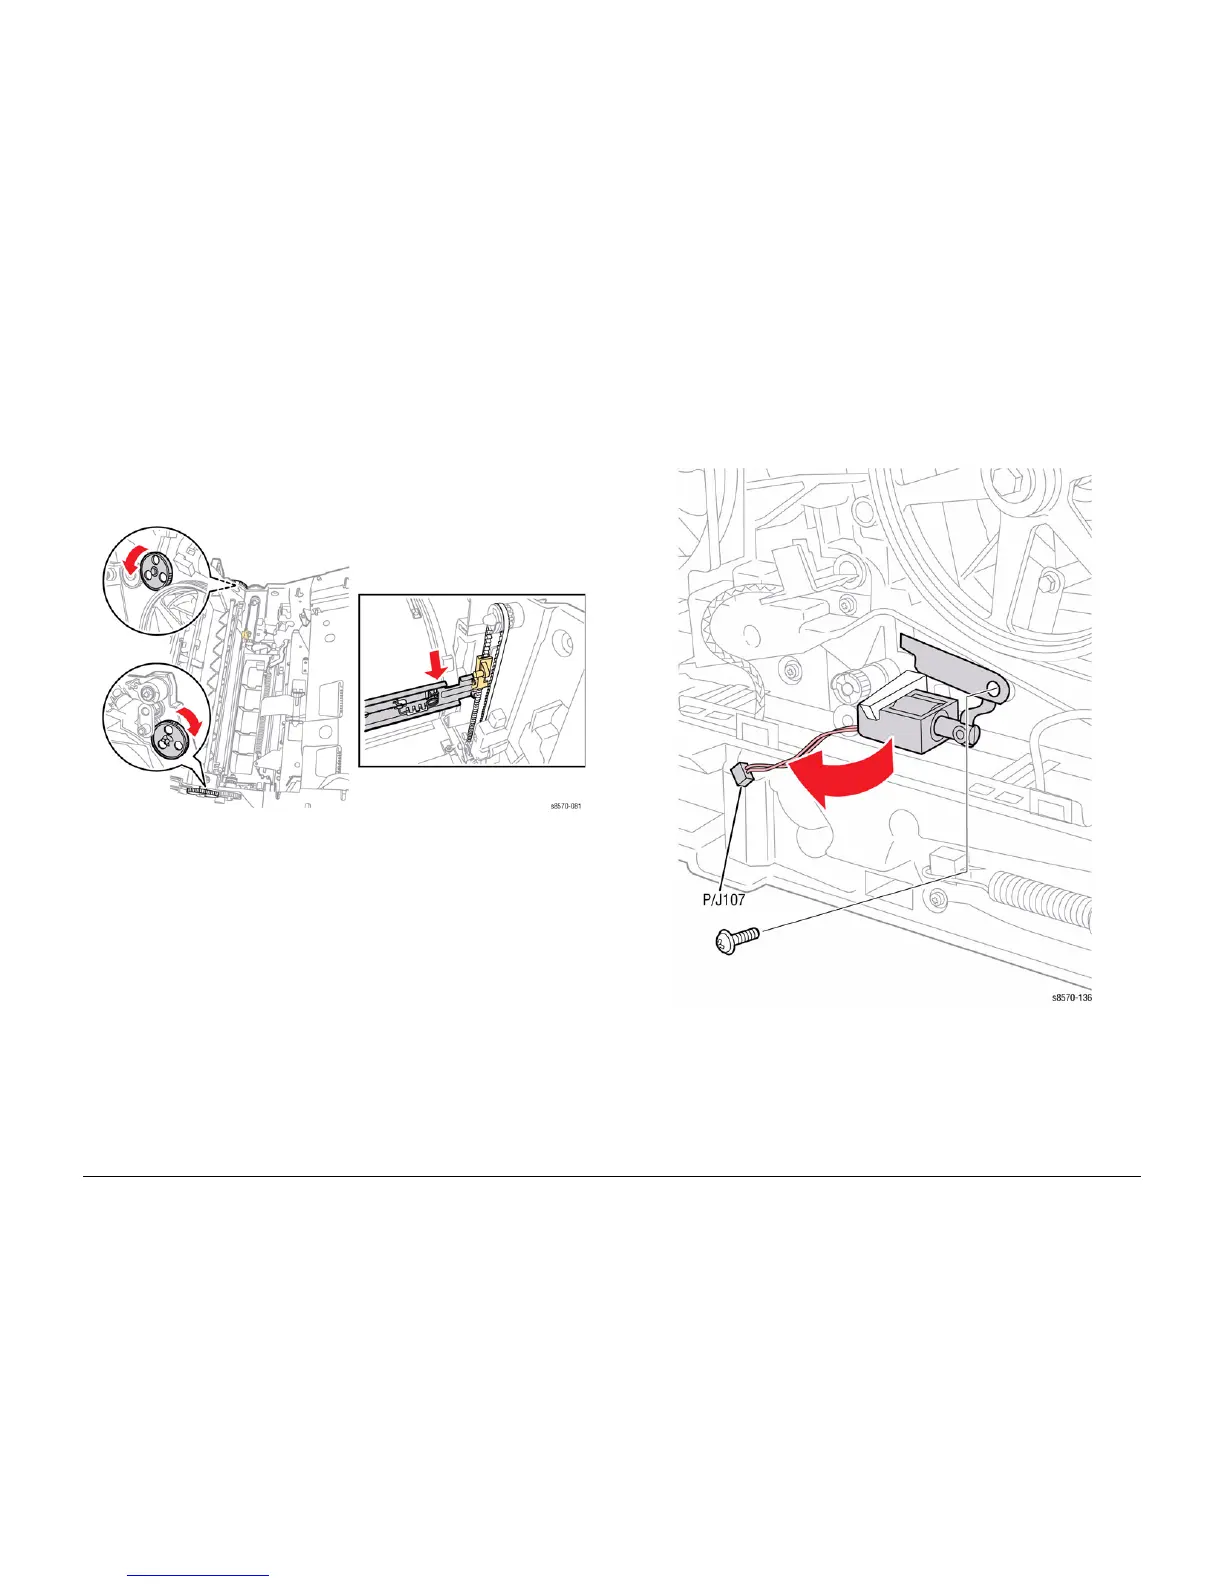
5. Disconnect the Head Tilt Solenoid wiring harness connector P/J107 from the Left Side
Harness.
6. Remove 1 screw (plastic, T-20) that secures the solenoid actuator to the frame. and
remove it from the frame.
7. Release the hook to release the Solenoid from the frame.
Figure 2 Removing the Head Tilt Solenoid
 Loading...