October 2012
4-35
ColorQube 8570/8870 Service Manual
REP 2.6, REP 2.8
Repairs and Adjustments
Xerox Internal Use Only - Revised, 3rd Revision
Replacement
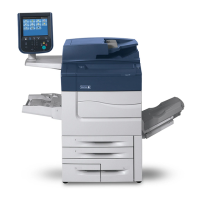
1. When reinstalling the belt into the wiper clip, place the belt partly on the clip, and then
press the center of the clip with a small needle-nose pliers until the belt is secured in the
clip.
Figure 2 Connecting the Printhead Wiper Blade and Belt
2. Perform the Wiper Blade Adjustment procedure (ADJ 1.1) to position the Wiper Blade so
that both ends are all the way down following reassembly. Also, make sure the metal por
-
tion of the blade is nearest the Drum Assembly.
3. Install the Printhead.
4. Perform the Head Tilt Gear Homing procedure (ADJ 1.2).
5. Perform the Process Drive Homing procedure (ADJ 1.3).
6. Turn printer power on to check wiper operation.
REP 2.8 Purge Pressure Pump
Parts List on PL 2.1 Item 8
Removal
1. Remove the Control Panel Cover (REP 1.5).
2. Remove the Left Side Cover (REP 1.10).
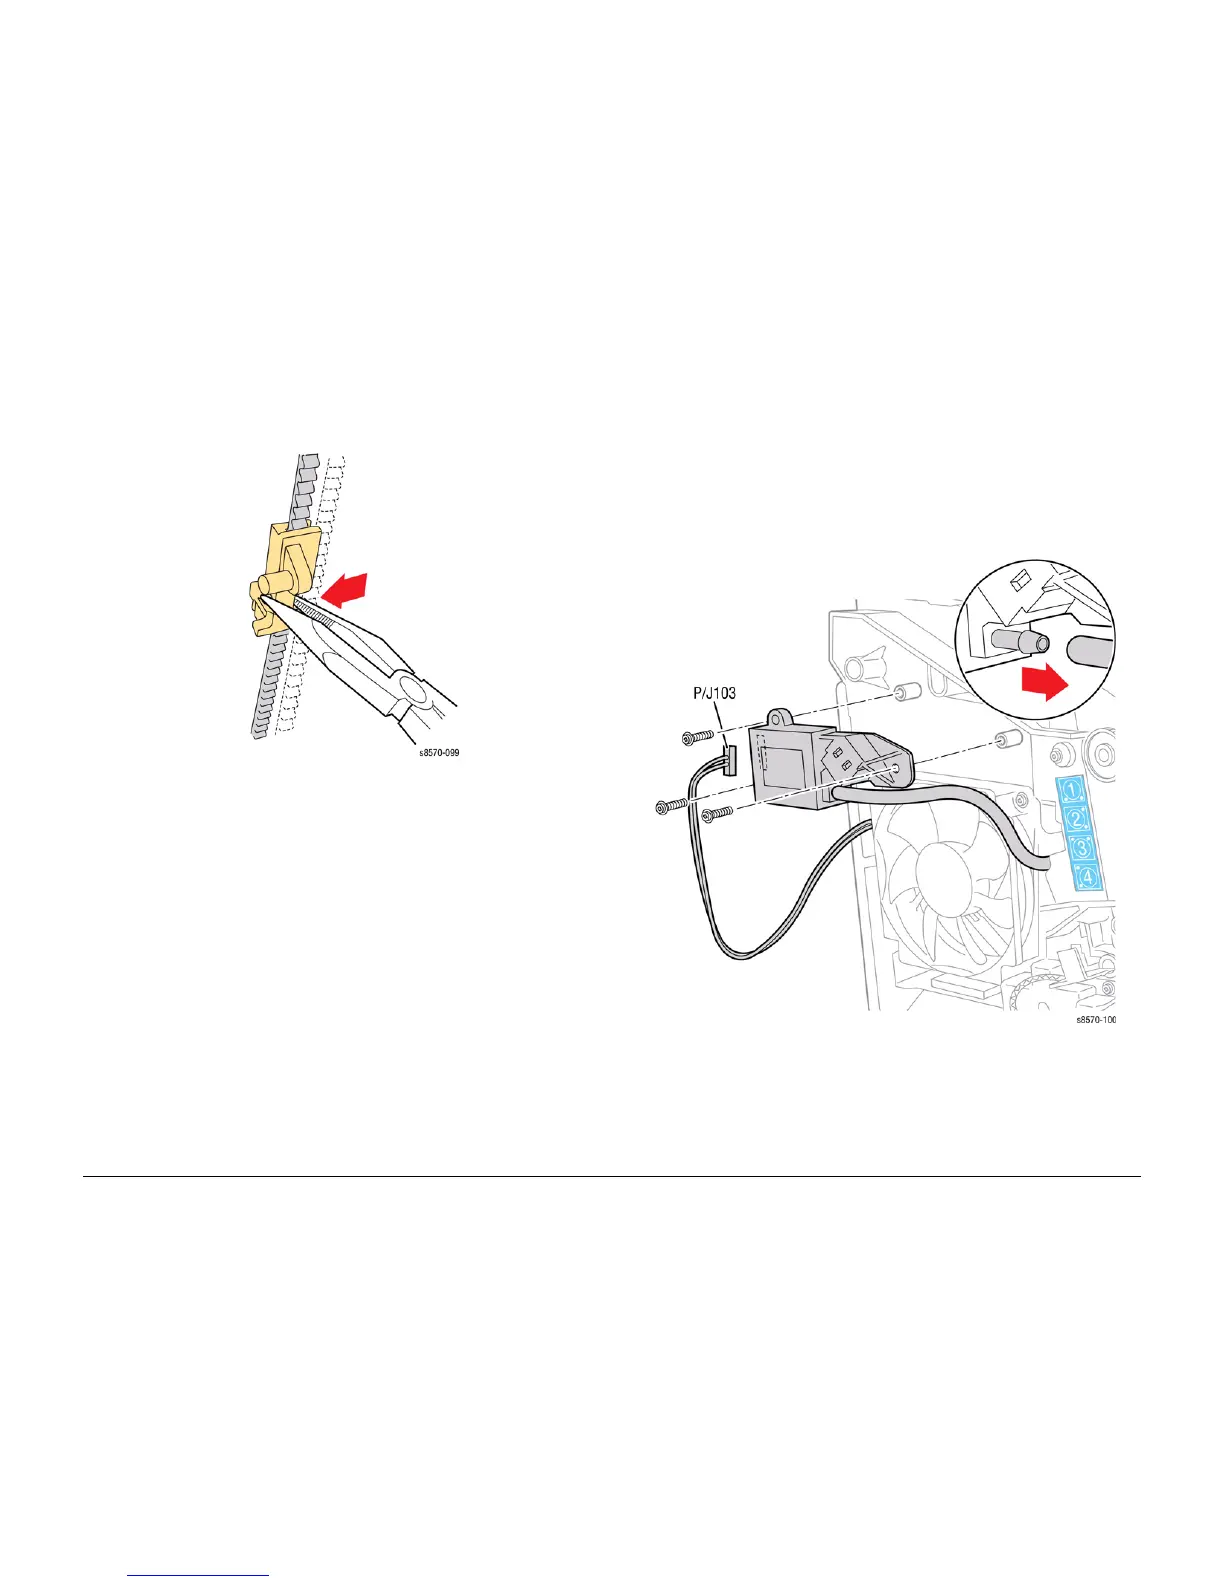
3. Disconnect the Purge Pump Hose from the Pump.
4. Disconnect the wiring harness connector P/J103 from the Purge Pressure Pump.
5. Remove 3 screws (plastic, T-20) that secure the Purge Pressure Pump to the chassis and
remove the Pump.
Figure 1 Removing the Purge Pressure Pump
 Loading...