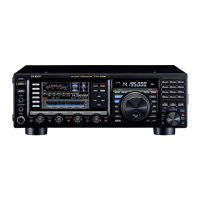
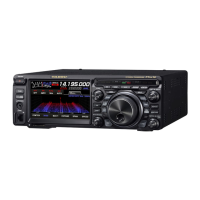
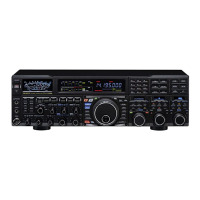
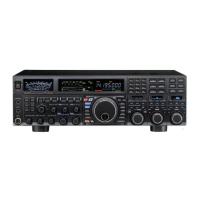
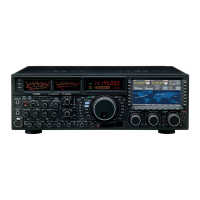
Page 15FTDX9000D OPERATION MANUAL
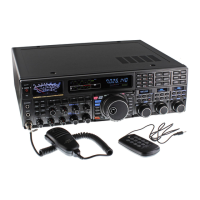
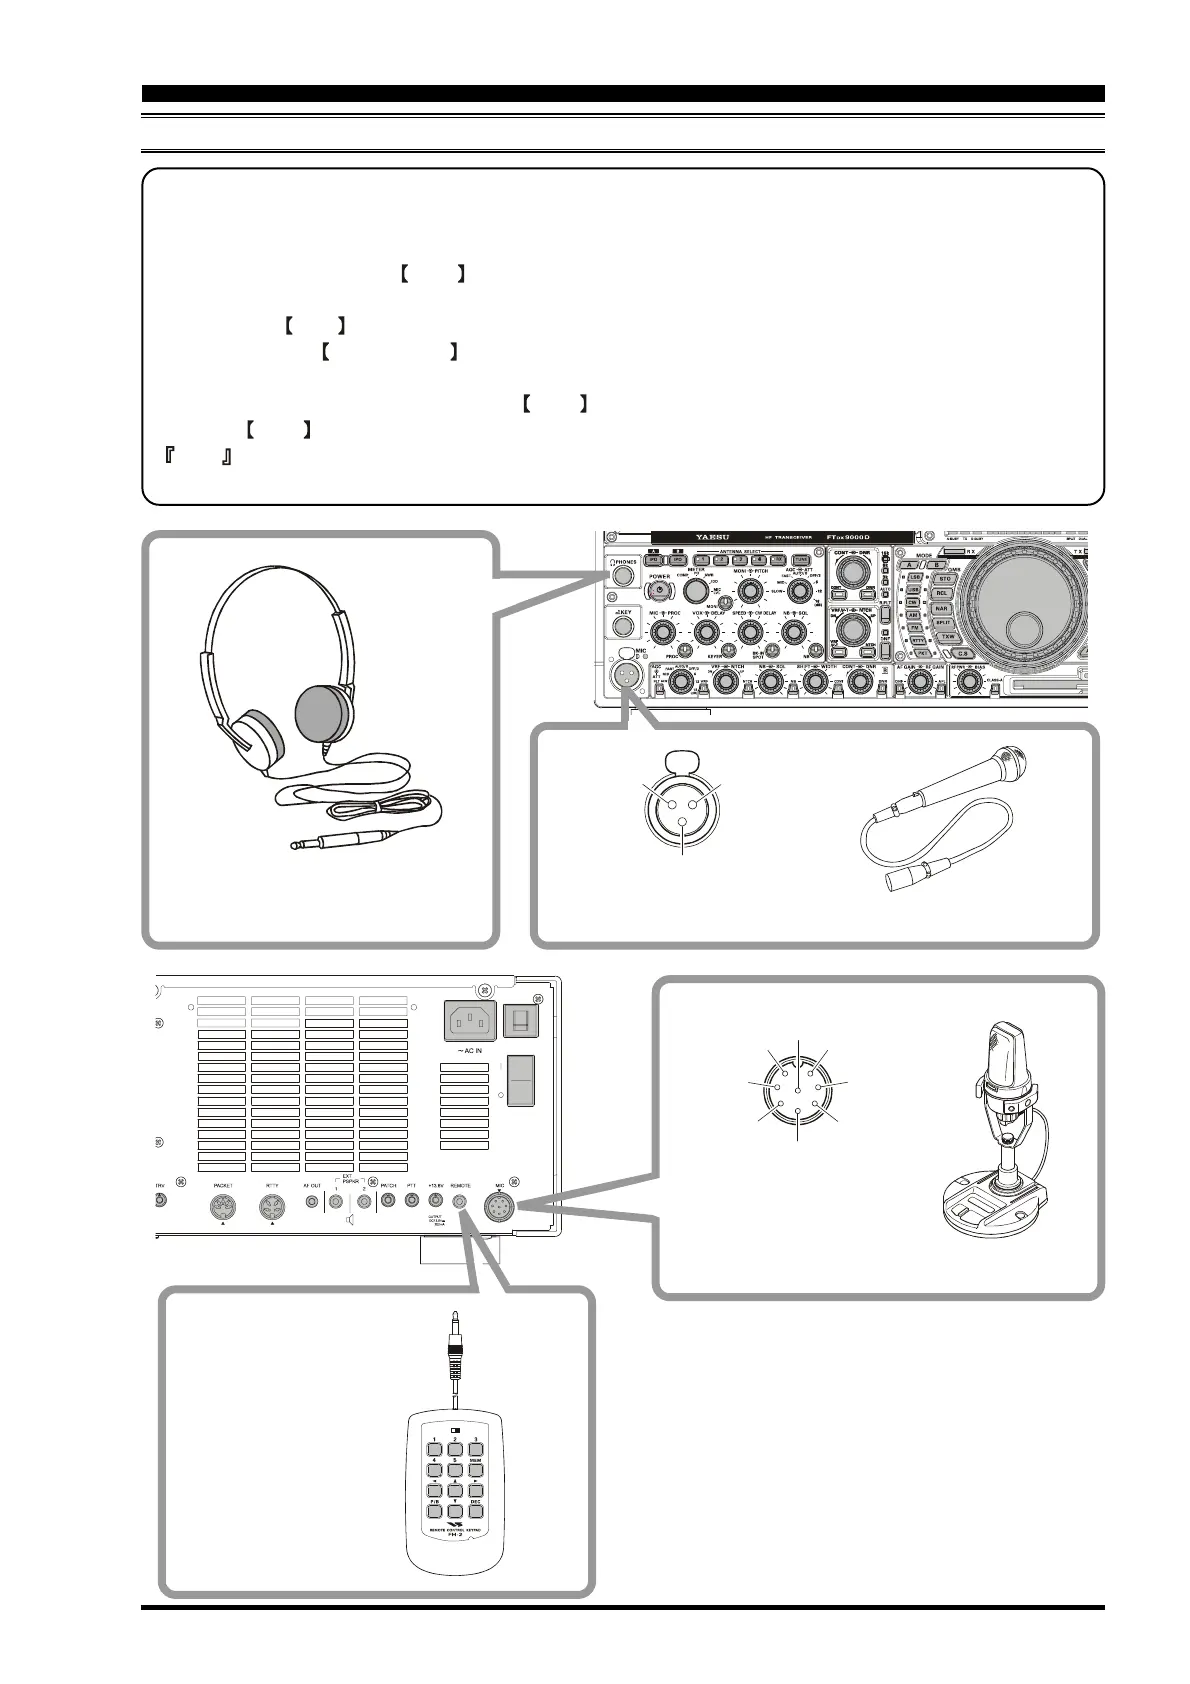
Connection of Microphone, Headphones and FH-2 Remote Control Keypad
This transceiver was shipped from the factory in configuration for a microhone input via the Front Panel XLR
connector. To use the Rear Panel microphone with an 8-pin round connector, please change the microphone set up
via the Menu.
1. To do this, first press the
MNU key located an the bottom right corner of the TFT display.
2. The Menu list will appear on the TFT display screen.
3. Rotate the
Main tuning dial (VFO-A) to select menu item #69 (MODE-SSB 069 SSB MIC SELECT).
4. Now rotate the CLAR/VFO-B knob to change the setting to Rear.
Selection will change like FRONT-REAR-DATA-PC.
5. To save the set-up, press and hold in the MNU key for 2 seconds.
If the MNU key is not held for 2 seconds, the set-up will not be saved.
Note : To use the AM or FM mode, please select Menu items 040 for AM and 059 for FM, and follow the same
procedure above.
LOCK
OFFON
MIC
⑧
①
UP
②
+5V
③
DOWN
④
FAST
⑤
GND
⑥
PTT
⑦
MIC GND
①
MIC-GND
③
MIC-Cold
②
MIC-Hot
1/4-inch 3-contact jack
Stereo Headphones
XLR connector Type Microhone
8-pin Connector Type Microhone
FH-2 Remote Control
Keypad
INSTALLATION AND INTERCONNECTIONS
 Loading...