JOHNSON CONTROLS
52
FORM 160.84-N1
ISSUE DATE: 11/22/2016
SECTION 4 - REASSEMBLY
REFRIGERANT TUBING REASSEMBLY
The following is a step-by-step procedure to be used to
reassemble the chiller refrigerant piping.
Assembly of Straight Thread O-ring Port
Fittings
The male and female ends of SAE and ISO 6149
straight thread O-ring ports have UN/UNF or metric
straight threads. An elastomeric O-ring is fitted to the
male end. During assembly, the O-ring is firmly sand-
wiched between the angular sealing surface of the fe-
male port and the shoulder of the male end. Sealing is
thus affected and maintained by the O-ring compres-
sion which results from the clamping force generated
by tightening. The straight threads do NOT offer seal-
ing action; they provide the resistance (holding power)
for service pressure.
Adjustable End Assembly
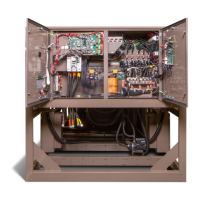
FIGURE 38 - ADJUSTABLE END FITTING
LD17269
LOCKNUT
O-RING
BACK-UP
WASHER
1. Inspect to ensure that both matching parts are free
of burrs, nicks, scratches or any foreign particles.
2. Install O-ring on port end of tting, if it is NOT
pre-installed, take care NOT to nick the O-ring.
3. Lubricate O-ring with a light coat of synthetic
Polyolester (POE) oil or POE grease.
4. Back off locknut as far as possible. Make sure
back-up washer is NOT loose and is pushed up
as far as possible. This ensures the O-ring is com-
pletely at the back of the land so it remains in the
land area when the tting is turned out at Step 6.
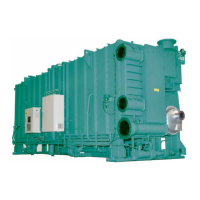
FIGURE 39 - BACK OFF LOCKNUT
LD17270
LOCKNUT
COMPLETELY
BACKED-UP
5. Screw tting into port until the back-up washer
contacts the face of the port. Light wrenching may
be necessary.
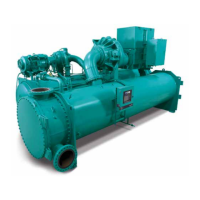
FIGURE 40 - SCREW FITTING INTO PORT
LD17271
BACK-UP
WASHER
CONTACTS
FACE
6. To align the tube end of tting to accept incom-
ing tube or hose assembly, unscrew by required
amount, but NOT more than one full turn. More
then one turn makes the locknut push the O-ring
into the machine threads beyond the tting land
area during step 7.
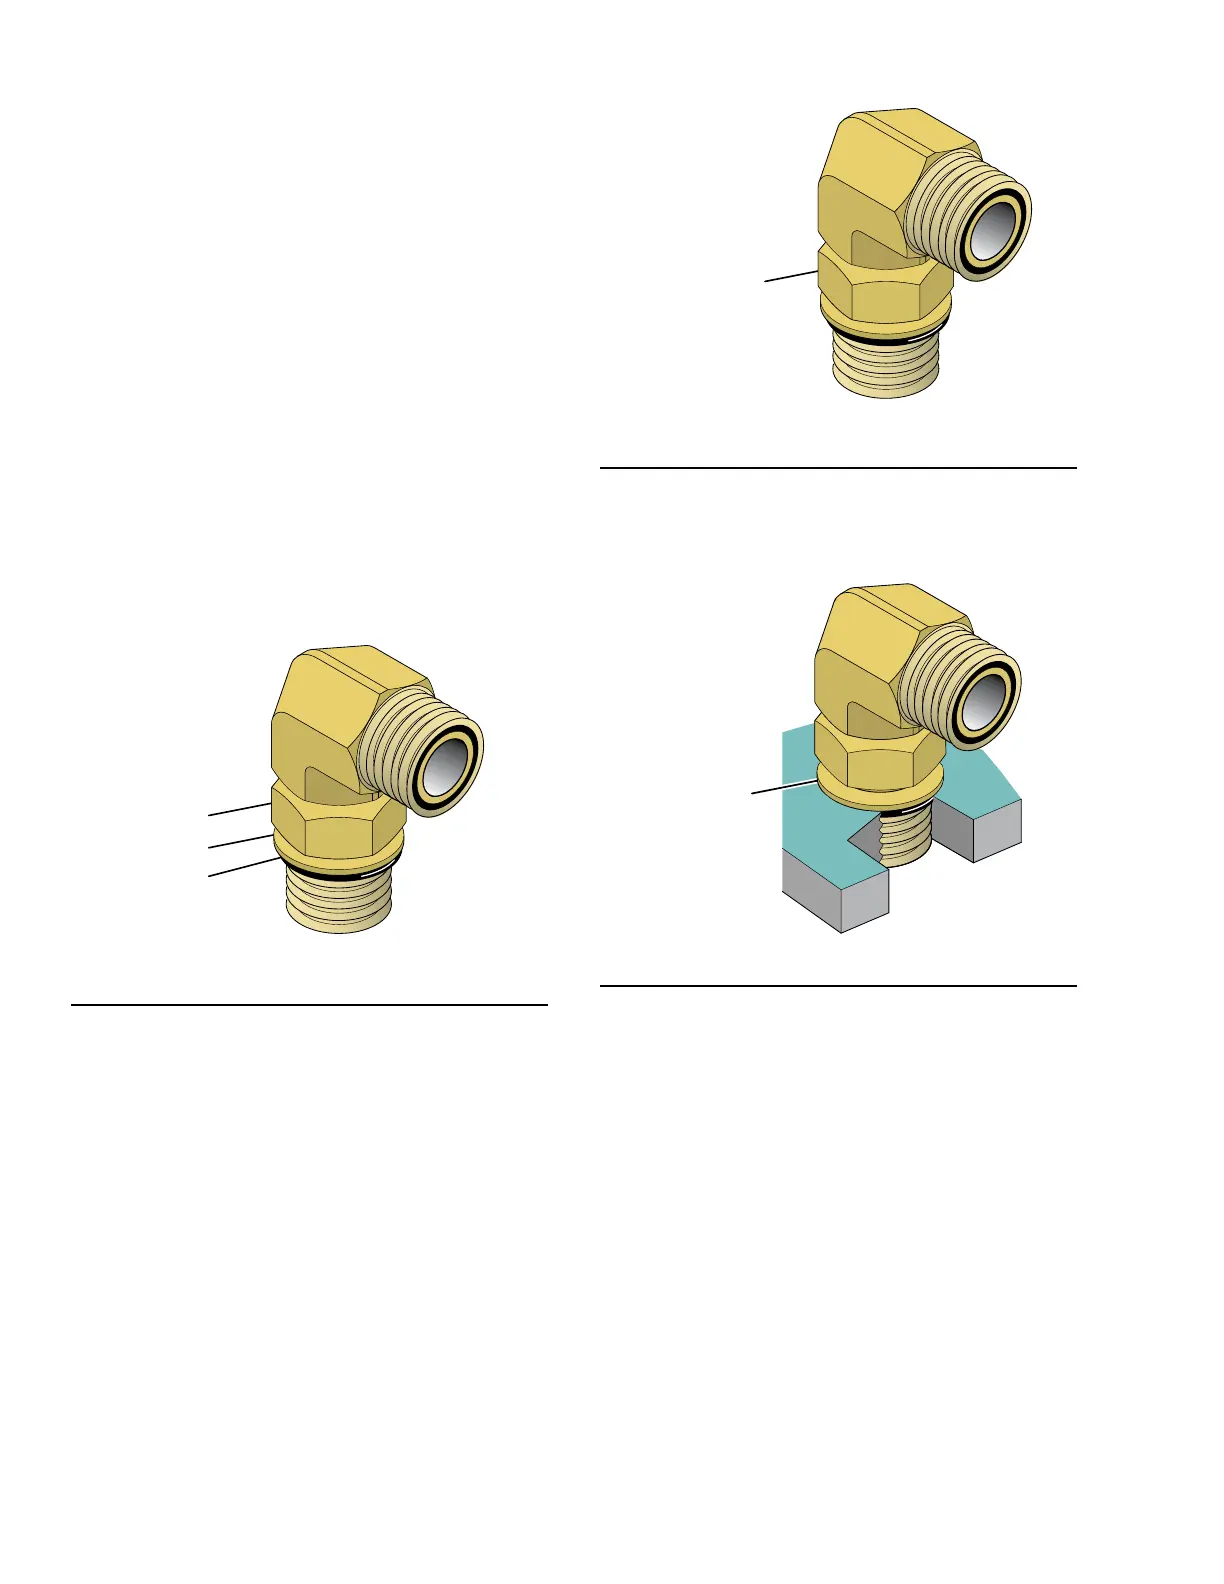
7. Using two wrenches, hold tting in desired posi-
tion and tighten locknut to the appropriate torque
value shown in Table 13 on page 42 or Table 12
on page 42.
8. Inspect to ensure that O-ring is NOT pinched and
the back-up washer seats at on face of port.

 Loading...