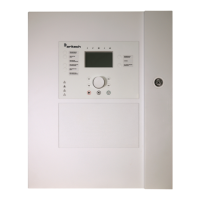
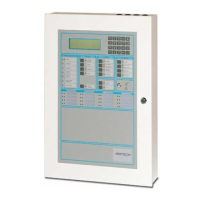
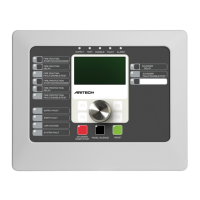
Chapter 3: Configuration and commissioning
64 2X Series Installation Manual
Service mode timeout
Select the Service mode timeout option to configure a timeout value (in minutes)
for Service mode (see “Service mode” on page 49). By default the Service mode
timeout is not enabled.
To change the configuration:
1. Select Panel setup from the Main menu.
2. Select Other settings, and then select Service mode timeout.
3. Select and check the Enabled check box.
4. Select Timeout, and then enter the timeout value in minutes (1 to 120).
The default timeout value is 30 minutes.
5. Press F4 (Enter), and then press F1 (Back).
6. Press F1 (Save), F3 (Apply), F4 (Discard), or F2 (Exit).
Remember to apply saved settings from the Main menu.
Load/Save configuration
Restoring the previous configuration
Select the Restore configuration option to restore the previous system
configuration.
To restore the system configuration:
1. Select Panel setup from the Main menu, and then select Configuration.
2. Select Restore configuration and confirm your selection.
3. Press F4 (Enter), and then press F1 (Back).
4. Press F1 (Save), F3 (Apply), F4 (Discard), or F2 (Exit).
Remember to apply saved settings from the Main menu.
Loading and saving configuration files
Select the Load configuration option or the Save configuration option to load a
system configuration file from a USB flash drive or to save the current system
configuration file to a USB flash drive.
Note: If your flash drive is not recognized by the control panel, reformat it as
FAT32 from a PC and try again. If the problem persists, try a different flash drive.
To load a configuration:
1. Open the control panel door and insert the USB flash drive with the
configuration file into either of the USB type A connectors (see Figure 4 on
page 17). Close the control panel door.
2. Select Panel setup from the Main menu.
 Loading...