12. Convergence
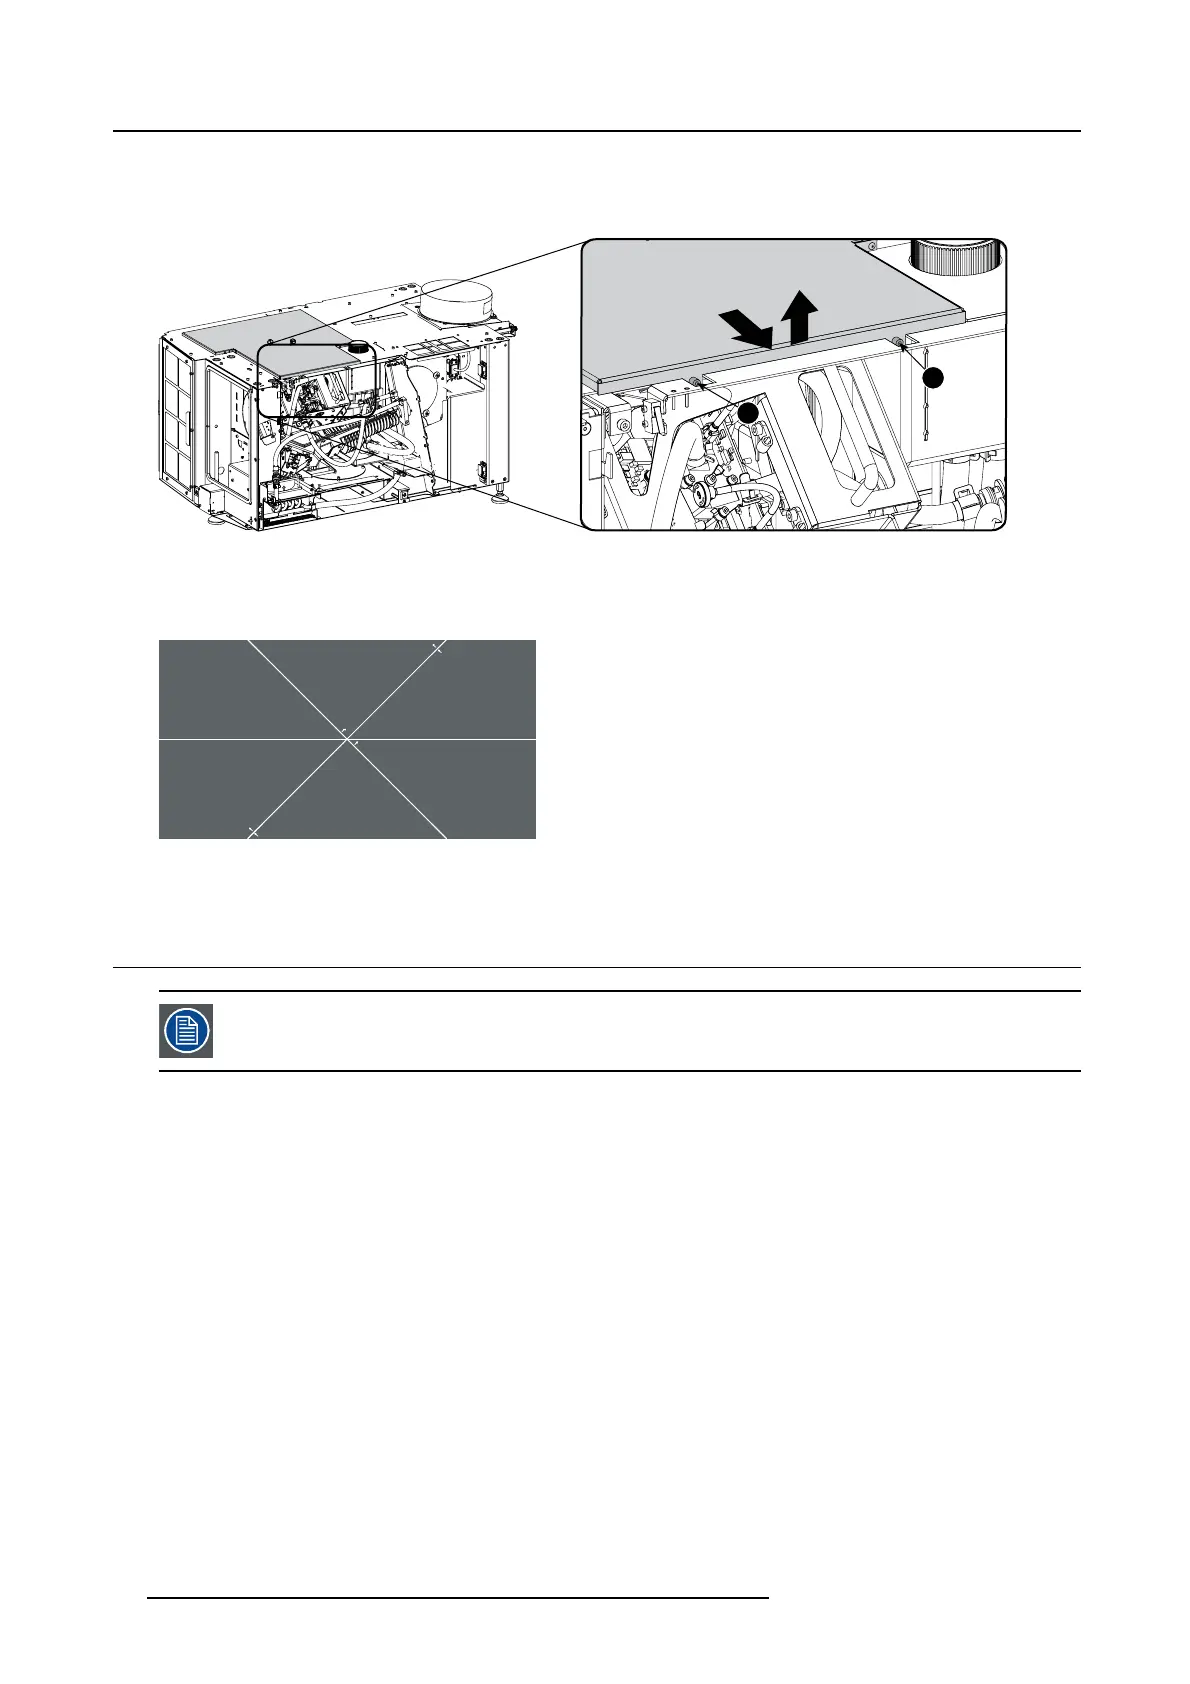
a) Loosen both screws (reference 1 and 2).
b) Slide the plate forwards until all hooks at both sides of the plate bec ome free.
c) Take off the plate.
1
2
A
B
Image 12-4
Convergence cover plate
4. Reinstall the lens and start up the projector.
5. Use the Communicator software to activate the convergence test p attern.
Image 12-5
Convergence test pattern
12.3 Red on Blue convergence
This procedure can only be executed w h en all preparations are taken to converge the image. See " Preparing
the con vergence adjustment", page 89.
Necessary tools
No tools.
How to converge
1. Slightly turn the red colored control knob number 1 until the red pattern in the center of the projected image converges with the
blue pattern. Note that a turn of a f ew degr ees corresponds w ith one full pixel.
Note: When start turning the knob, a little res istance can be felt. This resistance is part of the internal locking mechanism of
the adjustment.
90
R5905050 DP2K C-SERIES 10/07/2012
 Loading...


