ServSwitch™ DKM
32
3.3 System Setup
To install your ServSwitch™ DKM system:
1. Switch off all devices.
2. Connect keyboard, monitor(s), mouse to the Remote Unit (depending on device type).
3. Connect the CPU/signal source to the Local Unit using the supplied cable(s).
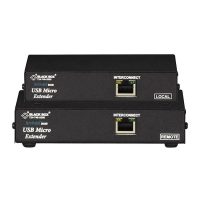
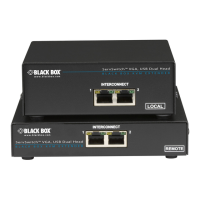
4. Connect the ServSwitch™ Local units and Remote units with the INTERCONNECT
cable(s) (CATx or Fibre)
5. Connect the ServSwitch™ DKM with the INTERCONNECT cable(s) (CATx / Fibre)
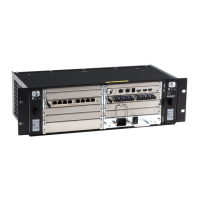
6. Type 474-8X only: Equip the Cage sockets with GBICs according to your desired
configuration.
7. Depending upon your application, it may be necessary to make a connection to a
controller over the serial interface. Attach the provided RJ45 to DSUB 9-pin cable at the
socket of the serial interface and connect it with your controller. More information for
control through the serial interface can be found in Appendix C: Serial Interface on
page 138.
8. Connect the 5V power supplies to the units.
Only use the power supply originally supplied with this
equipment or a manufacturer-approved replacement.
9. For a dual access system, connect the monitor for the local console to the appropriate
port on the Local Unit. The port may also be used to feed into a KVM switch.
To attach a local (USB-) keyboard/mouse, please use additional USB port(s) at your
CPU or use a USB hub between the CPU and Local Unit’s USB- connector.
10. Power up the system.
11. Login at any console as Administrator
12. Configure your system
13. Done!
 Loading...