21
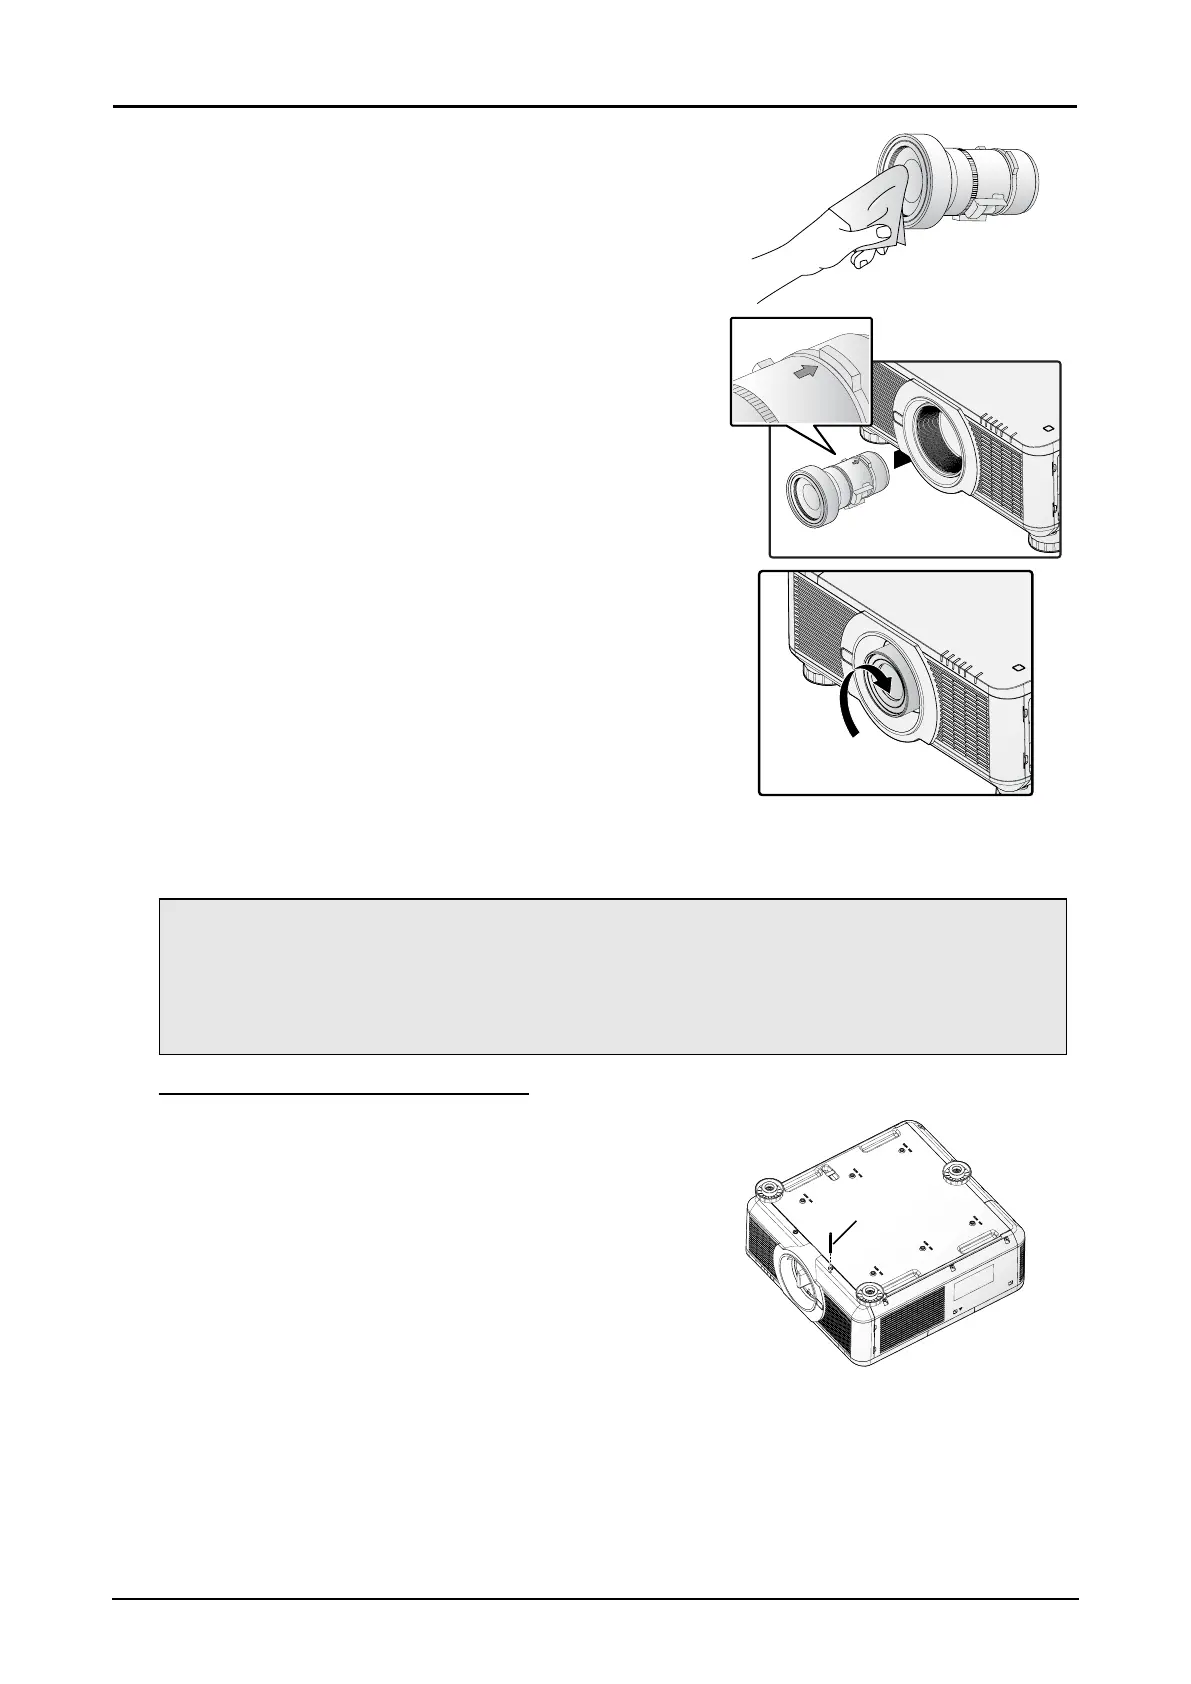
4. Clean the new lens before installing. Take care when
cleaning to prevent scratching the surface of the new
lens.
5. Make sure the connector is facing up and new lens is
pushed into the holder.
6. Turn the new lens clockwise until and audible Click is
heard signifying the new lens is secured and seated
correctly.
7. Gently pull on the new lens to ensure it is locked in
place. If the new lens does not come off, it is seated
correctly.
Note:
■ The projector supports the lens memory function. Perform the memory function every time
when you install the lens.
■ Be sure to execute “Center Lens” after the lens is changed.
■ Refer to User’s Manual attached to optional lens as well.
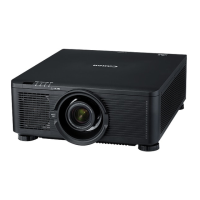
Using the Anti-theft Screw for Lens
To prevent the accidental removal of the lens, fasten the Anti-
theft screw for lens included with the projector to the bottom
of the projector.
Anti-theft
screw for
lens
 Loading...