40
Label Description
Lamp Warning Display Press ◄ or ► to enable or disable the warning message.
Specify whether to show a lamp replacement message after the lamp has
been used for a specied period.
■ Setting display to Off will disable both the message to prepare a
replacement lamp and the warning to replace the lamp. To review the
replacement timing, check the lamp counter.
■ Lamps that are still used after the timing for lamp replacement are
more likely to rupture. Replace the lamp with a new one as soon as
possible.
Lamp 1 Status Shows the current status of Lamp 1.
Lamp 2 Status Shows the current status of Lamp 2.
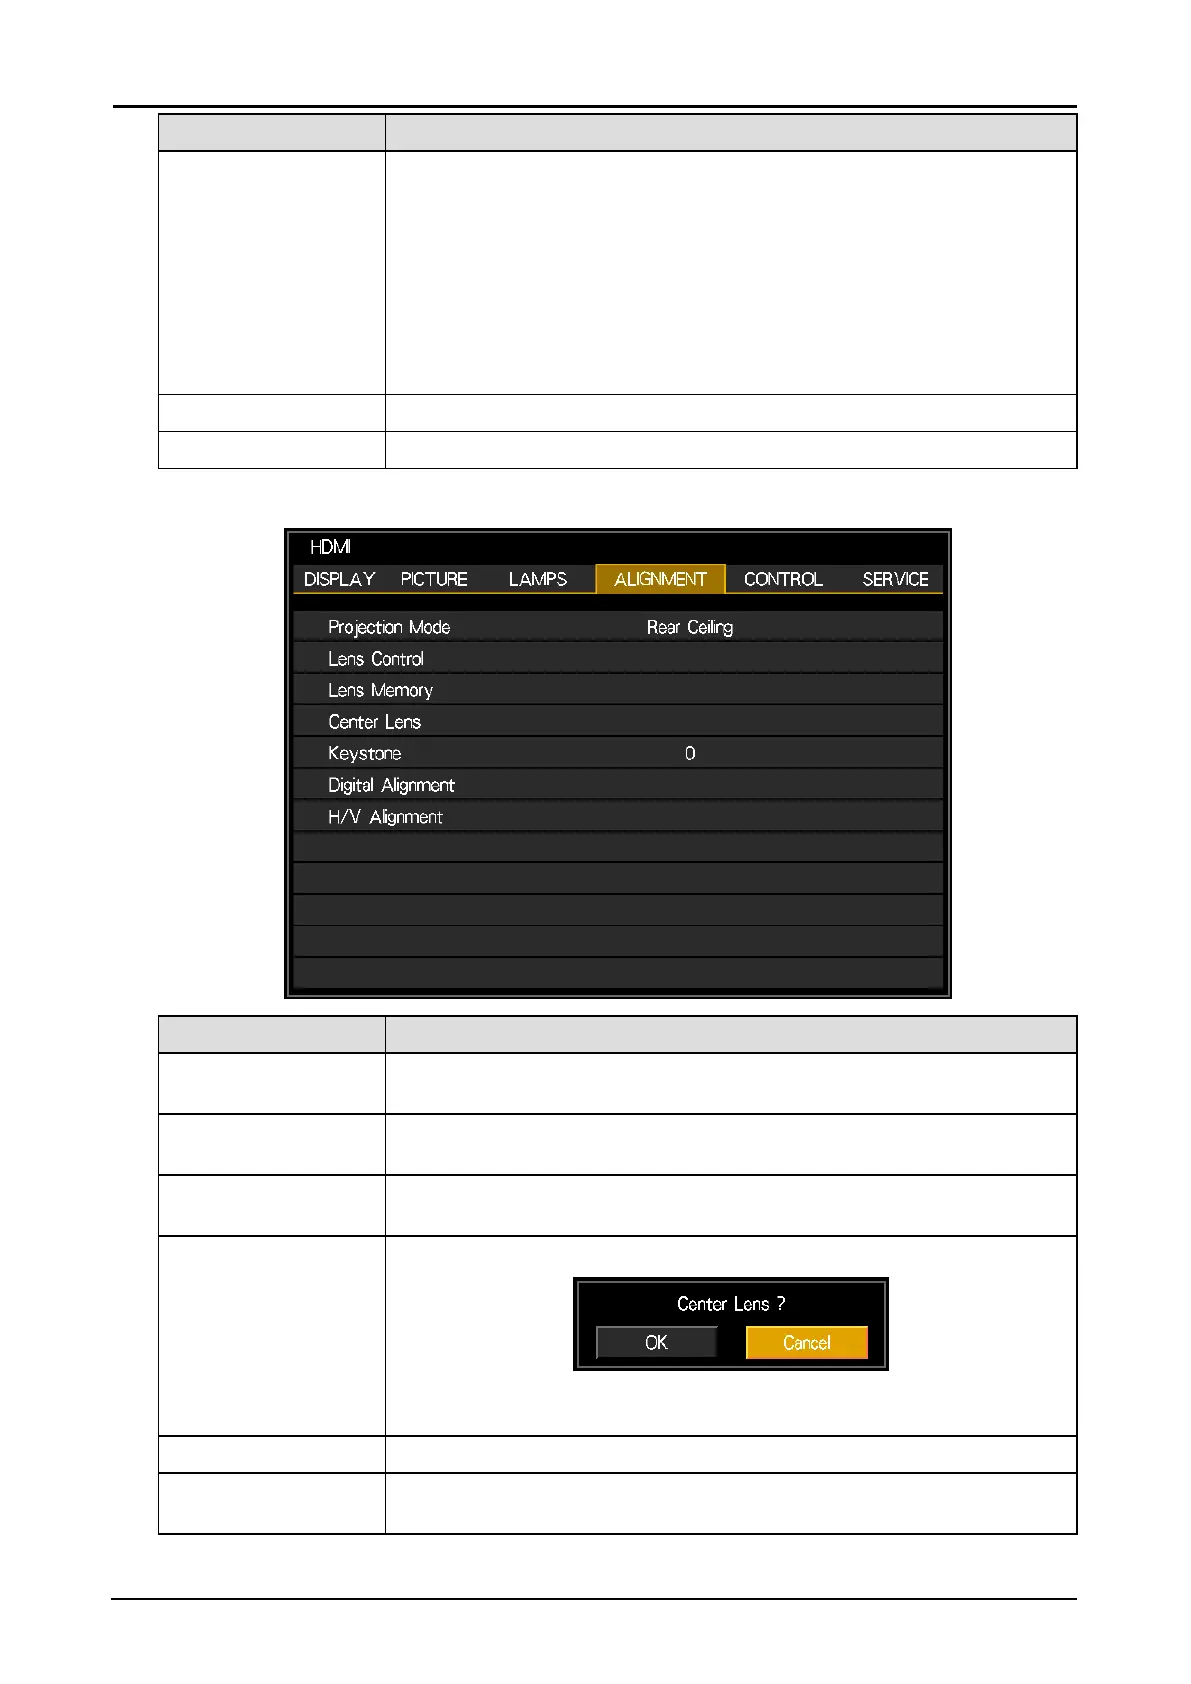
ALIGNMENT Menu
Label Description
Projection Mode Press ◄ or ► to select a projection mode. The options are Front Table,
Rear Table, Front Ceiling, Rear Ceiling, Up + Front and Down + Front.
Lens Control Press ENTER to enter the Lens Control menu. See “Lens Control Menu”
on page 41.
Lens Memory Press ENTER to enter the Lens Memory menu. See “Lens Memory Menu”
on page 41.
Center Lens Press ENTER to set the lens to the default center position.
Note:
Calibrate the lens whenever a lens is mounted on the projector.
Keystone Press ◄ or ► to adjust vertical distortion brought by the projection angle.
Digital Alignment* Press ENTER to enter the Digital Alignment menu. See “Digital Alignment
Menu” on page 43.
 Loading...