61
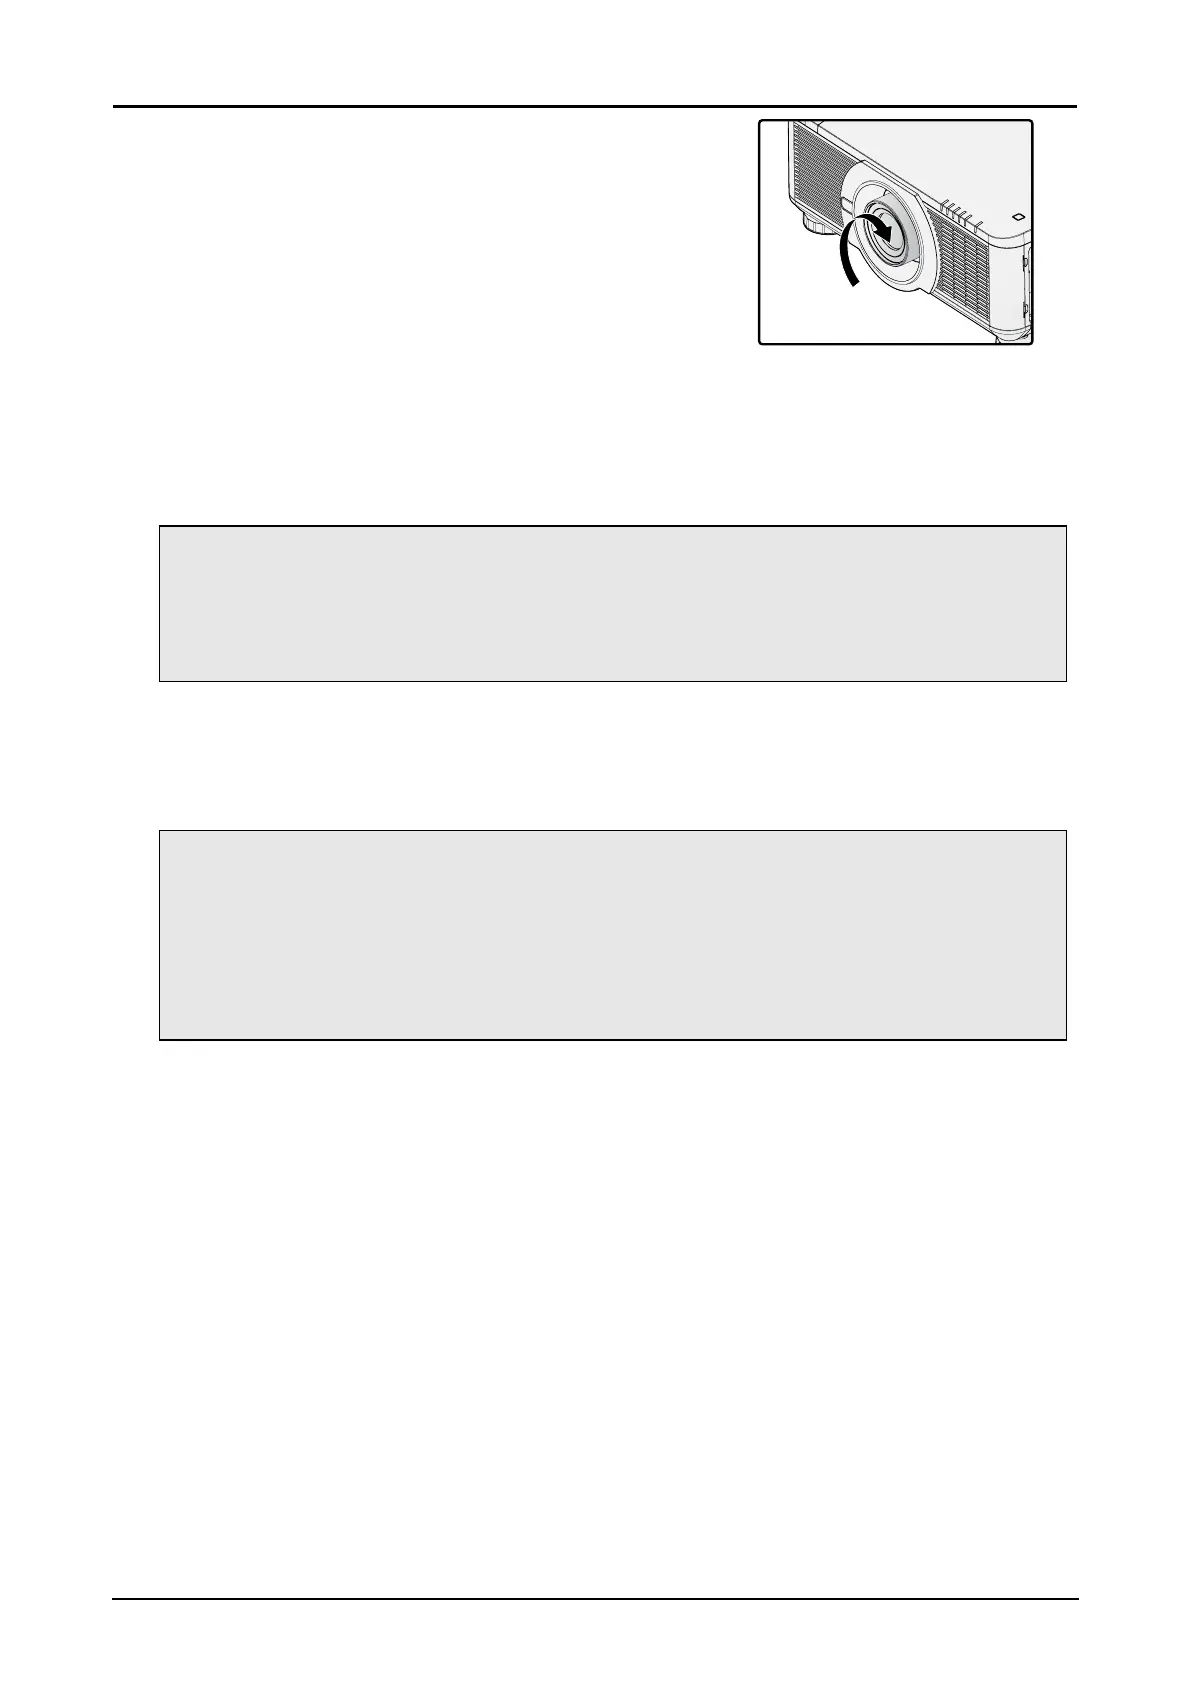
8. Turn the new lens clockwise until and audible Click is
heard signifying the new lens is secured and seated
correctly.
9. Gently pull on the new lens to ensure it is locked in
place. If the new lens does not come off, it is seated
correctly.
10. Install the anti-theft screw for lens to prevent removal of
the lens. See “Using the Anti-theft Screw for Lens” on
page 21.
Note:
■ Make sure you press and hold the release button to loosen and unlock the old lens from the
projector when removing the old lens.
■ Be sure to execute Center Lens after the lens is changed.
■ Do not adjust lens manually (except LX-IL01UW).
Replacing the Filter
Filter No.: LX-FL01.
Before replacing the lter, wait approximately 45 minutes after the projector is turned off to allow the
projector to cool thoroughly.
Note:
■ Dirty lter may reduce the amount of air owing into the projector and the temperature in the
projector may rise as a result. This may activate the protection mechanism or damage the
components.
■ Check, clean and replace the lter regularly.
■ It is recommended to replace the lter every time when you replace the lamp.
■ Power off and unplug power cord, waiting projector cool at least 45 minutes.
 Loading...