26
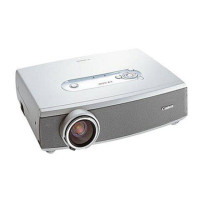
4. Press the source buttons on the remote control or
INPUT on the projector to select a desired input source.
5. Press the POWER button on the projector or the OFF
button on the remote control to show the “Power Off? /
Press Power again” prompt.
6. Press the POWER button on the projector or the OFF
button on the remote control to turn off the projector.
The cooling fan continues to rotate for a while after
Power Switch is turned off or the power cable is
unplugged.
Note:
■ Use the projector’s supplied power cord.
■ Conrm the projector’s power requirements before installing to make sure the power supply
meets the projector’s specication requirements.
Caution:
Do not unplug the power cord and do not turn off the power switch until the POWER LED solid red -
indicating the projector has cooled down.
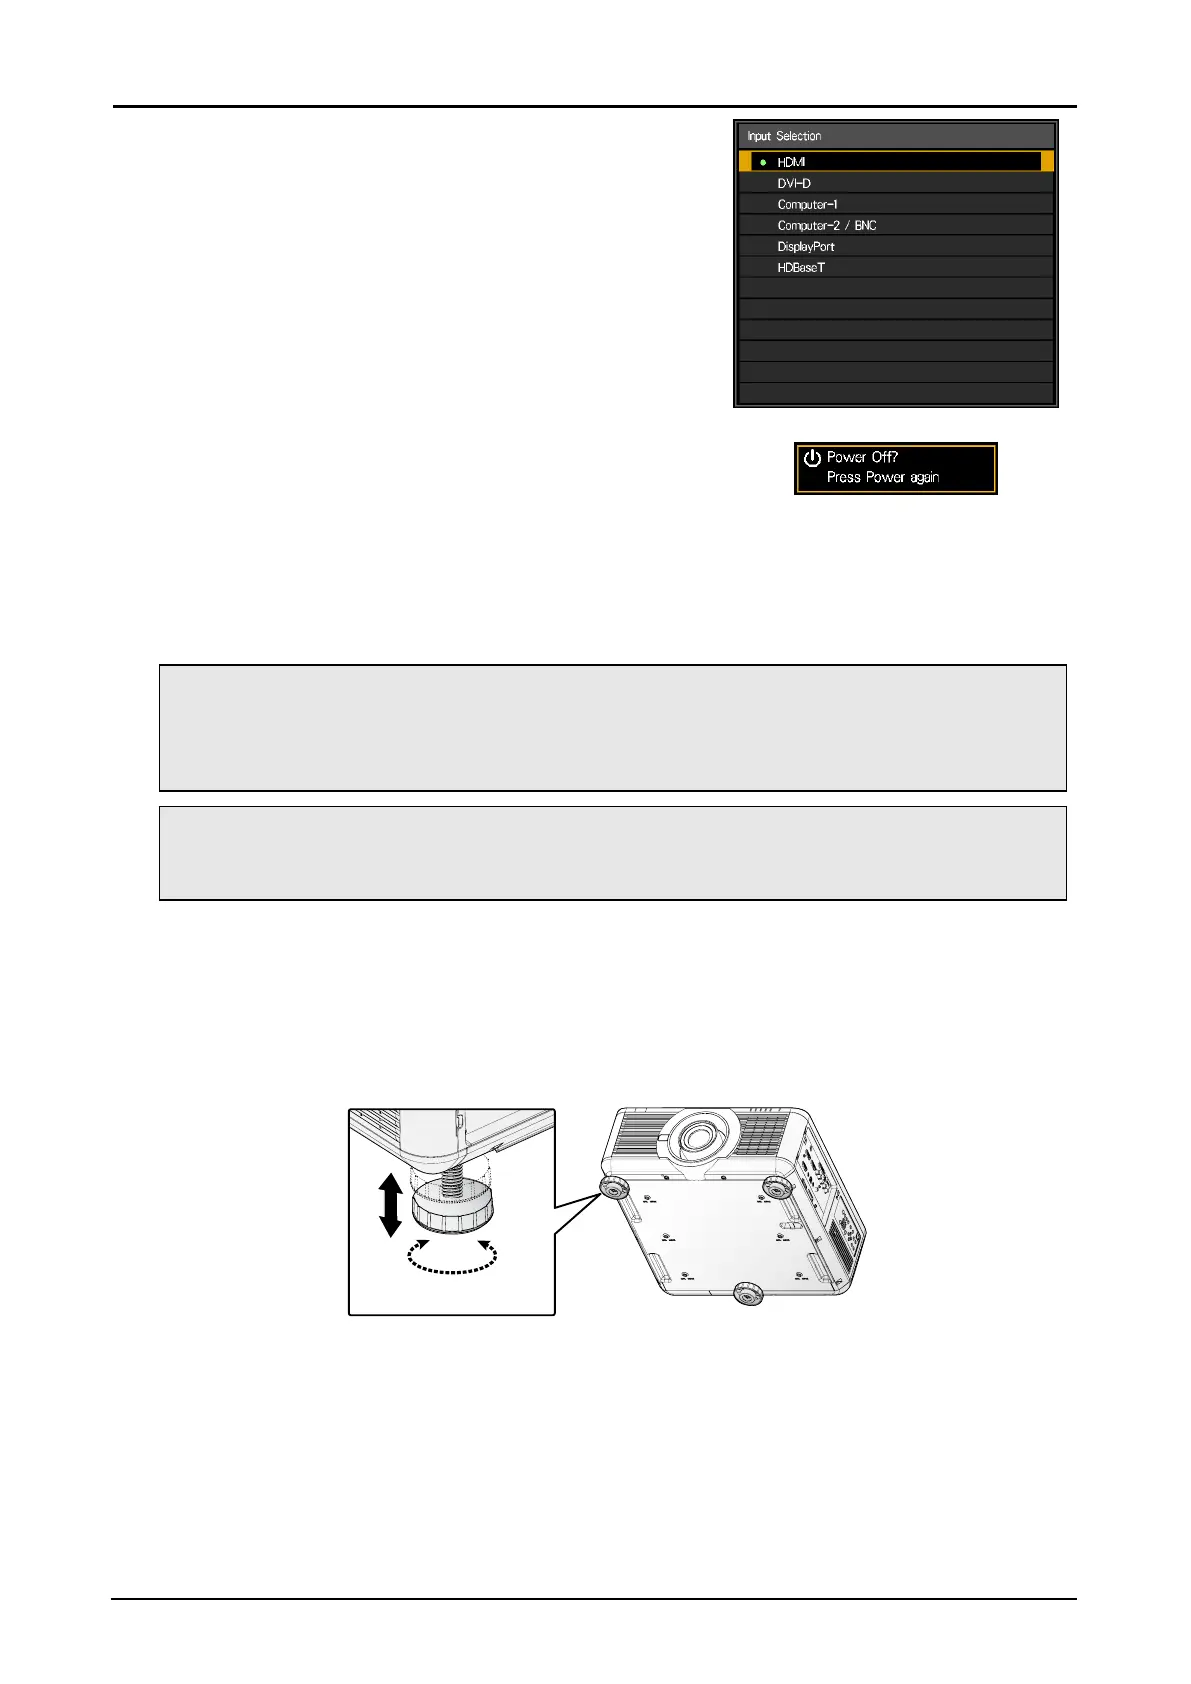
Adjusting the Projector Level
Take note of the following when setting up the projector:
■ The projector table or stand should be level and sturdy.
■ Position the projector so that it is perpendicular to the screen.
■ Ensure the cables are secured and out of the way to avoid tripping on them and prevent damage or
injury.
To level the projector on the installation surface, turn the tilt-adjuster right or left until the desired angle
is achieved.
 Loading...