Advanced Guide
Troubleshooting
Contents
> Routine Maintenance >
When Printing Becomes Faint or Colors Are Incorrect
> Aligning the Print Head
Aligning the Print Head
If printed ruled lines are misaligned or print results are otherwise unsatisfactory, adjust the print head
position.
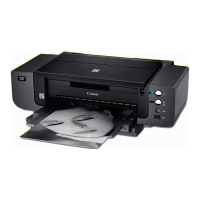
You need to prepare: two sheets of A4 or Letter-sized plain paper
Note
Aligning the Print Head without a computer
You can also align the Print Head from the printer itself using the
RESUME/CANCEL
button.
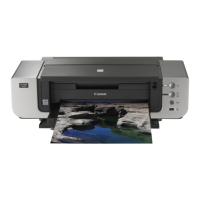
1. Make sure that the power is turned on, and load two sheets of A4 or Letter-sized plain paper in
the Rear Tray.
2. Gently press the upper center of the Front Tray to open it, and pull out the Front Tray Extension.
If the Inner Cover is open, close it.
3. Hold down the
RESUME/CANCEL
button until the
Power
lamp flashes blue four times, then
release it immediately. The print head alignment pattern will be printed and the printer will adjust
the print head position automatically. Do not perform any other operations until the printer
completes the printing of the print head alignment pattern.
1.
Make sure that the power is turned on.
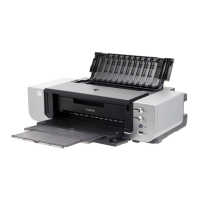
2.
Load two sheets of A4 or Letter-sized plain paper in the Rear Tray.
Important
You cannot feed paper from the Front Tray for aligning the Print Head. Load paper in the Rear
Tray.
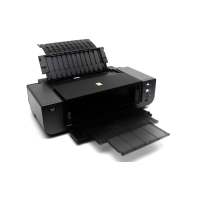
3.
Open the Front Tray gently, and pull out the Front Tray Extension.
Gently press the upper center of the Front Tray to open it.
Important
If the Inner Cover is open, close it.
4.
Open the printer driver setup window.
See
Opening the Printer Driver Setup Window (Windows)
.
5.
Adjust the print head position.
(1)
Click the Maintenance tab.
(2)
Click Print Head Alignment.
Page 69 of 541 pagesAligning the Print Head
 Loading...