Removing and Installing SMC PC Cards
▄ ASR 5000 Installation Guide
Installing PC Cards
This section provides instructions for installing a PC Card in the SMC.
If you are performing an initial installation of a PC Card, begin with step 1. If you are replacing a PC Card that you have
removed according to the procedures in Removing PC Cards , begin with step 4.
Caution: During installation, maintenance, and/or removal, wear a grounding wrist strap to avoid ESD damage
to the components. Failure to do so could result in damage to sensitive electronic components and potentially void your
warranty
Step 1 Identify the slot where you are installing the PC Card.
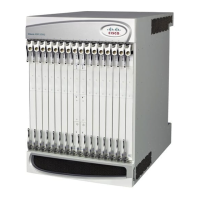
Step 2 Use a Phillips #1 screwdriver to remove the two screws securing the PC Card slot cover.
Step 3 Remove the PC Card slot cover.
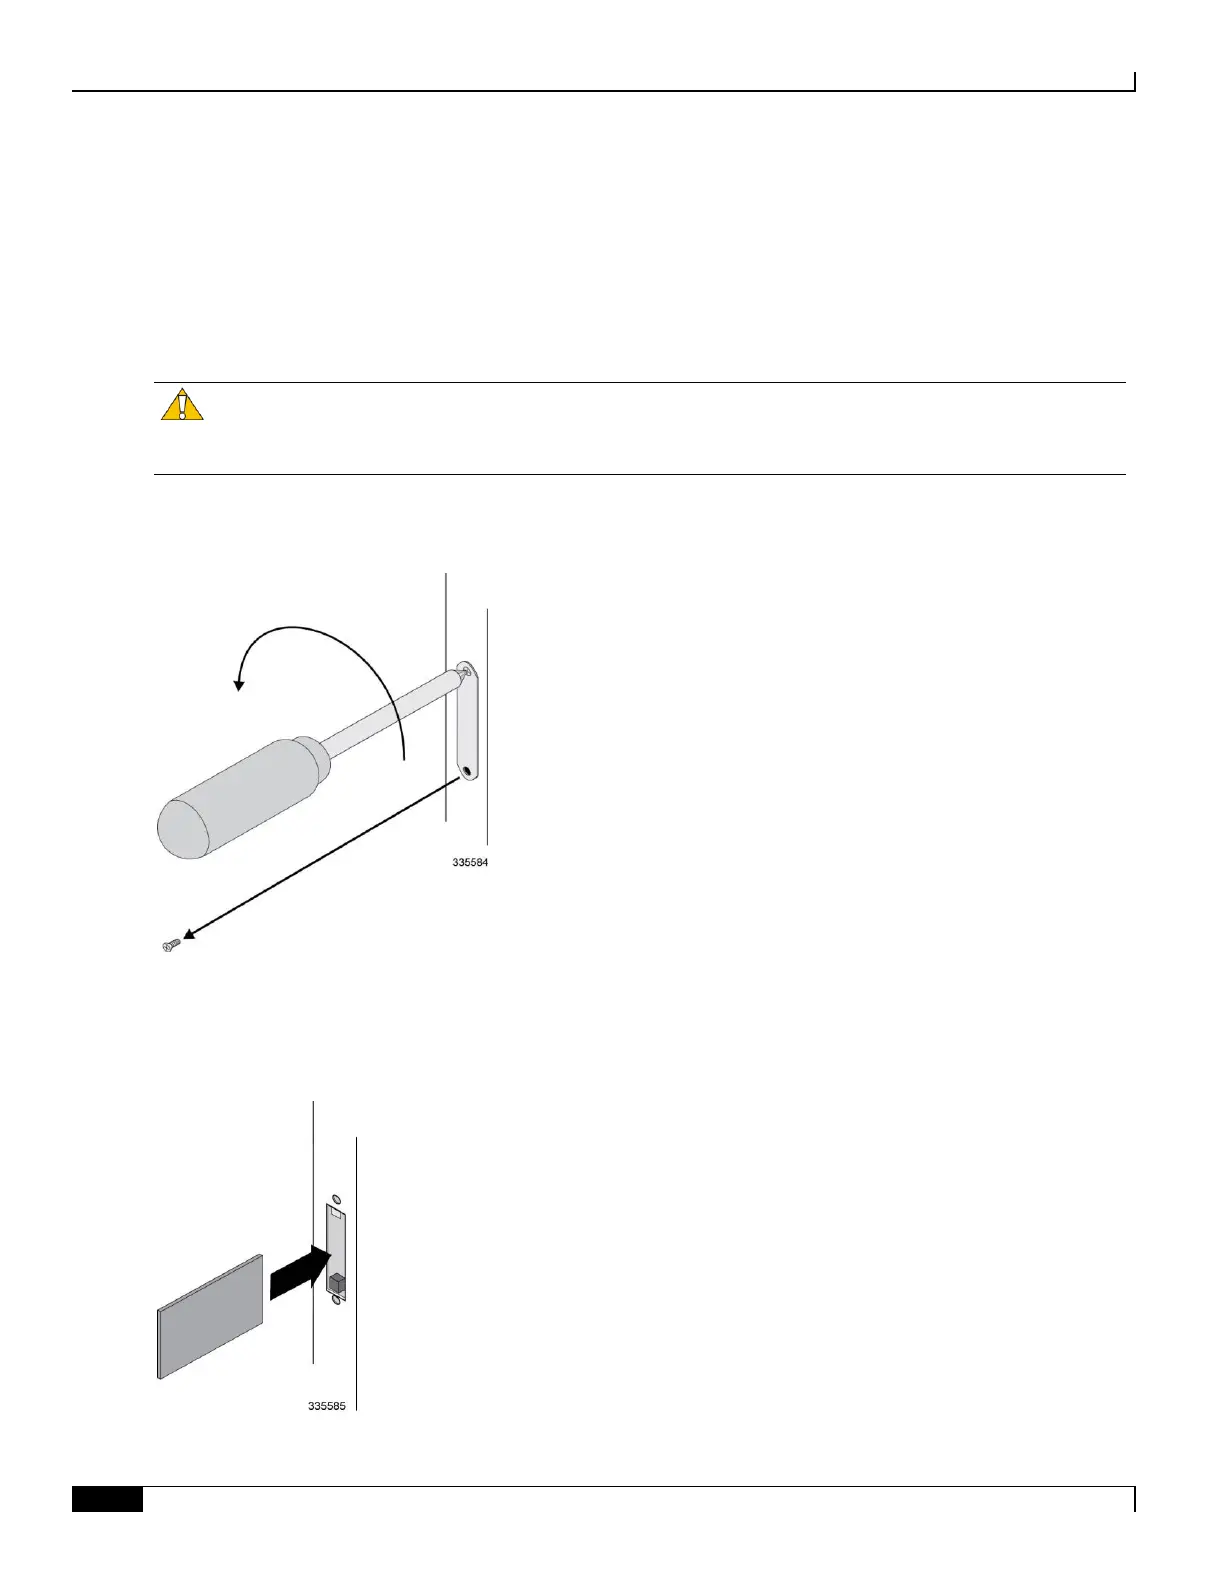
Step 4 Align the PC Card with the slot’s upper and lower card guides and slide the card into the slot until it can go no further.
The face/top of the PC Card, typically where the manufacturer’s brand name information is located on the label, should
be facing to the right side of the card.
 Loading...