Cutting Decks And Lift Shaft
140
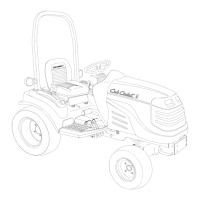
5. Remove the timing belt idler spring.
See Figure 8.23.
6. Work the belt off of the pulleys.
NOTE: The PTO idler pulley and the timing belt
idler pulley can be moved apart, making clear-
ance to remove the timing belt. See Figure 8.24.
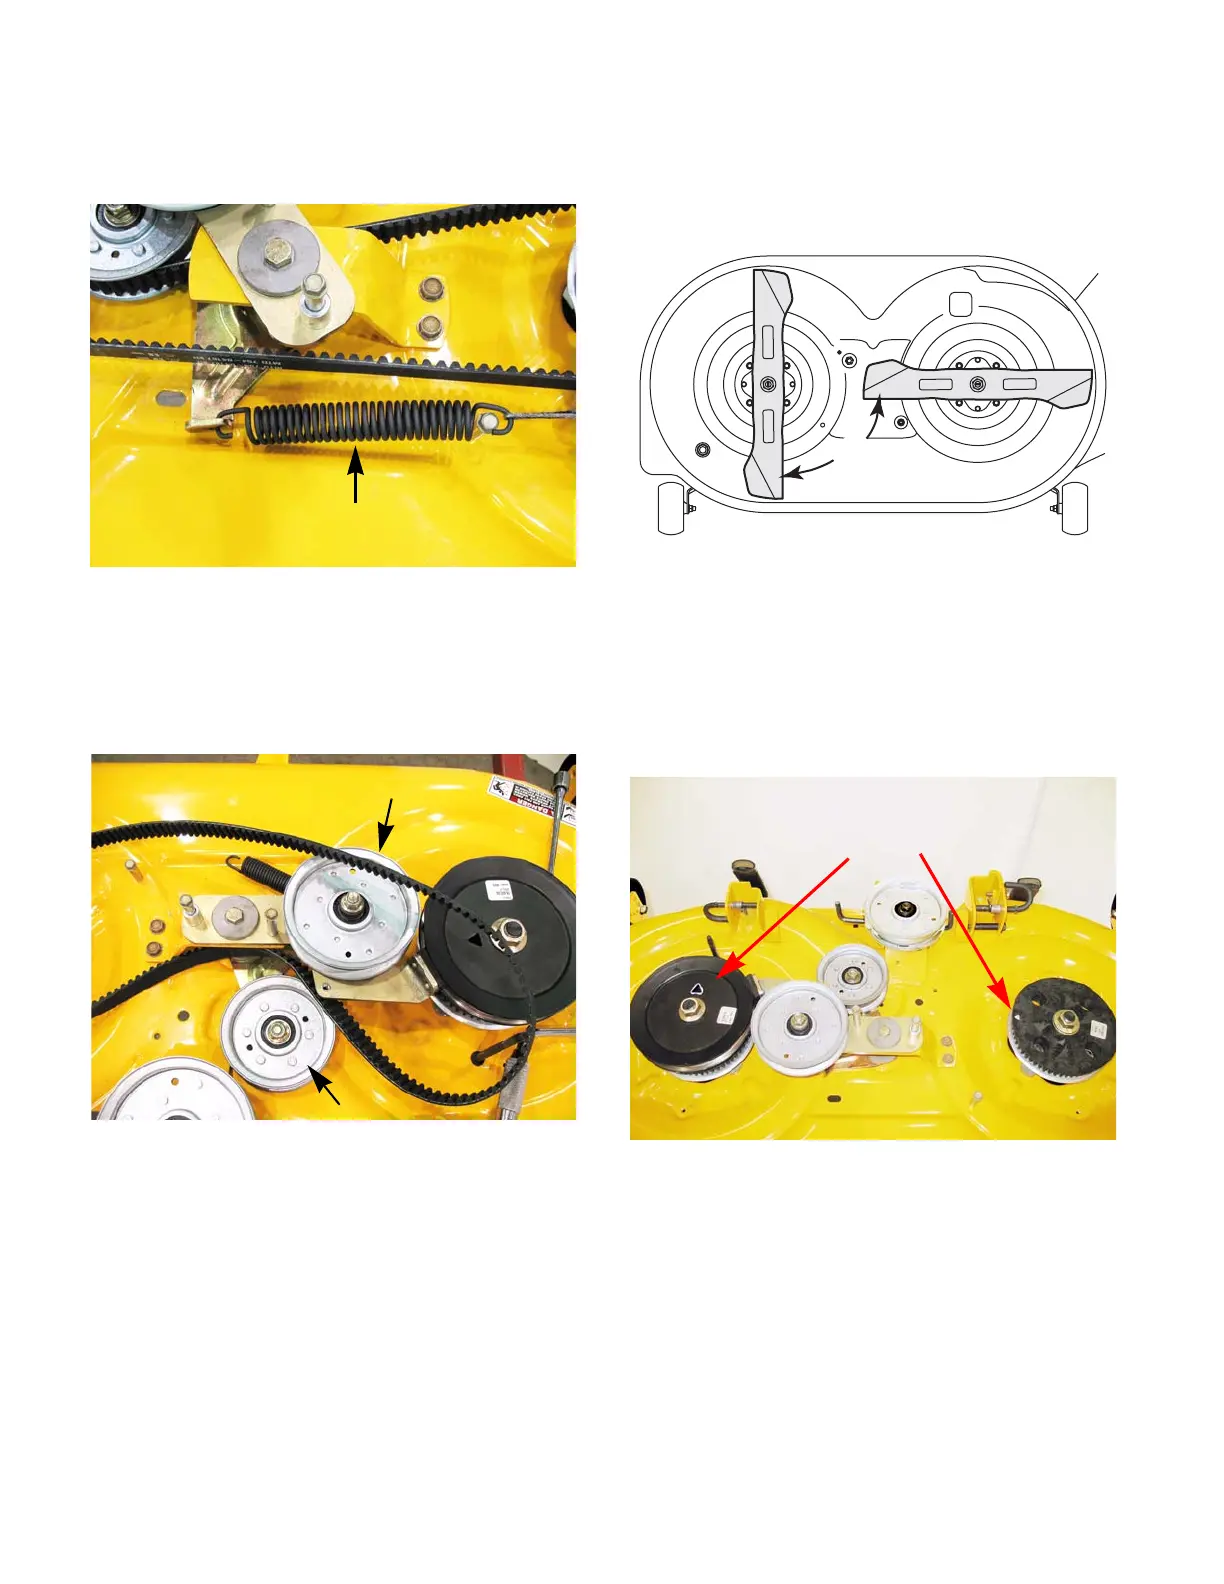
7. To install the timing belt turn the blades 90
o
apart. See Figure 8.25.
NOTE: Failure to time the blades will result in
the blades hitting each other.
NOTE: The timing marks will line up with the
blades and would need to be 90
o
apart.
See Figure 8.26.
NOTE: The timing marks on the blade pulleys
have been shown in white for clarity.
8. Install the timing belt by following steps 1
through 6 in reverse order.
9. Test run the tractor in a safe area before return-
ing it to service.
Figure 8.23
Timing belt idler spring
Figure 8.24
PTO idler pulley
Timing belt idler pulley
Figure 8.25
Figure 8.26
Timing marks
 Loading...