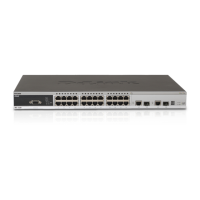
DES-3028 DES-3028P DES-3052 DES-3052P Layer 2 Fast Ethernet Managed Switch
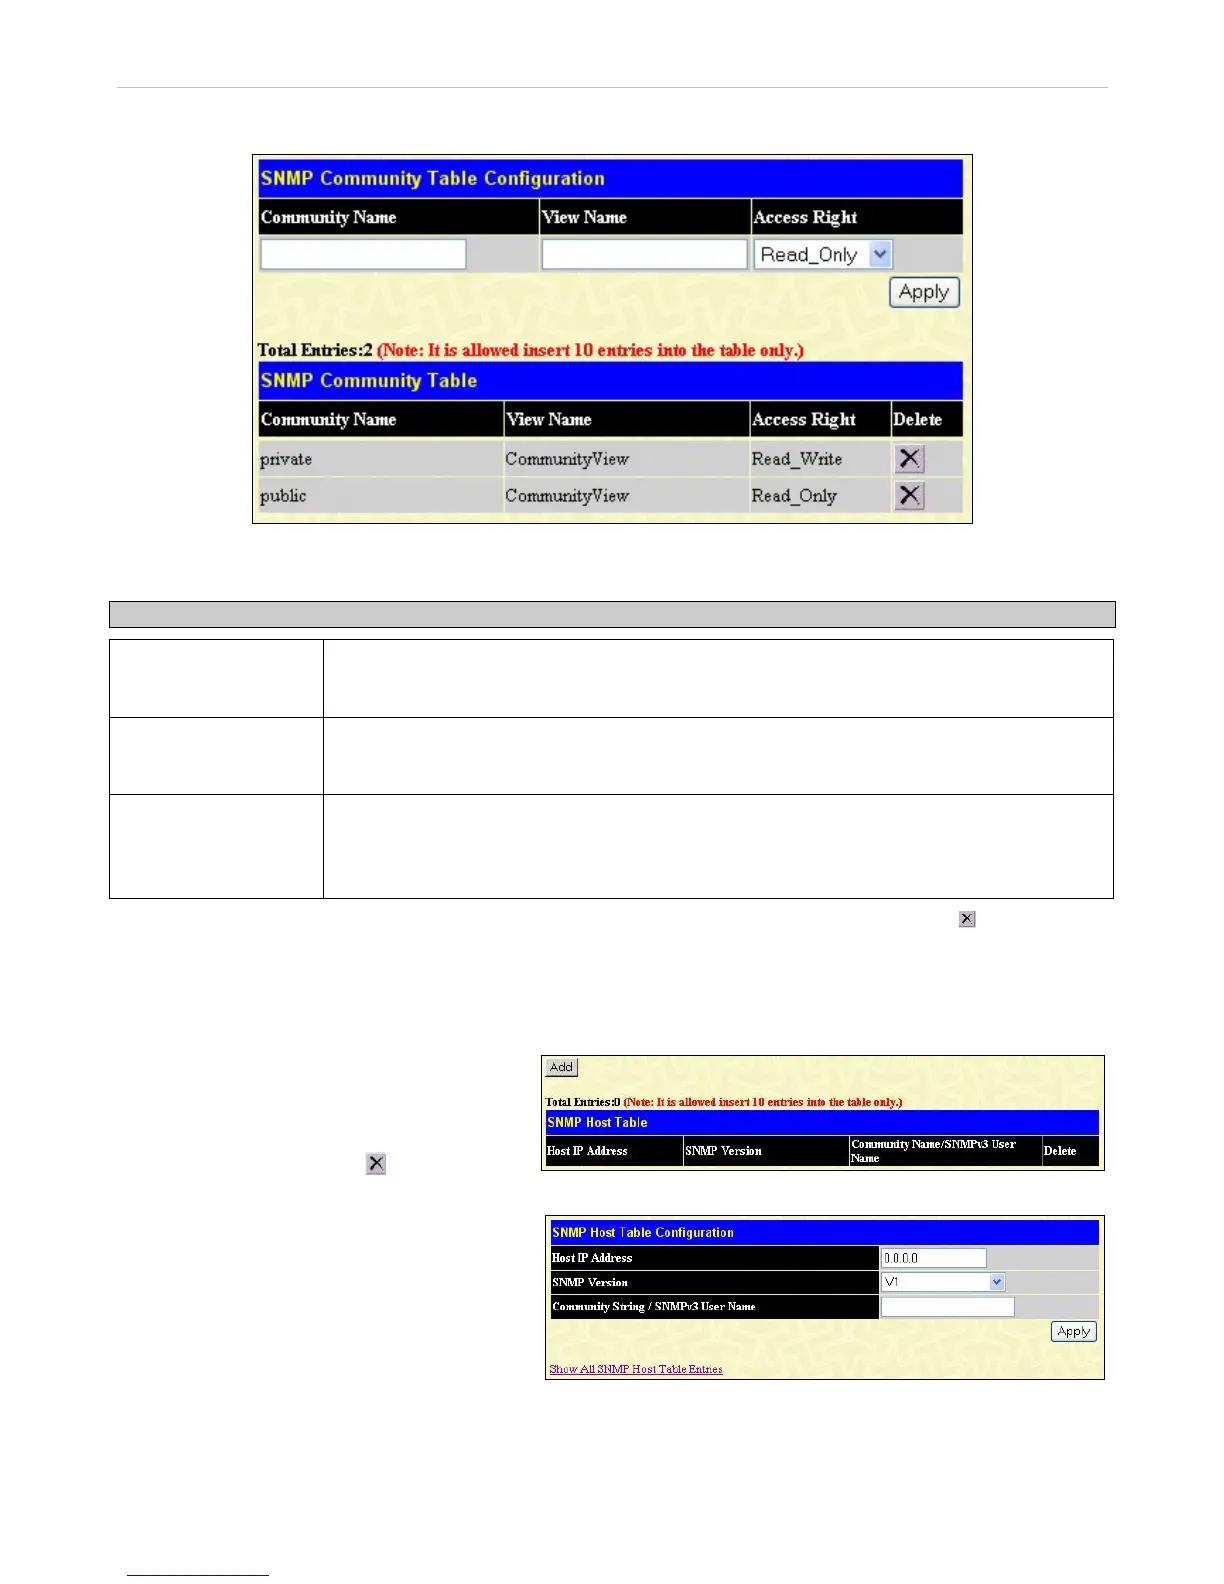
To configure SNMP Community entries, open the SNMP Manager folder, (located in the Administration folder) and click the
SNMP Community Table link, which will open the following window:
Figure 6- 36. SNMP Community Table Configuration window
The following parameters can set:
Parameter Description
Community Name
Type an alphanumeric string of up to 32 characters that is used to identify members of an
SNMP community. This string is used like a password to give remote SNMP managers
access to MIB objects in the Switch's SNMP agent.
View Name
Type an alphanumeric string of up to 32 characters that is used to identify the group of MIB
objects that a remote SNMP manager is allowed to access on the Switch. The view name
must exist in the SNMP View Table.
Access Right
Read Only - Specifies that SNMP community members using the community string created
can only read the contents of the MIBs on the Switch.
Read Write - Specifies that SNMP community members using the community string created
can read from, and write to the contents of the MIBs on the Switch.
To implement the new settings, click Apply. To delete an entry from the SNMP Community Table, click the under the Delete
heading, corresponding to the entry to delete.
SNMP Host Table
Figure 6- 37. SNMP Host Table window
Use the SNMP Host Table window to set up SNMP
trap recipients. Open the SNMP Manager folder,
(located in the Administration folder) and click o
the SNMP Host Table Configuration link. This
will open the SNMP Host Table window, as shown
to the right. To delete an existing SNMP Host Table
entry, click the corresponding
under the Delete
heading. To display the cu settings for arrent
 Loading...