Getting Started Connections Settings Playback Remote ControlMulti-zone Information Troubleshooting SpecificationsPlayback
ENGLISH
Other Operations
When playing DSD signals in the DIRECT or PURE DIRECT mode,
the DSD signals are converted as such into analog signals. When
playing in other surround modes, the DSD signals are first converted
into PCM format, then into analog signals.
“DSD DIRECT” is shown on the display when playing DSD 2-channel
signals in the DIRECT mode. “DSD MULTI DIRECT” is shown on
the display when playing DSD multi-channel signals in the DIRECT
mode.
•
•
1
Either assign the input source to be used to “HDMI”
(vpage 58), or assign “D.LINK” at the “Digital”
setting (vpage 58 “Input Assign”).
2
Either turn <SOURCE SELECT> or press [INPUT
SOURCE SELECT] to select the input source assigned
in step 1.
The “ ” or “ ” indicator lights on the display.
3
Select the surround mode (vpage 78 “Selecting the
surround mode).
We recommend playing in the DIRECT mode.b
4
Start playing the Super Audio CD.
The “ ” indicator lights on the display.
For operating instructions, refer to the respective equipment’s
operating instructions.
b
Playing Super Audio CD
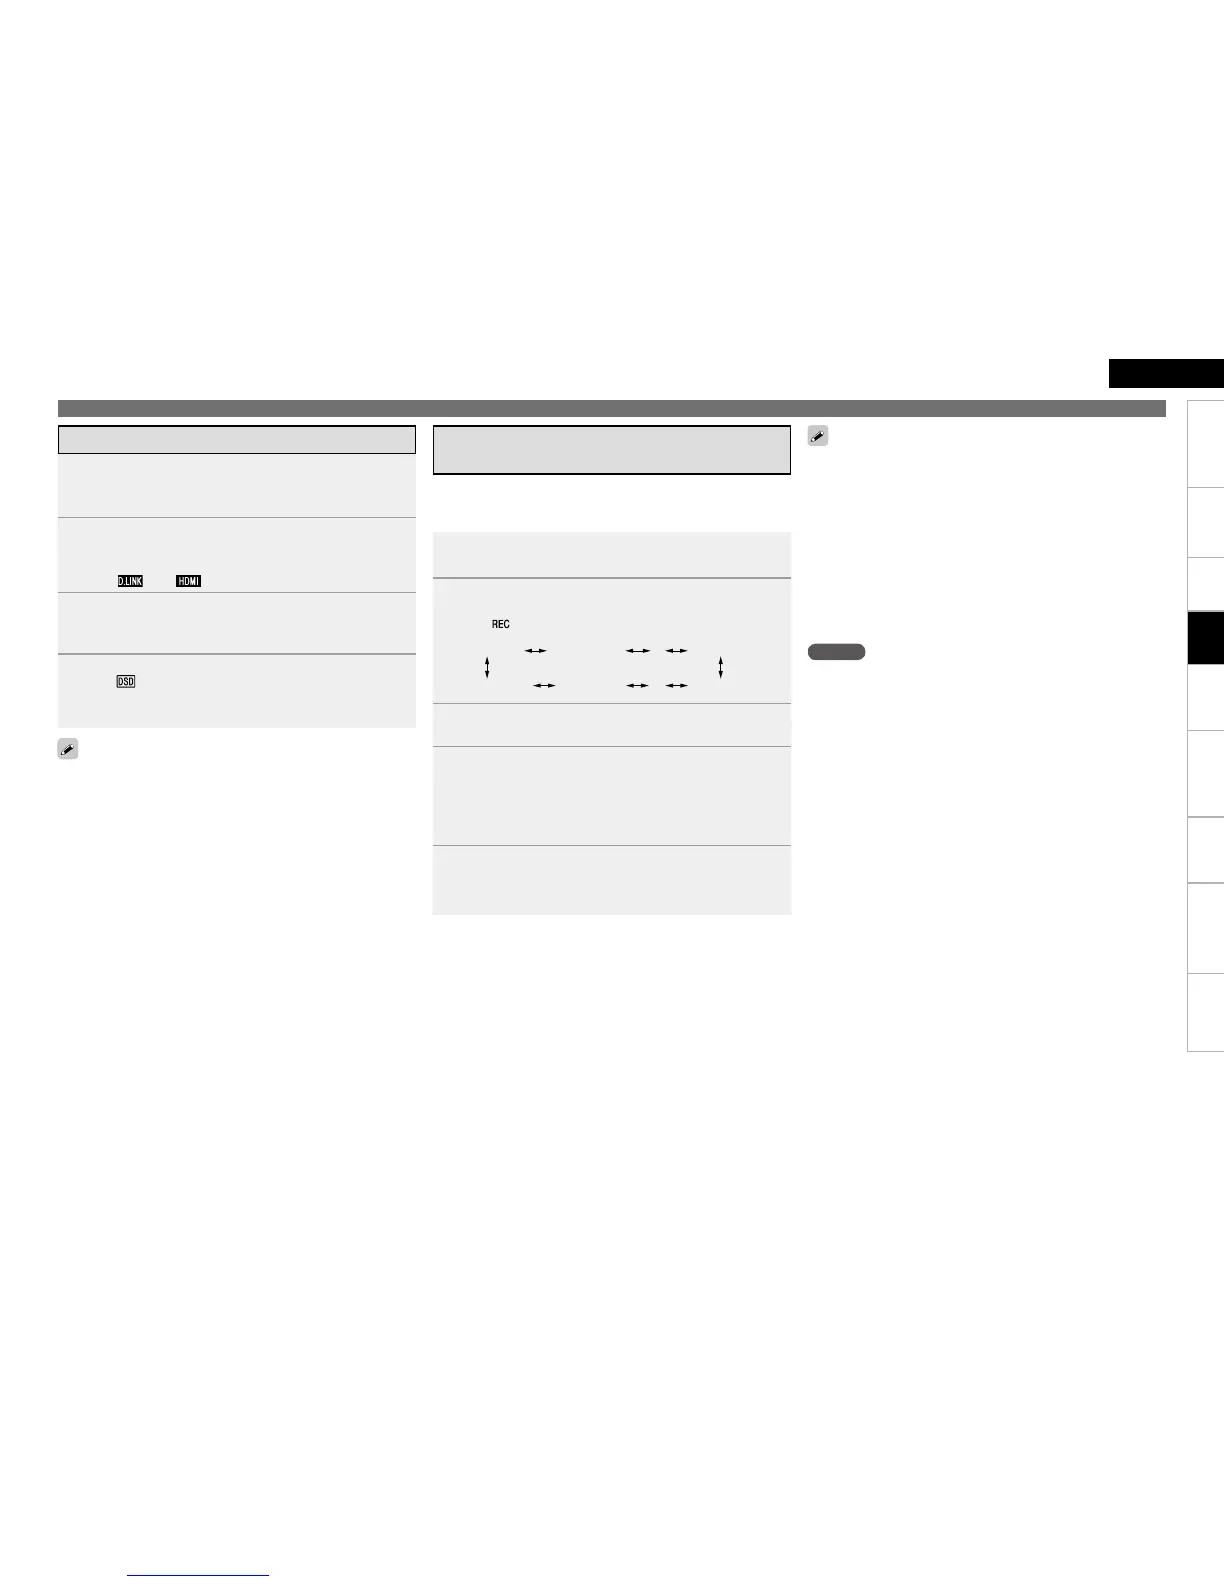
When using the audio/video recording connectors (VCR or DVR
outputs), you can record the audio or video from a different program
source while listening to the currently played track.
1
Press <ZONE2/3/4 / REC SELECT>.
“ZONE2 SOURCE” is shown on the display.
2
Turn <SOURCE SELECT> until “RECOUT SOURCE”
is displayed.
The “ ” indicator lights.
3
Turn <SOURCE SELECT> to choose the input source
to be recorded.
4
Play the program source.
For operating instructions, refer to the respective equipment’s
operating instructions.
To record FM or AM broadcasts, select the broadcast (vpage
67).
b
b
5
Start recording.
For operating instructions, refer to the respective equipment’s
operating instructions.
b
Recording on an External Device
(REC OUT mode)
To cancel, press <ZONE2/3/4 / REC SELECT>, then turn <SOURCE
SELECT> until “ZONE2 SOURCE” is displayed.
Make a test recording before starting the actual recording.
Signals are only output to the analog REC OUT connectors when
the digital signals input to the digital input connectors (OPTICAL/
COAXIAL) are PCM (2-channel) signals.
As the digital audio signal input from the HDMI connector is not
output to the digital recording connector (OPTICAL), you should
connect using the OPTICAL and COAXIAL connectors.
Sources selected with the REC OUT mode are output from ZONE2
as well.
In the REC OUT mode, the remote control unit’s ZONE2 mode
buttons cannot be operated.
•
•
•
•
•
•
NOTE
Recordings you make are for your personal enjoyment and should
not be used for other purposes without permission of the copyright
holder.
Input sources for which “Delete” is selected at “Source Delete”
(vpage 52) cannot be selected.
•
•
 Loading...