EH-TW8000/TW9000/TW9000W Disassembly and Assembly CONFIDENTIAL
SEIKO EPSON 102 Revision A
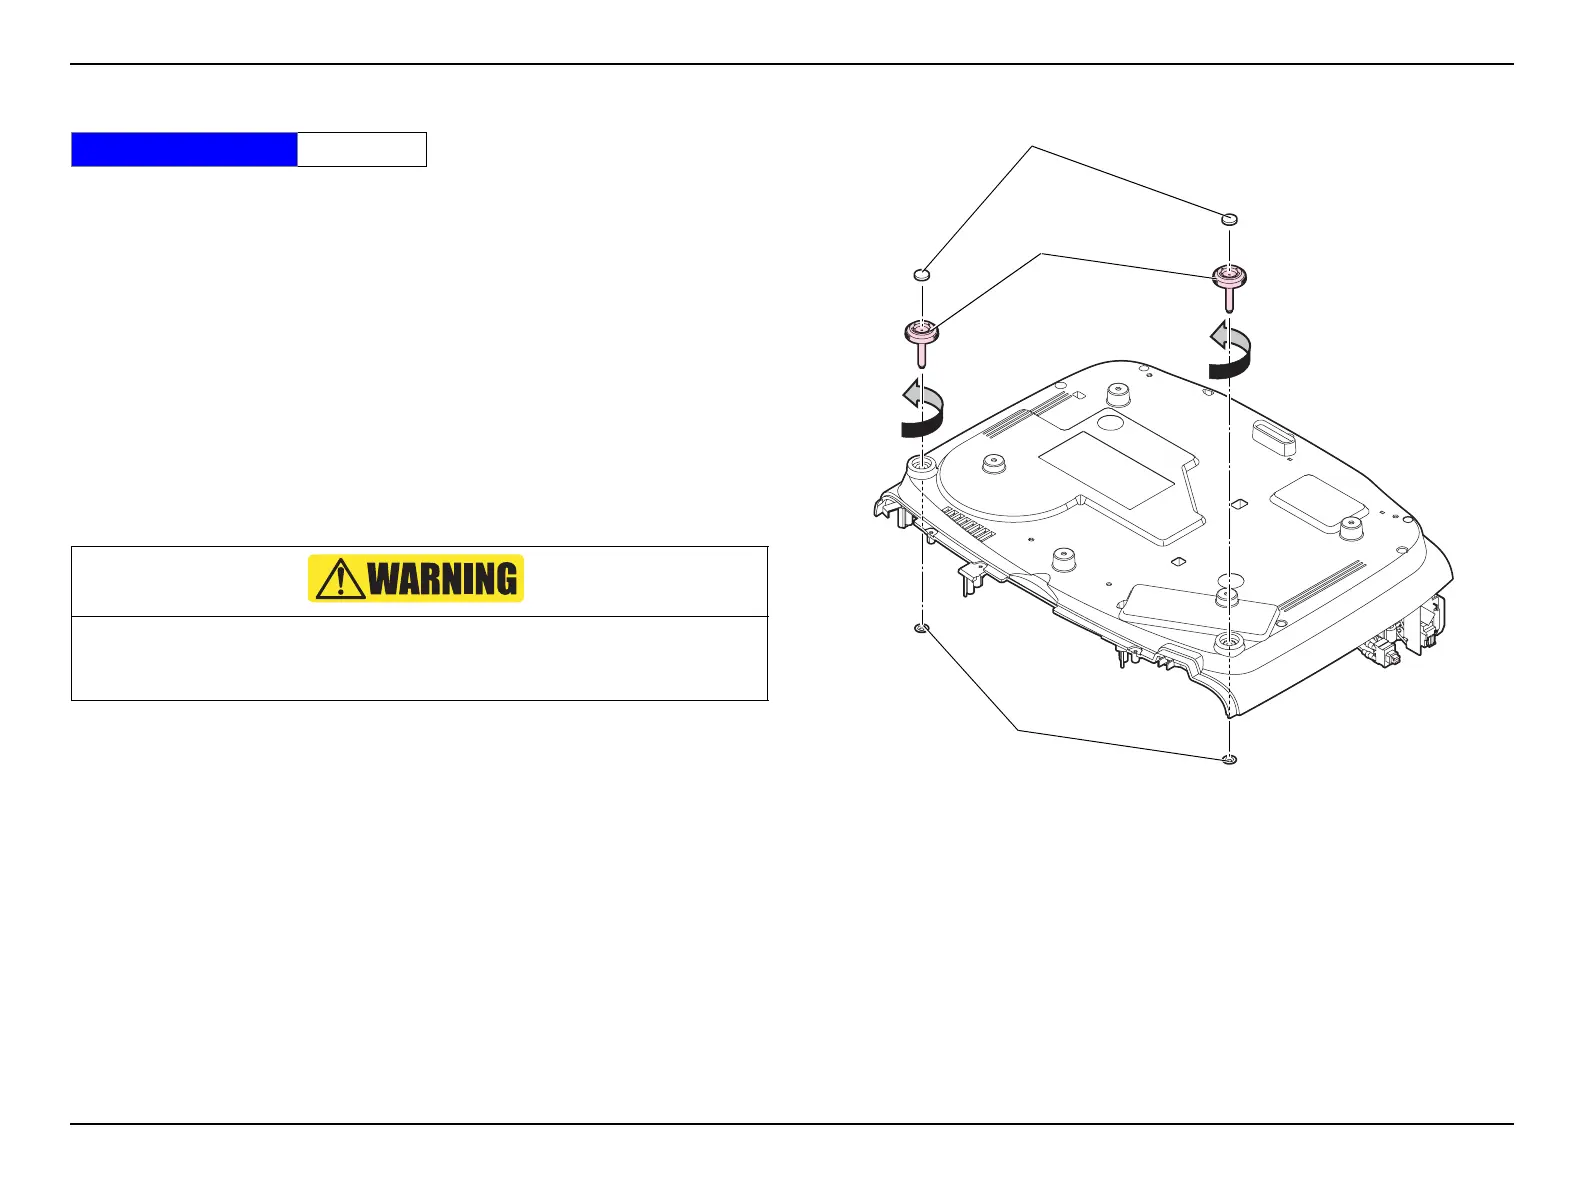
3.3.16 Front Foot
1. Remove the Air Filter. (p.64)
2. Remove the Lamp. (p.64)
3. Remove the Rear Case. (p.66)
4. Remove the Front Case. (p.67)
5. Remove the Upper Case. (p.68)
6. Remove the MA Board (assembly). (p.70)
7. Remove the Lens Shutter. (p.77)
8. Remove the Optical Engine (assembly). (p.78)
9. Remove the INT Duct (assembly). (p.87)
10. Remove the EX Duct (assembly). (p.92)
11. Remove the Push Nut using needlenose pliers or a nipper.
12. Turn the Front Foot counterclockwise and remove it.
13. Remove the Foot Rubber from the Front Foot.
Figure 3-36.
Standard Operation Time 23 Min.
Make sure to use needlenose pliers or a nipper when removing the Push Nut in
the following steps. Removing and attaching the Push Nut repeatedly may cause
the deformation of the Push Nut.
Foot Rubber
Front Foot
Push Nut
 Loading...