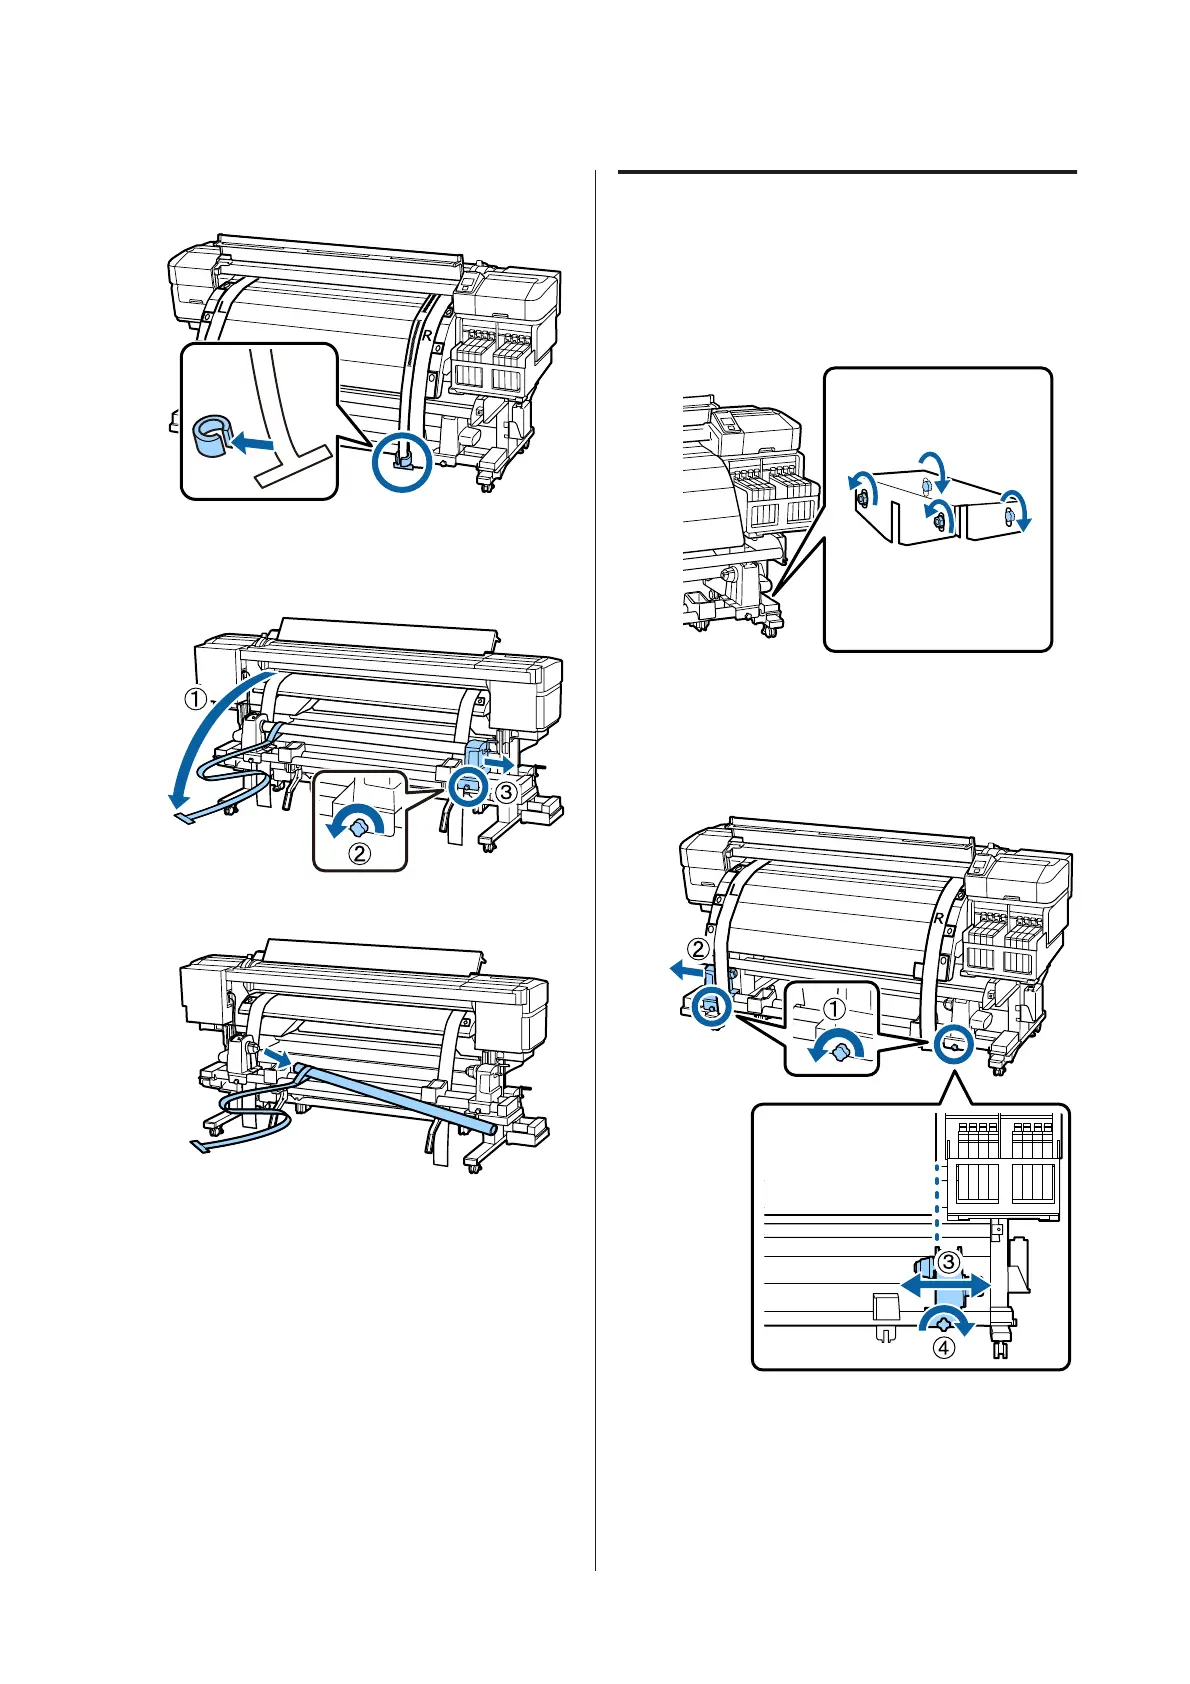
R
At the front of the printer, remove the
counterweight attached to film a.
S
Pull film a from the rear of the printer. Next,
loosen the right roll holder fixing screw, and
move away the roll holder.
T
Remove the roll core.
Next, proceed to the parallel adjustment of the Auto
Take-up Reel Unit.
Parallel Adjustment for the Auto
Take-up Reel Unit
A
Use the large hexagon wrench to loosen the four
fixing screws on the front of the printer as shown
in the illustration.
B
Loosen the roll core holder locking screws and
move the left roll core holders to the outside.
Next, tighten the roll core holder locking screw to
align the right roll core holder with the position
of dotted line.
SC-F9200 Series User's Guide
Appendix
123
 Loading...


