I
The printer will print a test pattern.
When printing is complete, the media will
automatically be fed to a position where the
pattern is clearly visible.
J
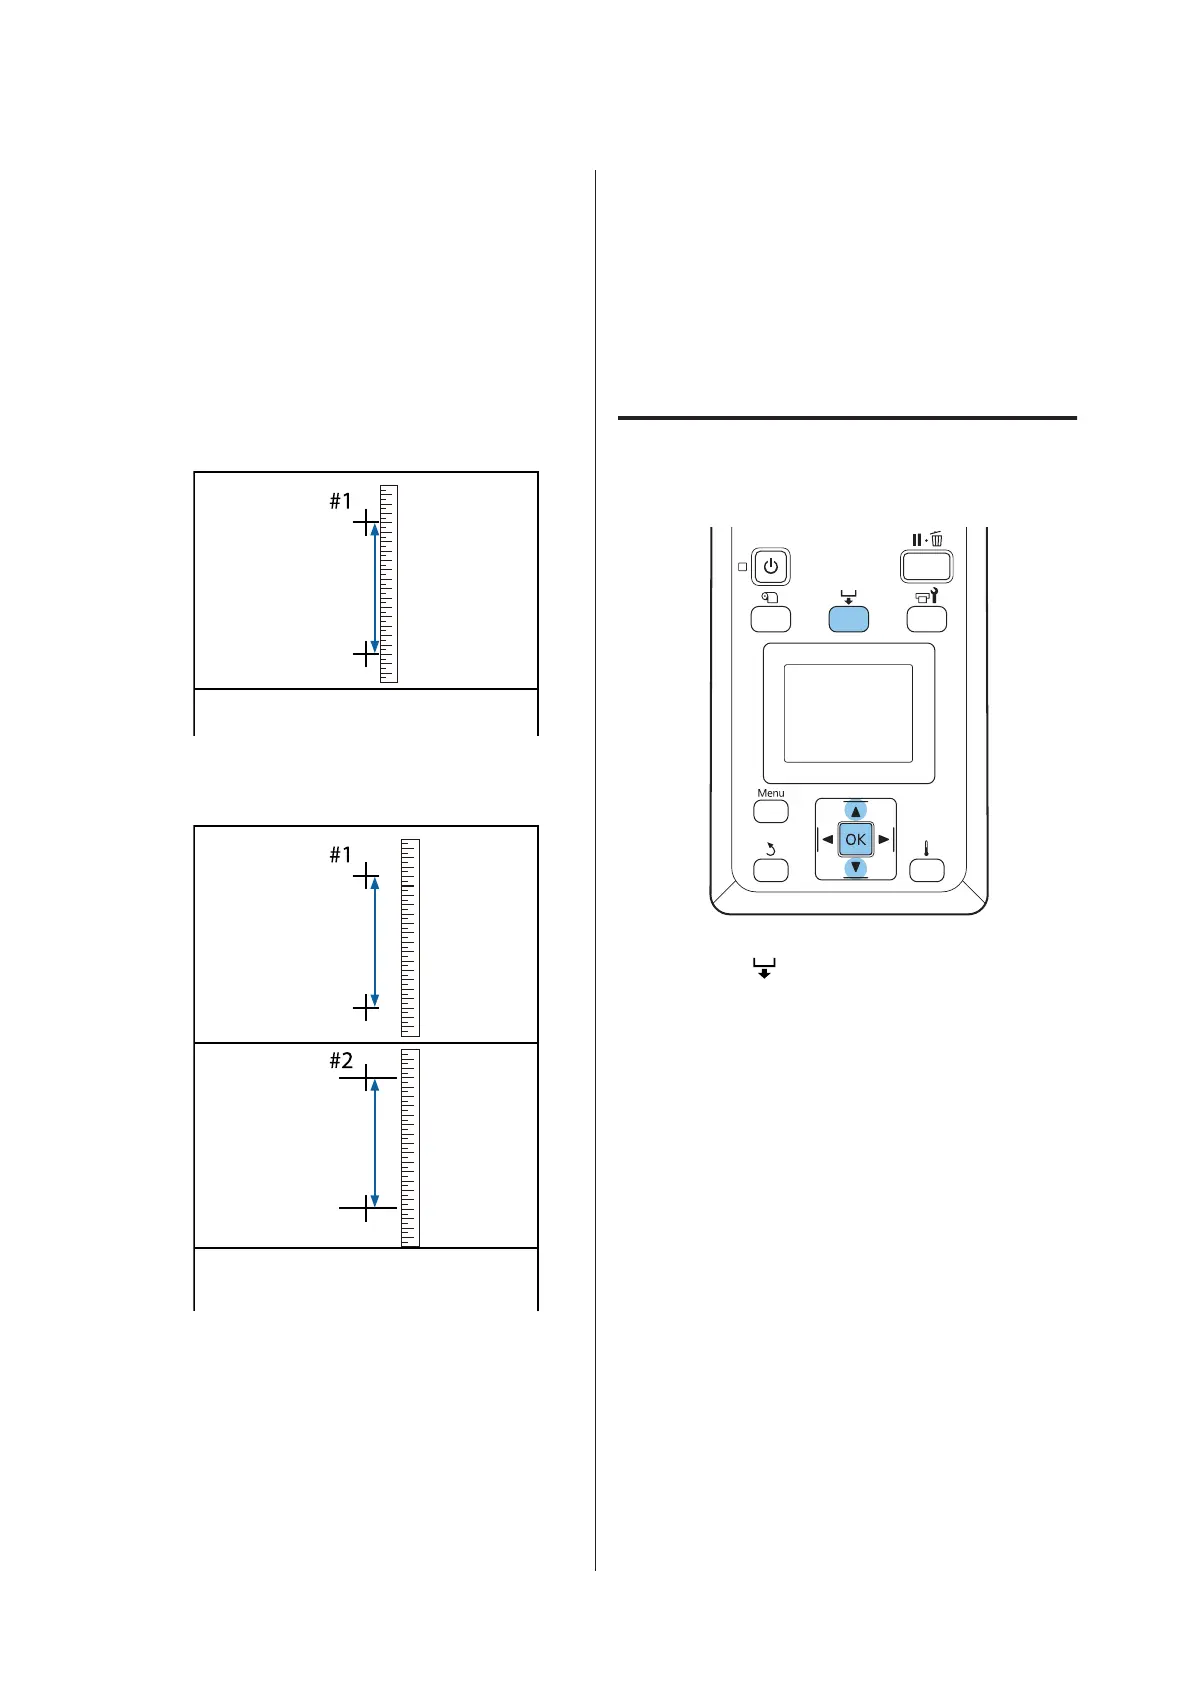
Measure the distance between the “+” symbols.
The printed adjustment patterns differ
depending on the Feed Speed setting.
When the Feed Speed is set to Lv1
Only #1 is printed.
When the Feed Speed is set to Lv2
#1 and #2 are printed. Check both patterns.
K
Pattern length is displayed in the control panel.
Select the values measured in Step 10.
Use the l/r buttons to select the value of #1 and
press the Z button. Use the l/r buttons to
select the value of #2 and press the Z button.
L
If configuration is finished, the printer returns to
a ready state.
Changing settings during
printing
Feed Adjustment and Heating & Drying can be
changed during printing using the procedures shown
below.
Feed Adjustment
Buttons that are used in the following settings
A
Press the button during printing.
B
An adjustment value will be displayed. Use the
d/u buttons to select a value.
If the feed amount is too small, black bands (dark
stripes) will appear; adjust the feed amount
upwards.
If, in contrast, the feed amount is too large, white
bands (pale stripes) will appear; adjust the feed
amount downwards.
C
If you are not satisfied with the results, use the
d/u buttons to enter an adjustment value.
D
Press the Z button when settings are complete.
SC-F9200 Series User's Guide
Basic Operations
51
 Loading...


