D
Press the y button to return to the customize
settings menu.
Prevent Sticking
We generally recommend to operate with this setting set
to Off. If the printer is turned on or printing starts while
the media is stuck to the platen, the media is not fed
correctly and could cause a jam. In that case, set to On
although operations take longer before printing or
reactivating.
A
Use the d/u buttons to select Prevent Sticking,
and then press the Z button.
B
Use the d/u buttons to select On or Off.
C
After finishing the configuration, press the Z
button.
Exiting the Menus
Press W to exit the menus.
Correcting Print
Misalignment (Head
Alignment)
Given that there is a slight gap between the print head
and the media, the landing sites for the different colors
of ink may be affected by humidity, temperature,
inertial forces imparted by the print head, or the
direction of the print head as it moves from right to left
or left to right. As a result, print results may appear
grainy or out of focus. When this happens, perform
Head Alignment to correct the print misalignment.
The thickness of the media determines the distance
between the media and the print head. Head Alignment
values can be stored separately for each type of media.
Stored values can be recalled instantly the next time the
media is used.
Change the adjustment method depending on the print
direction.
For bidirectional printing
Select Manual(Bi-D). If the graininess or misalignment
is not improved after performing Manual(Bi-D), try
Manual(Dual Head). If there is still no improvement,
perform Manual(Uni-D).
For unidirectional printing
Select Manual(Dual Head). If the graininess or
misalignment is not improved after performing
Manual(Dual Head), perform Manual(Uni-D).
For Head Alignment, you need to check the pattern and
enter the optimum adjustment value for alignment.
Notes on correct adjustment
The condition of media is important for correct head
alignment.
Observe the following points when loading media.
❏ Head Alignment varies with the media being used.
Load and adjust the media that will be used in the
actual print job.
❏ Pull the media to the prescribed position before
performing Head Alignment. Correct adjustment
may not be possible if the media is not pulled
sufficiently because the condition of the leading
edge of the media may worsen due to waves or other
issues.
Loading MediaU “Loading and Exchanging
Media” on page 26
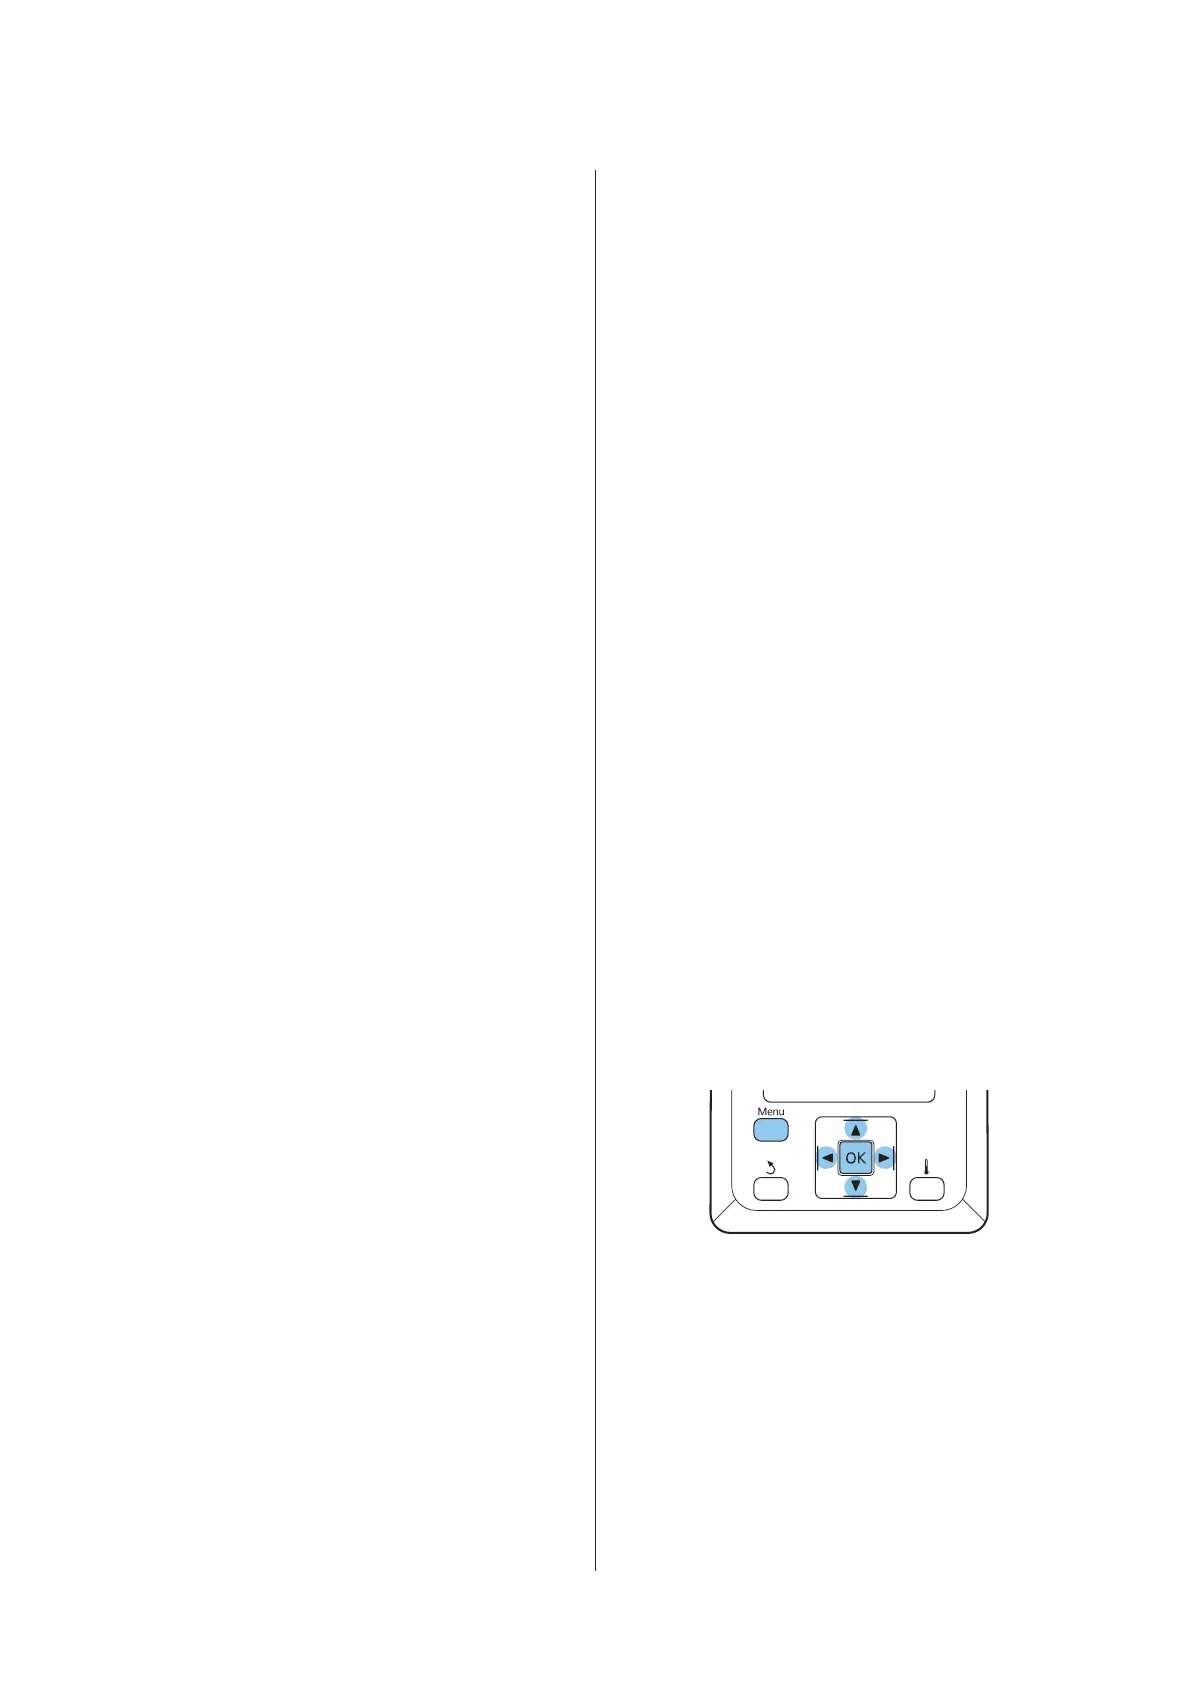
Buttons that are used in the following settings
A
Confirm that the media has been pulled to the
prescribed position.
Correct adjustment may not be possible if the
media is not pulled sufficiently.
Loading MediaU “Loading and Exchanging
Media” on page 26
B
After confirming that the printer is ready, press
the Menu button.
The settings menu will be displayed.
SC-F9200 Series User's Guide
Basic Operations
48
 Loading...


