& “Report Settings Menu” on page 86
Menu Options for Faxing
Recipient
Select the menus on the control panel as described below:
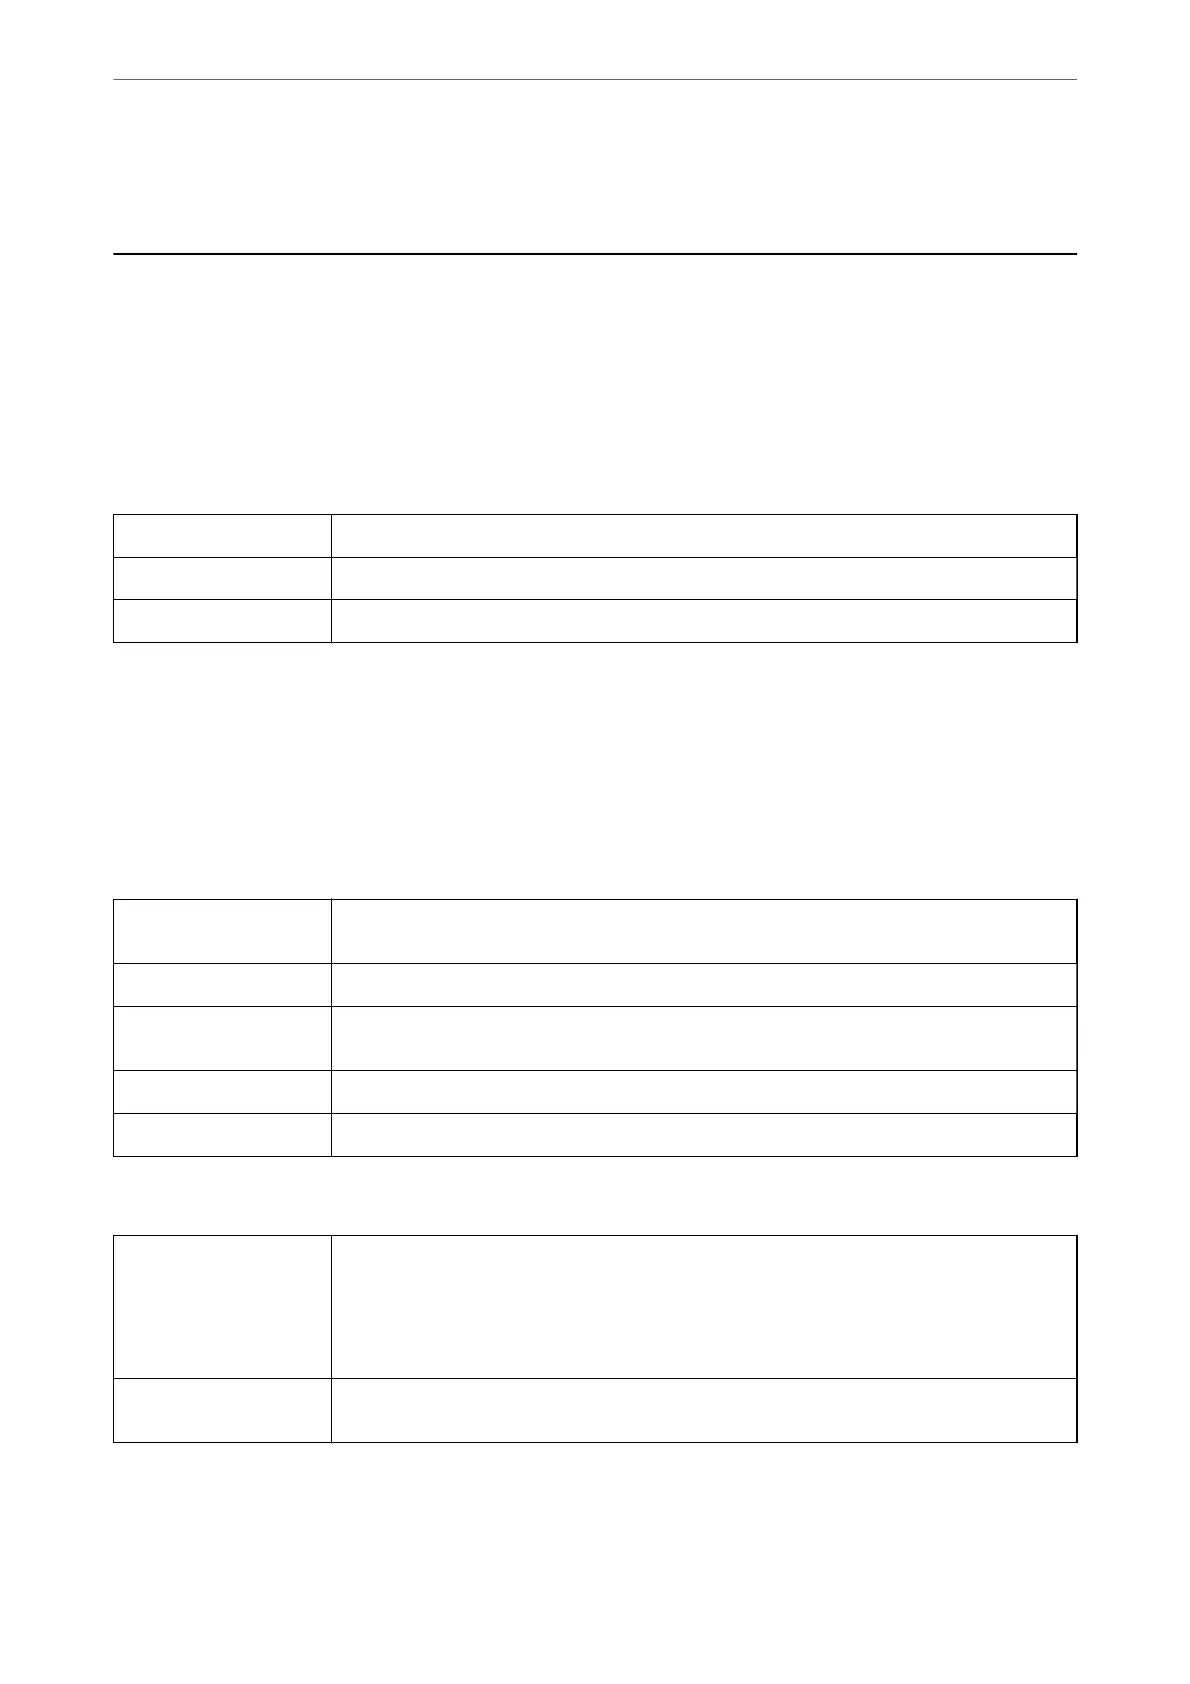
Fax > Recipient
Contacts Select a recipient from the contacts list. You can also add or edit a contact.
Recent Select a recipient from the sent fax history. You can also add the recipient to the contacts list.
Keypad Manually enter a fax number.
Fax Settings
Select the menus on the control panel as described below:
Fax > Fax Settings
Scan Settings
Resolution Select the resolution of the outgoing fax. If you select a higher resolution, the data size
becomes larger and it takes time to send the fax.
Density Sets the density of the outgoing fax. + makes the density darker, and - makes it lighter.
ADF Continuous Scan Sending faxes by placing originals one by one, or by placing originals by size, you can send
them as one document at their original sizes. See the related information below on this topic.
Original Size (Glass) Select the size and orientation of the original you placed on the scanner glass.
Color Mode Select whether to scan in color or in monochrome.
Fax Send Settings
Direct Send Sends a monochrome fax while scanning the originals. Since scanned originals are not stored
temporarily in the printer's memory even when sending a large volume of pages, you can avoid
printer errors due to a lack of memory. Note that sending using this feature takes longer than
not using this feature. See the related information below on this topic.
You cannot use this feature when you send a fax to multiple recipients.
Send Fax Later Sends a fax at a time you specied. Only a monochrome fax is available when using this option.
See the related information below on this topic.
Faxing
>
Menu Options for Faxing
>
Fax Settings
147
 Loading...


