❏ On the Advanced Settings tab in Epson Scan 2, set Descreening.
❏ Change the resolution, and then scan again.
Related Information
& “Scanning Using Epson Scan 2” on page 130
Cannot Scan the Correct Area on the Scanner Glass
❏ Make sure the original is placed correctly against the alignment marks.
❏ If the edge of the scanned image is missing, move the original slightly away from the edge of the scanner glass.
❏ When placing multiple originals on the scanner glass, make sure there is a gap of at least 20 mm (0.79 in.)
between the originals.
❏ When scanning from the control panel and selecting the auto scan area cropping function, remove any trash or
dirt from the scanner glass and document cover. If there is any trash or dirt around the original, the scanning
range expands to include it.
Related Information
& “Placing Originals” on page 58
& “Cleaning the Scanner Glass” on page 172
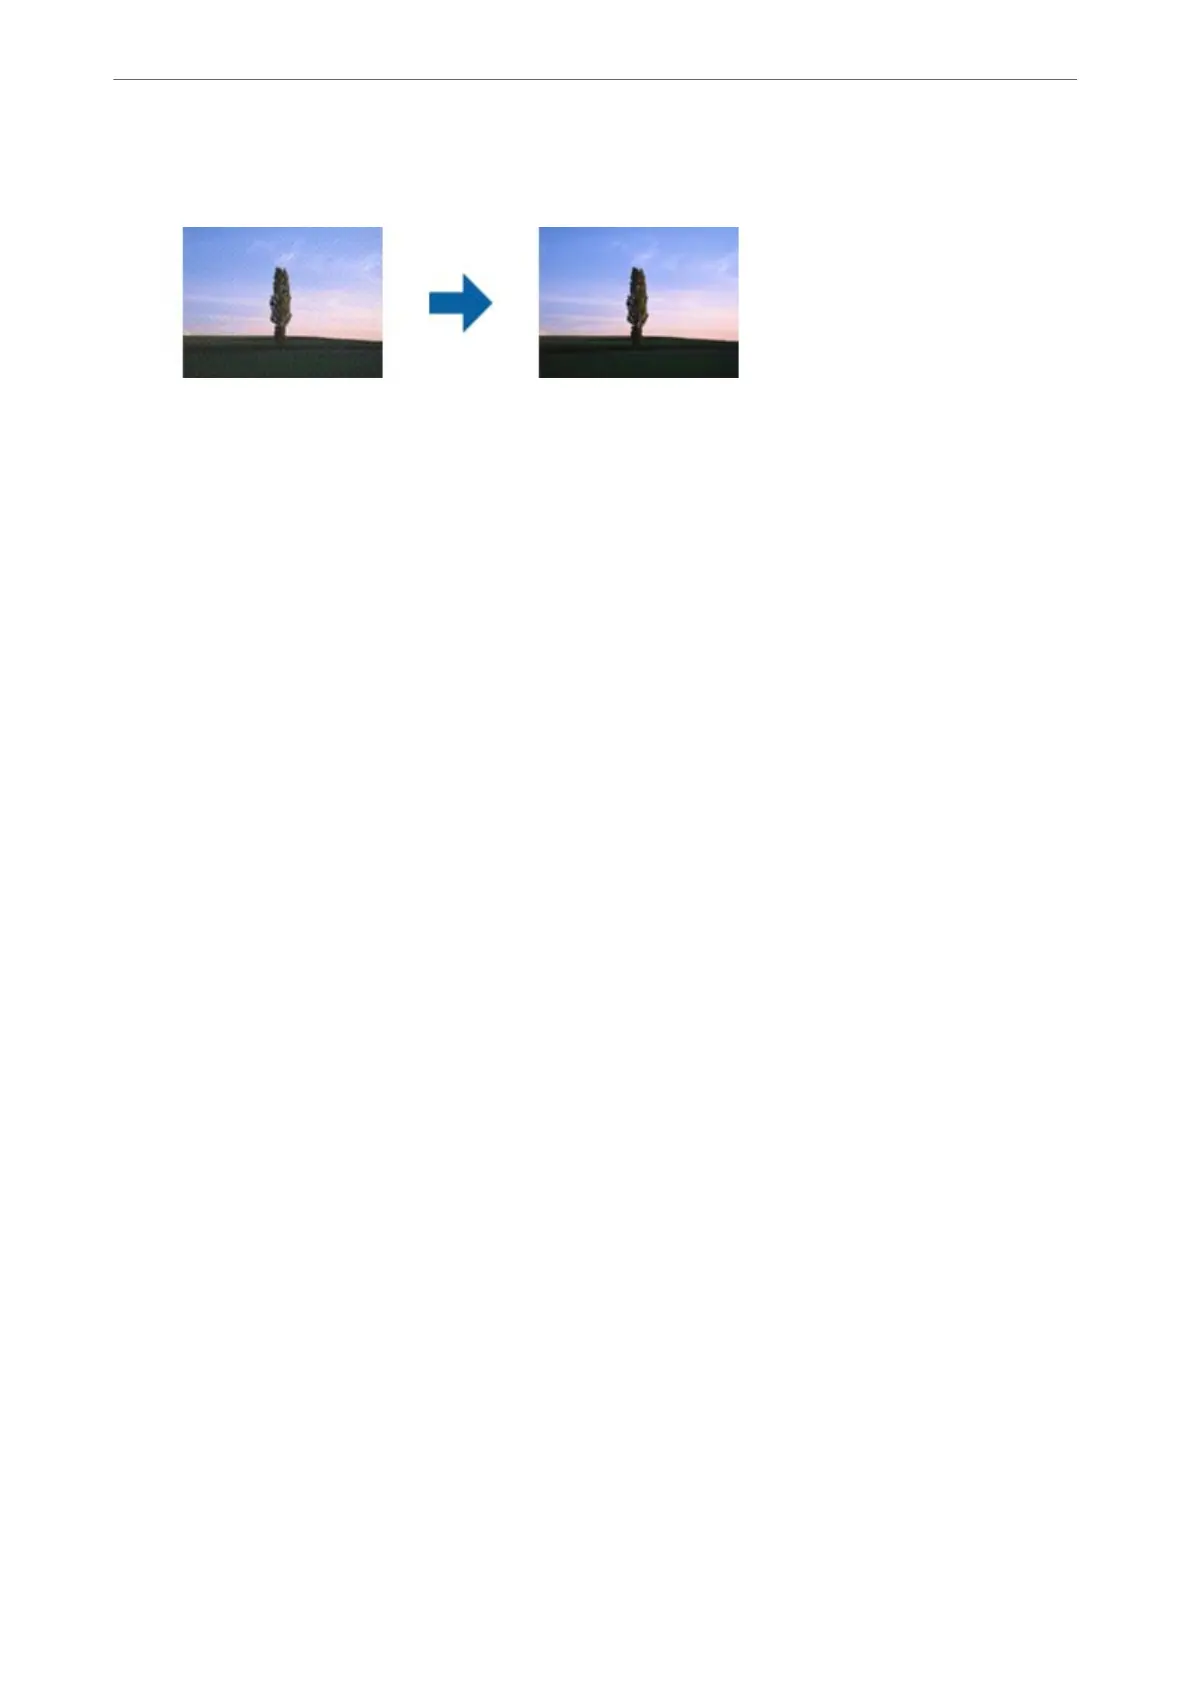
Cannot Preview in Thumbnail
❏ When placing multiple originals on the scanner glass, make sure there is a gap of at least 20 mm (0.79 in.)
between the originals.
❏ Check that the original is placed straight.
❏ Depending on the original, previewing may not be performed in
umbnail
. In this situation, clear the
umbnail check box at the top of the preview widow to preview the entire scanned area, and then create
marquees manually.
Related Information
& “Scanning Using Epson Scan 2” on page 130
Text is Not Recognized Correctly when Saving as a Searchable PDF
❏ On the Image Format Options window in Epson Scan 2, check that Text L a ng uag e is set correctly on the Tex t
tab.
Solving Problems
>
Scanned Image Problems
>
Text is Not Recognized Correctly when Saving as a Searchable PDF
216
 Loading...


